Bloom True Fabric Tour + a New Quilt Pattern!

Friday, June 17, 2022

When Poppie Cotton emailed me to see if I would like to be a part of a fabric tour 
for their new line, Bloom True, I just had to say, "YES!"  I love this fabric line! 


The line was designed by Terri Conrad and
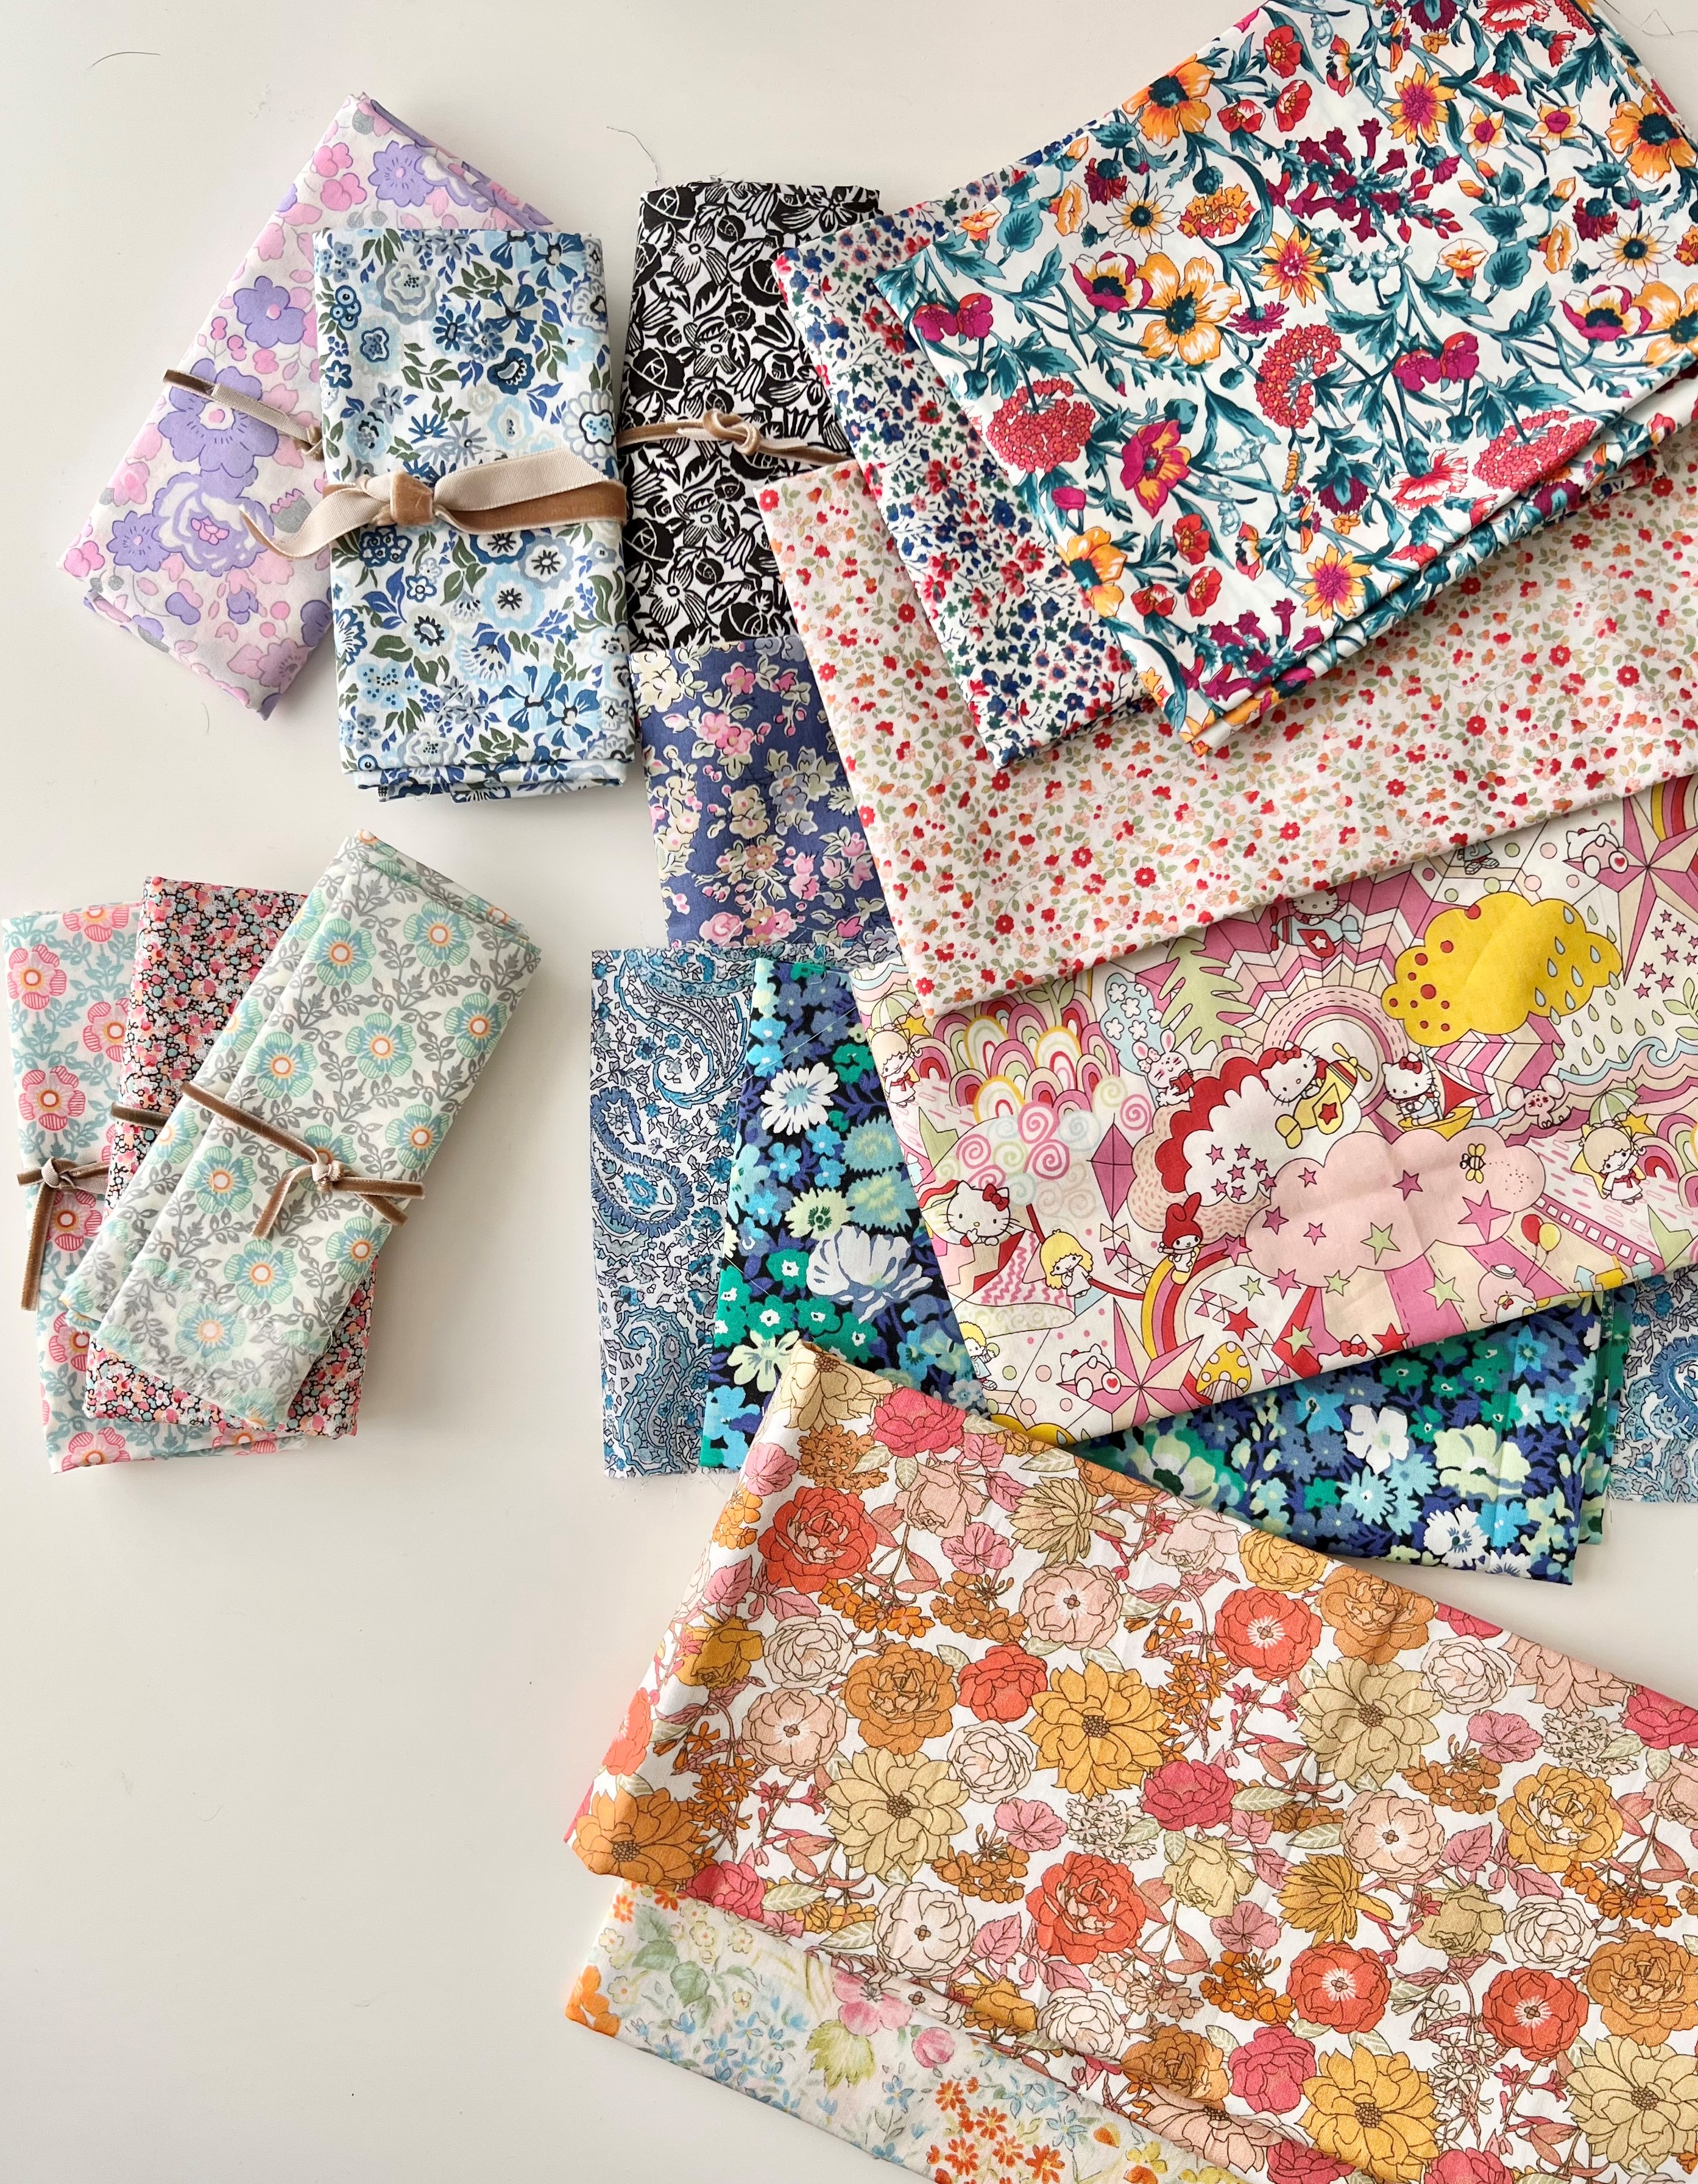
all of the fabrics have a beautiful vintage feel!
Pretty florals, damasks, and geometric prints in 
different shades of pink, mint, and golden yellows, 
with little accents of green, black, and white.
So pretty!


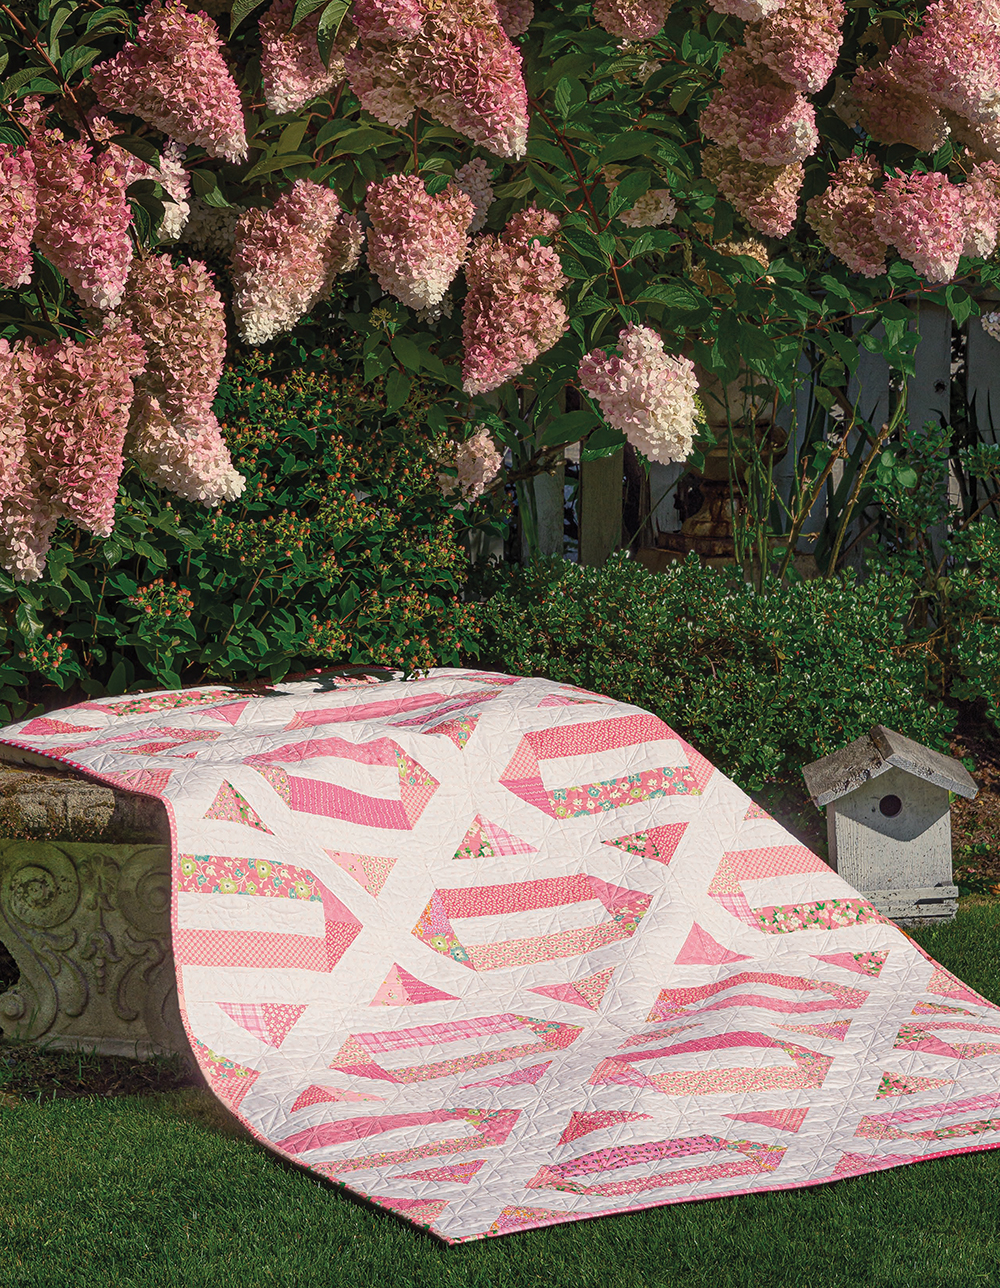
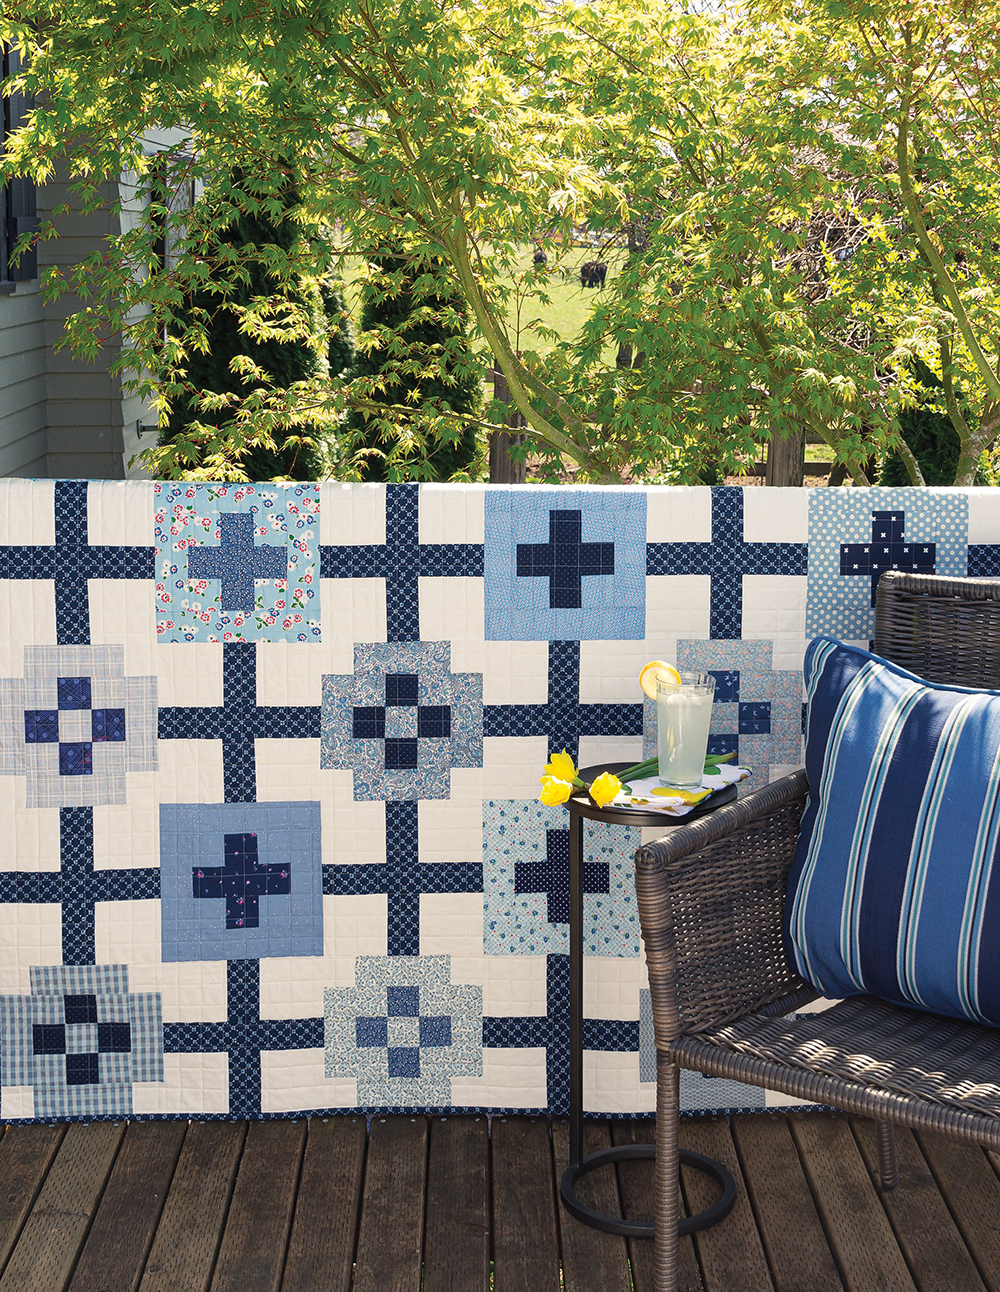
I designed a fun flower block to go with the line.
I'm calling this pattern, Flower Farm!


The flower blocks feature sweet pinwheels and the sashing
creates a fun secondary pattern!  I'd say this is
a beginner-friendly pattern!


It comes with instructions for 5 different sizes:
baby, throw, twin, queen, and king.


The quilting on my quilt is called Garden Trellis by Karlee Porter Designs.
Jen Ostler quilted it for me and I think it turned out so pretty!


I bound it in one of my favorite prints from the line.
It's called Flora Black and it's a small floral print
that has all of the colors from the line!

Flower Farm is fat eighth/fat quarter friendly!
The PDF pattern is available in my Etsy shop HERE.
The Paper pattern is available in my Etsy shop HERE.


A big thanks to Poppie Cotton for inviting me to be a part of the
Bloom True fabric tour!  I seriously love this line
and can see many more Bloom True projects in my future!

Garden of Quilts

Friday, June 10, 2022

 Hey friends!
I've been meaning to tell you that I will be teaching and presenting
at the Garden of Quilts this year!  I'm so excited!

If you haven't heard of the Garden of Quilts, it's a 4-day event for quilters at the
beautiful Ashton Gardens at Thanksgiving Point in Lehi, UT.


It's a stunning venue!  
I've been to the Garden of Quilts once; 
there are quilts hung all around the 50 acres, plus tons of classes, vendors, and lectures!


Dates: September 14th - 17th, 2022.

I will be teaching 2 classes:

PINEAPPLE BLOCK
FOUNDATION PAPER PIECING 
Friday 2-5 p.m.
Sign up HERE.

STASH HASH
Saturday 9 a.m. - Noon
Sign up HERE.

Click on the link above each photo for details and prices for each class.

I also get to present all the quilts from my new book, Quilt the Rainbow!
(All lectures, trunk shows, and demos are included 
in the Garden of Quilts admission price.)


I'll be talking about how to create beautiful quilts 
with these 10 scrap/stash-friendly projects!  I can't wait to tell you 
all about the book and for you to see the quilts in person!

There are so many other awesome fabric and quilt designers that will
be presenting and teaching too.  It's sure to be an unforgettable few days so grab your 
friends or family and treat yourselves to a wonderful quilty weekend!
I can't wait to meet you!

Click HERE for all the details.

Another Boxy Quilt

Thursday, June 2, 2022

 I started this quilt on March 9th, 2022 and just finished
it yesterday, June 1st, 2022.  I somehow even talked my husband into going 
into the hills by our house yesterday to help me get some photos.


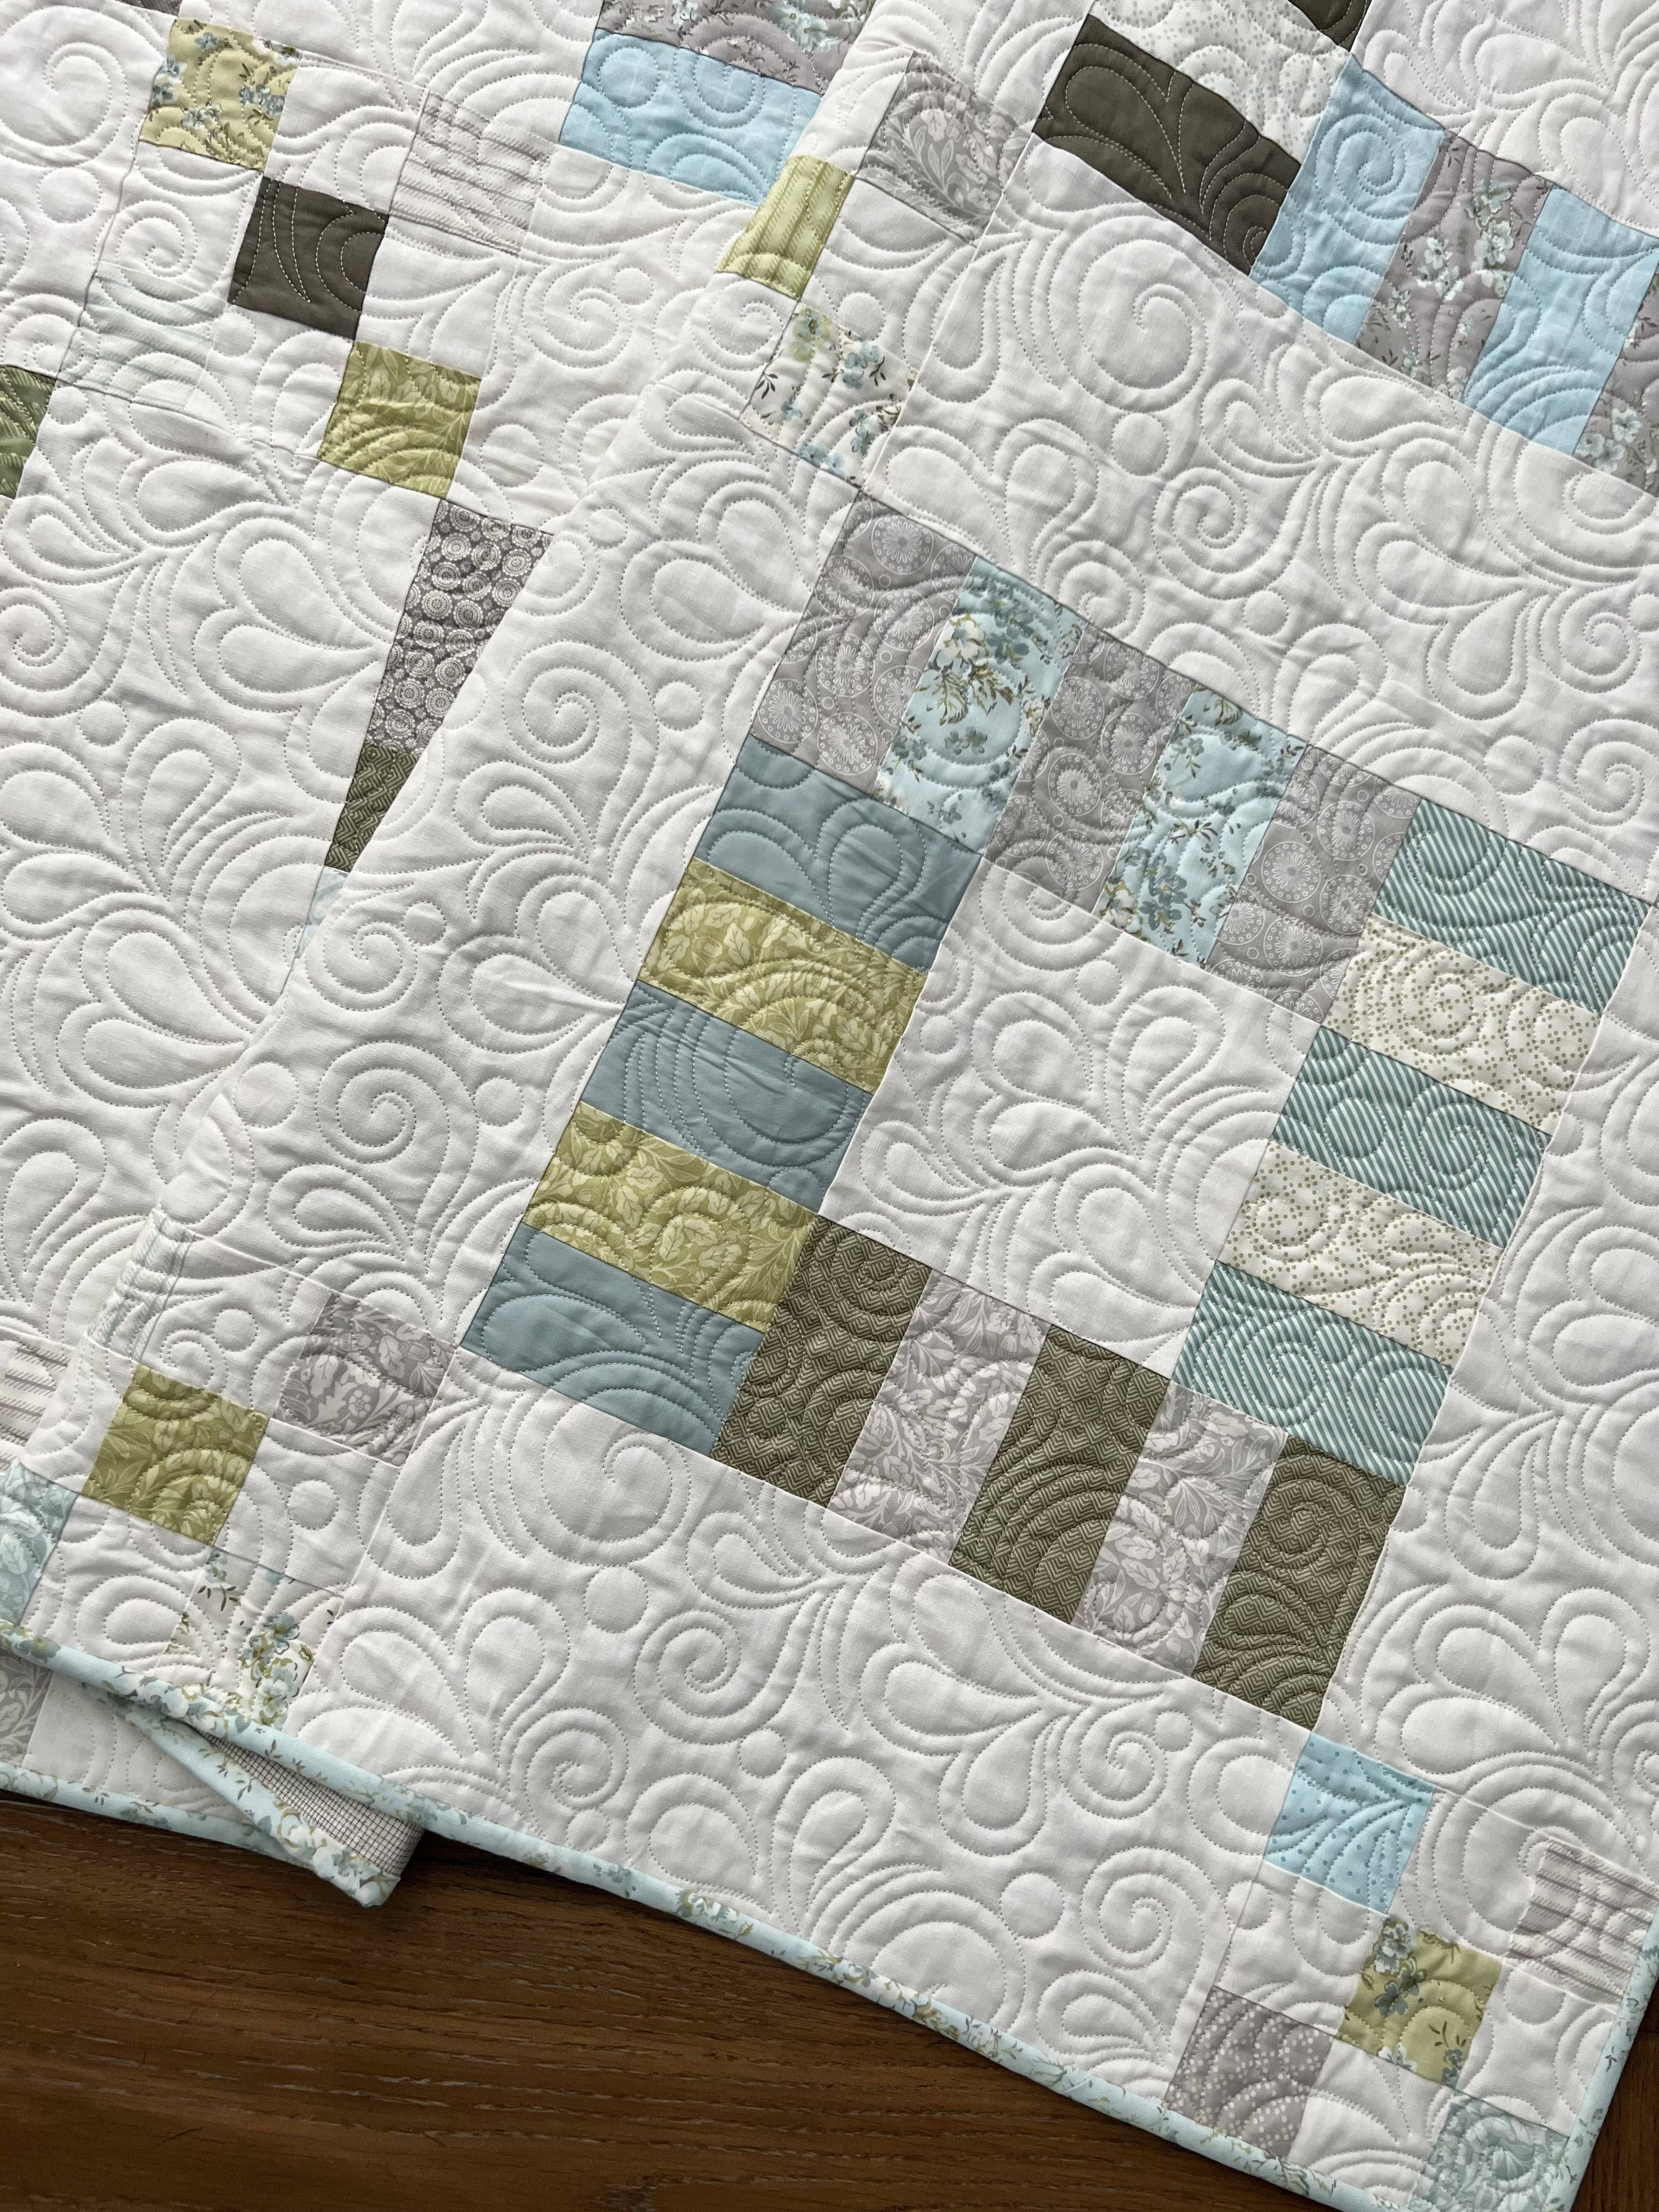
This is my second Boxy quilt.  It's such a quick, easy pattern to make!
The first one I made was in really bright fabrics so I wanted
to see what a softer version would look like.  
Click HERE to see the original version.


Plus I had these two Dover charm packs (by Brenda Riddle Designs for Moda)
in my stash that I thought would be perfect for this pattern!
The pattern calls for charm packs  + solids but instead of using
solids this time, I pulled a bunch of coordinating print fabrics from
my stash to make it extra scrappy!


The blocks are fun to make and very beginner-friendly.
Someone even suggested using a fussy cut fabric in the center
of the blocks and I think that would be a wonderful touch!


This pattern would be perfect in any colorway!
It comes with instructions for twin, queen, and king-size quilts.


The edge-to-edge quilting panto is called Moulin Rouge
and my friend Jen Ostler (@drycreekquilter on Instagram) quilted 
it for me.  I actually let her surprise me with the design
because I couldn't decide between that and another more
geometric design.  I think this turned out beautiful!


I had all of the fabric in my stash except for the binding fabric
(which is the aqua floral from the Dover line).
The background fabric is a cream linen fabric and the
backing is a cream and black plaid woven fabric that
I had in my stash for years!!  Glad I finally found a use for it!


If you want to snag a copy of Boxy, visit my Etsy shop
HERE.  I have paper and PDF patterns available.

Thanks for stopping by today!


Quilt the Rainbow Book

Wednesday, June 1, 2022

 Good morning friends!
My new book, Quilt the Rainbow is hitting stores TODAY
so I wanted to take a few minutes, here on the blog, to tell you all about it!


THE INSPIRATION

One day, back in October of 2020, I was looking at my pretty little stacks of fabric 
organized in rainbow order and thought to myself, wouldn't it be nice if there were patterns 
to help me whittle down each color of my stash?  (If you've been following along with me 
for a while you know that I LOVE using my stash and I love scrap quilts.  
I honestly don't like having a huge stash; I'm constantly trying to use up what I have!)  
I thought I should create those patterns and knew they all needed to be together in one place
so the idea for my second book was born.

I reached out to my publishing company, Martingale, to see what they
thought about the concept and surprisingly they said they hadn't really done
one like that before!  I'm so glad they were game for the idea and even liked
my idea for the title, Quilt the Rainbow.


THE CONTENTS

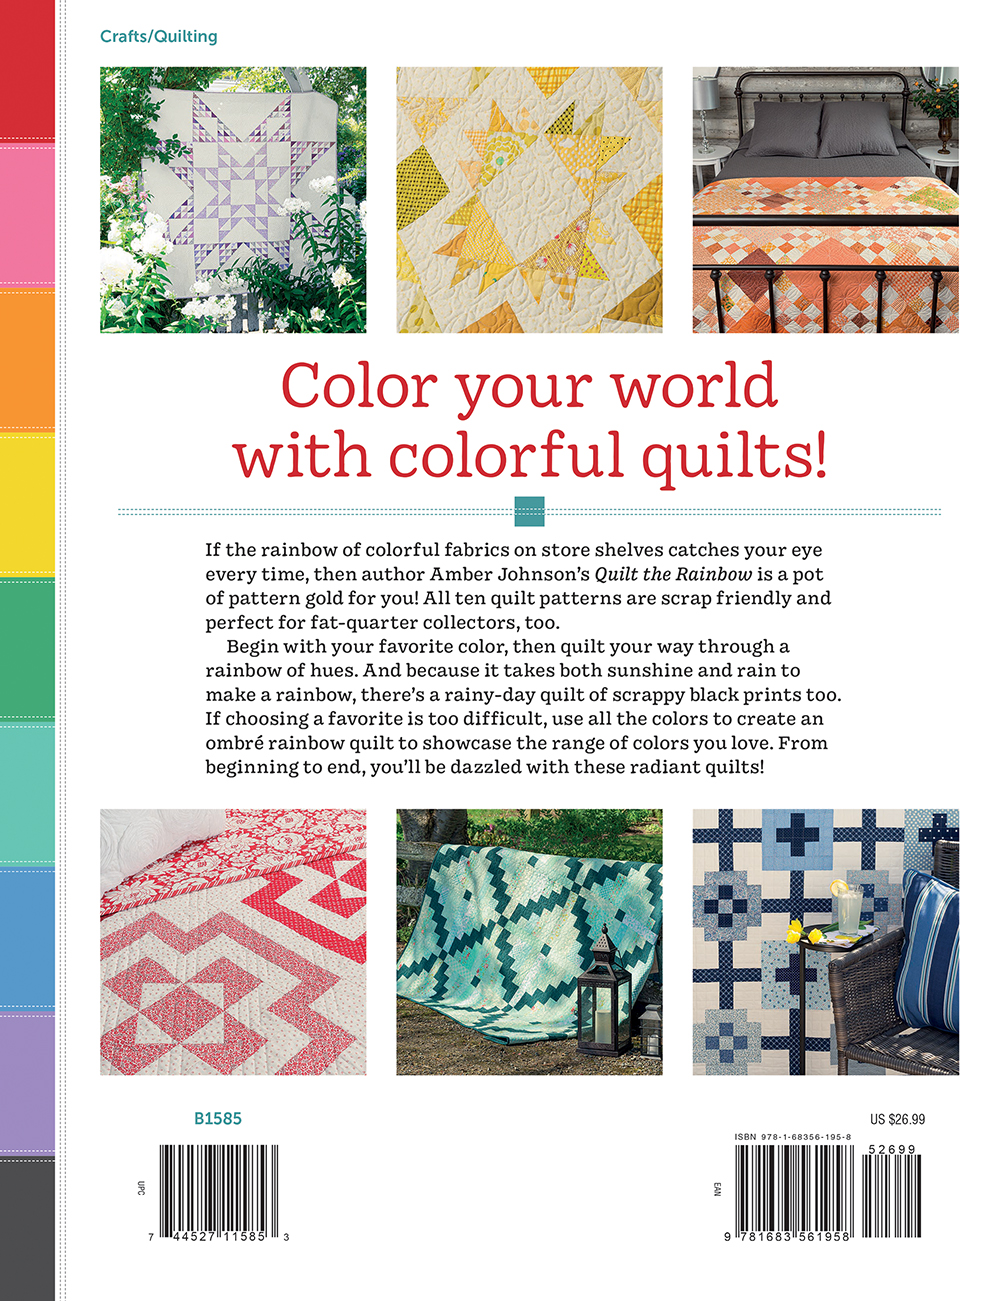
In the book, I included 10 stash-friendly patterns; one in red, pink, orange,
yellow, green, aqua, blue, purple, black, and one multi-color quilt!  Of couse every
quilt would be cute in any color way!  Most of them would be very easy to adapt
to a smaller or larger size, too!

I also share alot of fun tidbits including the meaning/symbolism of each color, 
how to cut and store fabric for scrap quilts, how to choose fabrics for beautiful, cohesive 
scrap quilts, how to make scrappy quilt backs, how to make scrappy bindings, 
how to spiderweb piece, all the quilt-making basics you need to know, 
and some of my favorite time-saving notions.  It's chock-full of 
useful information and inspiring photography!
I couldn't be happier with how it turned out!

THE PROJECTS

Sew Delightful (red)

Scrapology (pink)


Blossoms & Buds (orange)

Crowning Glory (yellow)

Box Elder Trail (green)

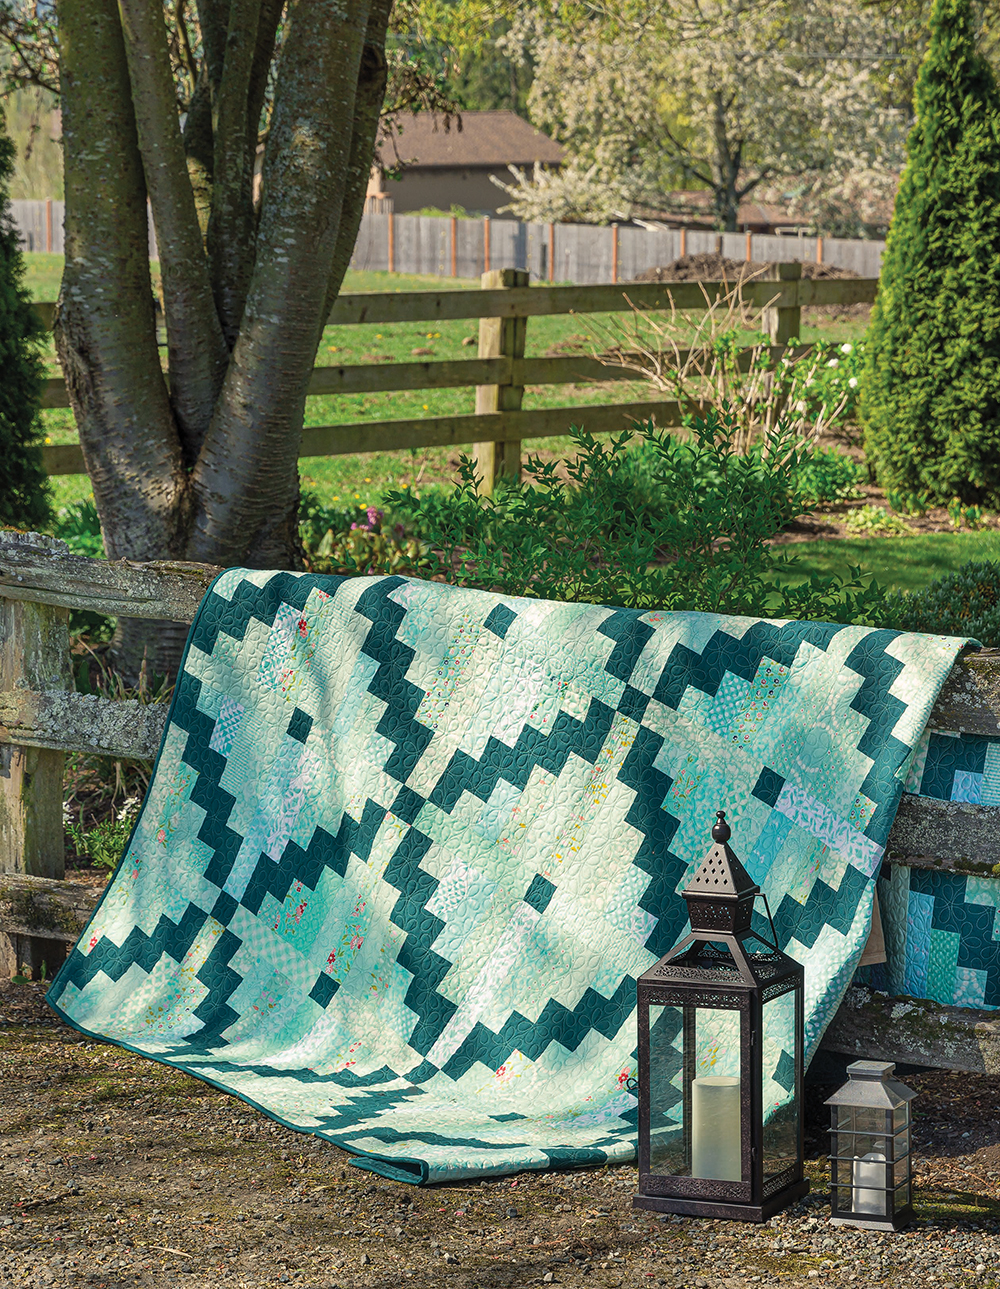
Seaside (aqua)

Patchwork Plaid (blue)

Glimmer of Light (purple)

Tile Revival (black)

Star Studded (multi-color)

I hope you are envisioning some of those patterns in
your own favorite color ways!  
[All images above are courtesy of Martingale Publishing.]


FUN TIMES ARE COMING

I have a Quilt the Rainbow book tour starting
July 1st, 2022. I've invited 10 friends to make their own versions
of the projets in the book so I hope you'll follow along on Instagram
in July and August.  I'll do a final roundup post at the end
(here on the blog, in case you're not on Instagram).

Click HERE to check out the book tour.

I will also be hosting a quilt-along for the aqua quilt (Seaside)
in September.  I have my fabrics all picked out (I'm really into these earthy colors 
right now!)  Stay tuned for more details!

Click HERE to check out the Seaside QAL details.


I'm so anxious to remake a lot of the quilts in different colorways.
So if you are interested in whittling down your fabric stash and quilting 
the rainbow with me, grab your own copy of the book, and let's get started!


WHERE TO BUY

You can purchase Quilt the Rainbow at the:

Or I would LOVE for you to ask your local quilt shop to carry it!

If you are a quilt shop and would like to order
Quilt the Rainbow at wholesale prices, visit Martingale.com HERE or 
Checker Distributors HERE.  Please shoot me an email with your website listing link 
and I will add you to the list!


I hope you will love Quilt the Rainbow as much as I do!
It really was a project from the heart.

Summer Stars Quilt Bee Quilt

Saturday, April 23, 2022

 I finally got some pictures of my finished New Friends Quilt Bee quilt
and today, I'd like to share all the details of this project with you!


In January of 2021, I reached out to a bunch of people on 
Instagram and asked them if they wanted to join a quilt bee with me.
Some said yes and some said no.  In the end, I got 9 people
that wanted to join - for a total of 10 people including me.
I think there are usually 12 people in this kind of bee but I
thought 10 was okay so we wouldn't have to worry
about it during December and we had already missed January.

I assigned each person a month and set up a google doc with everyone's 
names, emails, Instagram handles, shipping addresses, ship dates, and a place for notes/instructions.
Everyone needed to email out their pattern instructions a week or two before their month started.
We started making blocks in February.

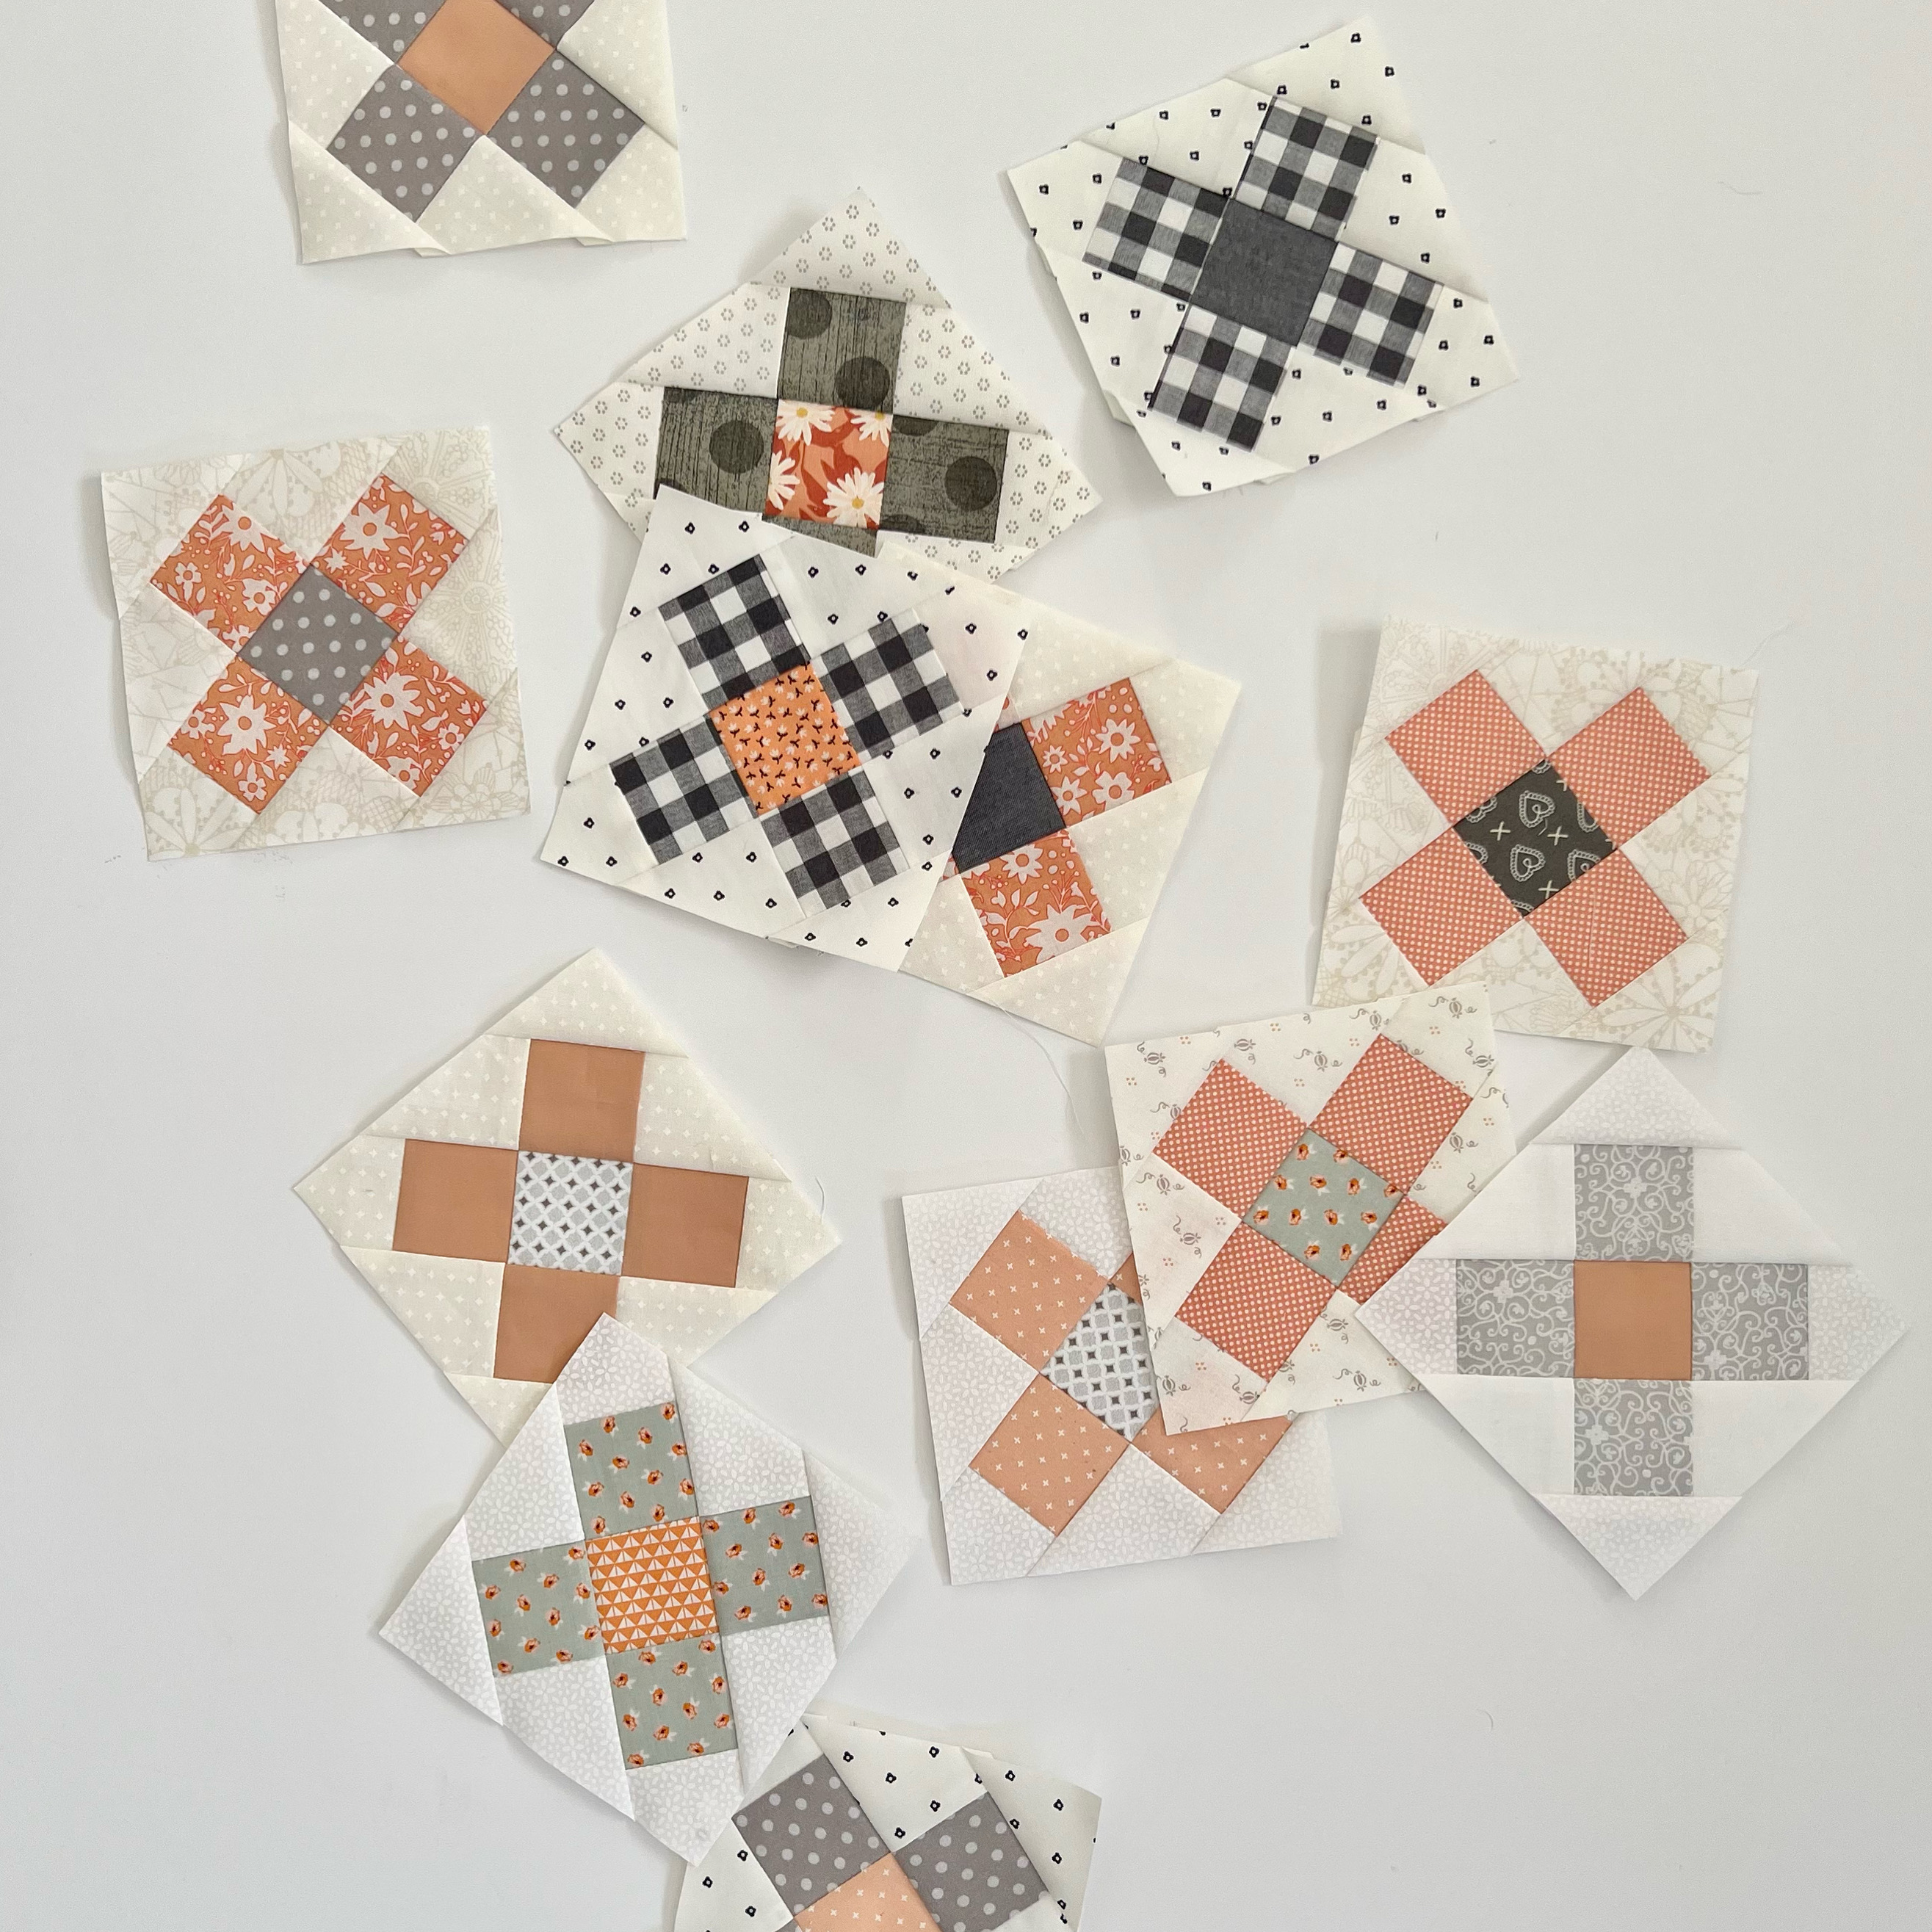
I chose my pattern, Summer Stars which you can find in my Etsy shop HERE.


I asked everyone to use peaches and greys to give it a 
nod to Halloween without screaming "Halloween".


I asked the ladies to make 1 Large Star block.


And if they so desired, a small star block center or two.


It was so fun when the blocks started rolling in!


I'm really happy with the way the whole thing came together.


For the back of the quilt, I used Blooming Soul in Nectarine from the line, 
Nectarine Fusion by Art Gallery.  I saw someone post about it on
Instagram and fell in love!  I liked that it had a few shades of peach
and that it looked like an old vintage sheet!


I bound it in this woven gray stripe fabric
(sorry, I'm not sure what it's called - there was no info on the selvage.)


My friend Jen Ostler in Highland, Utah quilted it for me
with straight lines.  She is seriously the best!  She always does a fantastic job and
then trims my quilt, ties it up with a coordinating ribbon, and attaches a chocolate to the
receipt.  What more could you want!?!


I really wanted a label on this quilt so I could capture all the information for
this project: the pattern name, the bee name, the year, and all
of the participants' names.  I ended up splurging and ordering
one from Ever Emblem ($16 + shipping).  They charge by the sheet so it's $16 
whether you get 1 large label or 20 small labels.  It seemed like a lot for just
one label but to be fair they did send a few extra labels with just my name and city 
(which was very nice of them!  I wasn't expecting that!)   My label measures
about 3" x 4".  If you ever order a large, single, custom label from them - 
ask if they can fit some other labels on the sheet to get the most bang for your buck!


This is the queen-size version of Summer Stars.
The pattern includes instructions for a lap and twin size version, as well.
Click HERE to visit my shop.


I'm so thankful to my new friends for participating
in this quilt bee with me!  It was a fun way to try new block patterns and
we even emailed out bio's about ourselves with our pattern instructions 
so it was a great way to get to know each other.  Thank you:

Natalie Jacob (@fijimamaquilts)
Mariana Diaz (@sewmariana)
Andy Knowlton (@abrightcorner)
Jessica Dayon (@jessicadayon)
Deidra McCollum (@quiltyobsession)
Emily Milke (@egmquilted)
Kelli Rummel (@thewillowmarket)
Brittany Davis (@bmariedavis)
Tavia Donaghe (@heytavia)

for joining me on that journey!

Check out the #newfriendsquiltbee hashtag to see
everyone else's bee quilts.

2 Stars A Day Quilt

Monday, April 11, 2022

 At the end of January, I got an itch to play with my
Liberty of London fabric stash again.  It's been a while since 
I made a quilt using Liberty fabrics and it's such a shame to have such beautiful fabrics 
go untouched for a substantial period of time.  (If you want to see
my first Liberty quilt, click HERE and scroll down.  It's one of my favorite quilts.)


So I started playing around but ultimately didn't love the direction I went 
so I set everything aside for a few months to regroup.

As I was eating lunch today (leftover baked penne pasta if you must know...) 
I was inspired to make a Star block; with my Liberty fabrics. 
Which evolved into the idea of making 1 Star block every day for an extended
period of time and to see if you guys wanted to join me!

So I went upstairs to my computer.  Mocked up a 6" Star block in my EQ software.
Made TWO Star blocks.  Liked my Star blocks.
Mocked up a quilt with Star blocks.  And asked if you guys wanted to join me
on Instagram.  It all happened really fast.  When I want to do something I just.get.to.it.
It's a blessing and a curse...


I thought it might be fun to play with two different color backgrounds for the blocks
but you could go as scrappy or unified as you want!  
You are welcome to use this 6" block anytime, in any configuration, and
to make as many as you want!  You can join me for this Two-A-Day
challenge or if now is not a good time for a new project - you can
save this post/pattern for another time.

Here is the simple quilt I mocked up.  
I figured if I upped my original plan from 
1 block a day to 2 blocks a day I could have it done in about a month.
(And if you're going to go to all the effort to pull out fabric and cut said fabric - 
you might as well make more than 1 block.  
But I still wanted to keep this a quick, daily project.)


This quilt finishes at 60-1/2" x 75-1/2".

Here's my plan:

Make: 2 Star blocks a day
Start date: 4/18/22
End date: 5/18/22
Total Star blocks: 63 
(1 is extra - could use as a label on the back?)

Materials needed for the above layout:
Cream background and sashing rectangles: 2-1/2 yards
Tan background, sashing squares, and borders: 2-1/8 yards
Assorted bright prints: approximately 2-1/4 yards
Binding: 5/8 yard
Backing: 4-1/4 yards
Batting: 68” x 83”

Click HERE for the very simple instructions.
Oh, and I just decided I will try to do a lot of the cutting prior to next Monday.
That will make it a lot easier to sew 2 blocks a day!


If you decide to join me on this project, tag me on Instagram @gigis_thimble.  
Be sure to use the hashtags #gigisthimblepattern and #twostarsadayquilt when posting 
about this quilt so I don’t miss your version.

I hope you'll join me and I can't wait to see what you make with your Star blocks!
Let me know if you have any questions and if you want to see the finished quilt click HERE.