Showing posts with label tutorial. Show all posts

Delma's Dresden Tutorial

Monday, July 7, 2025

I remember my grandma making a Dresden Plate quilt many years ago, and I thought,
I will NEVER make one of those!  I think she worked on those Dresden Plates for years,
and it just seemed so hard and so tedious!  But then I discovered the EZ Dresden Ruler by
Darlene Zimmerman, and it took out all of the guesswork!  I fell in love with Dresdens
and have made several Dresden Plate quilts since then!  

So today, I have a little tutorial for you that features one big Dresden Plate.  This is the
perfect project to showcase some of your favorite fabrics and let you try your hand at a
Dresden Plate, if you haven't made one before.  


I'm calling this one Delma's Dresden - in honor of my late grandmother.  It's more modern
than the classic ones she used to make, but I've been wanting to make this kind of Dresden Plate
for a long time.  It doesn't have a center circle appliquéd over the smaller edges of the wedges.
I think it's pretty fun with points on the outside and inside of each wedge.

Supplies Needed:

- 20 bright rectangles, 4" x 6" each
- Cream background fabric: 28" x 28"
- Batting: 28" x 28"
- Backing fabric: 28" x 28"
- Binding fabric: 1/3 yard or a 26" x 26" frame
- EZ Dresen Ruler By Darlene Zimmerman
- Wood Point Turner
- Spray Starch 
- Appli-Glue by Jilily Studio
- Basting pins or spray, walking foot, water soluble pen,
and seam guides if machine quilting it yourself
- Other quiltmaking supplies such as a sewing machine, iron and board,
rotary cutter, ruler and mat, coordinating thread and applique needle, etc.

Step 1. Line up the 2" mark of the EZ Dresden Ruler on the bottom edge of a bright 
4" x 6" rectangle and the top edge of the ruler on the top edge of the rectangle.  
Trim off the sides to create a fabric wedge.  Cut 20 wedges.


Step 2: Fold the wedges in half, right sides together.  Sew across the top and bottom edges using a 
1/4" seam allowance (I did this in a chain, which is why they're in an arc, below left).  
Trim the corners near the folded edges to reduce bulk.  Be careful not to clip the stitches.


Step 3: Press the folded edges with a hot iron to mark the center of the wedges.
Turn the wedges right-side-out and use a wood point turner to carefully push out
the top and bottom points so they are nice and sharp.  Align the seam allowances (on the back side)
with the center crease to make sure the points are centered.  Press the "blades" with a hot iron
(use spray starch to get nice crisp edges).  Make 20.


Step 4: Using a 1/4" seam allowance, sew the blades together along the long edges,
right sides together.  Make sure the bigger points are aligned at the top and the smaller points
are aligned at the bottom.  Sew the edges of the first and last blades together to create a
Dresden Plate.  Press the seam allowances in one direction.


Step 5: Press the background fabric in half with a hot iron, in both directions, to mark the
center of the square.  Center your Dresden Plate on the background fabric over the creases.
Use small dots of Appli-Glue underneath the points of the wedges to adhere the Dresden Plate
in place.  I like to work in quarter sections of the Dresden Plate, just lifting up points of the
wedges and putting a few dots of glue on the back side of each.  Once everything
is glued in place, I like to "set it" with a hot iron.  

Note: My Dresden Plate was off-center here, and I didn't notice until I had already glued
it in place.  Thankfully, the background fabric was cut a little oversized, so I had room to
center it later when I squared everything up and cut it down to size.


Step 6. Applique the Dresden Plate to the background fabric.  I hand-appliqued mine using
taupe colored thread.  If you don't like to hand-stich, you could machine appliqué it
with a simple top-stitch or decorative stitch.  Carefully press
the quilt top with a hot iron.


Step 7: Lay down your backing fabric (wrong side up) on a smooth surface.
Then layer with a piece of batting and your quilt top (right side up).  Use basting pins to
secure the 3 layers together, placing pins 3-4 inches apart.


Step 8: Quilt as desired.  I used my walking foot and seam guides to quilt
diagonal lines (both directions) 1" apart.  I like to increase my stitch length a little when I'm
machine quilting so the stitches aren't too tiny and once in a while I had to use a water soluble pen
and a ruler to mark a few of the lines. I used matching cream thread and avoided the
Dresden Plate as I stitched the diagonal lines.  My machine has a button to create a knot so I used that whenever I had to stop or start a new line.  Once I was done with that part, I went back and
stitched in the ditch around the entire Dresden Plate and each blade.  There was lots of starting and stopping as I tried to reduce the amount of overlapped stitching.


Step 9.  Square up the quilt to your desired size.  Then bind or frame it.
If binding it, use 3 strips, 2-1/2" x 40" each.

I trimmed off as little as possible and then my husband built a 26" x 26" frame for it.  
I got 1/4" plywood for the back (Home Depot sells 26" x 26" boards)
and 1" x 2" wood boards for the sides (I believe we used alder).  My husband assembled
the frame and notched out space with a router for the plywood and quilt.  I stained it
and then he attached some simple hardware to the back so we could hang it.
He assembled everything and then he trimmed off any excess quilt that was poking out
behind the plywood with a sharp Exacto knife.


I love how it turned out and am so thankful to my husband for building the frame!
This would be super cute bound like a normal wallhanging or turned into a pillow
if you don't have the means to build a frame. 


Let me know if you decide to make this project!  Even better, you can send me photos at gigisthimble@hotmail.com or tag me on Instagram at @gigis_thimble.  I'd love to see it!
This is a fun way to showcase your favorite fabrics or try your hand at a Dresden Plate,
applique, or machine quilting.  I used strike-off (sample) fabrics from my latest fabric collection
with Riley Blake Designs called Honey Locust.

Thanks for stopping by today and please let me know if you have any questions!

Dawn's Delight Quilt

Friday, August 16, 2024

 Hello!  Today I am sharing a recent quilt finish that I made just for fun!


But first I want to share with you the inspiration behind this project.  This color palette was inspired by someone I follow on Instagram named Jerina (her Instagram handle is @quiet.sanctuary).  She is a beautiful soul who shares her heart in every post!  She shares her love of crochet, quilts, antiques, family and sourdough bread!  Plus, she is an amazing photographer and writer.


[The above photo is shared with permission from Jerina @quiet.sanctuary.]

I think the above photo might be the exact photo that stopped me in my Instagram scroll one day.  I love the crocheted blanket Jerina made.  Oh how I wish I could crochet!!!  I also loved the cozy, moody, yet sweet colors that Jerina used!  The faded and worn look that she captured in that photo was so soothing to my soul!  One morning I woke up and couldn't stop thinking about her blanket so I went to my sewing room and started playing around - trying to achieve that same look with fabric.


Around that same time, I had also been eyeing the classic Rail Fence/Roman Stripes quilt pattern.


So I decided to "kill two birds with one stone" and combine that pattern with those colors.
I cut some 2" x 5" rectangles and got to work.

Each block was made with three 2" x 5" cut rectangles so the blocks finished at 4.5" x 4.5".
I did a 13 x 15 block layout so my quilt finished at 59" x 68".  This pattern is a great way to use up scraps and is beginner-friendly!  


I love to reward myself with these kinds of projects once in a while.  It's good for my creative juices to do some mindless, just-for-fun sewing!  Plus, I just love a good scrappy, classic quilt pattern!


I used my stash and scraps for the quilt top but did end up buying the back and binding fabric.


The longarm quilting was done by my friend Jen Ostler in Highland, UT.  We decided on a pantograph called Moon Phases.  I had never used that one before but I felt like it matched the vibe of this quilt!


I wanted to name this quilt something other than Rail Fence or Roman Stripes because:
 A.) It didn't feel like a typical Rail Fence quilt (because the fabrics weren't making a secondary zig-zag design).  And B.) I just don't like the name Roman Stripes!

So I asked my Instagram followers if they could help me name my quilt!  I got tons of great suggestions but I finally landed on "Dawn's Delight".  It seemed to fit my color scheme, the quilting panto, and the pattern well.  The way the blocks are rotated just seems fun and well, delightful!  So thank you Janet (@janlynnsquilts on Instagram) for the name suggestion!


I took so many pictures...but I will share just one last one.


This was a fun project and I highly recommend making one of these quilts.
I plan to wash this soon so it will crinkle up and get even cozier!

Thanks for stopping by today!

Friendship Star Quilt

Wednesday, March 20, 2024

 Hello!  In December I shared a cutting chart + instructions for the Friendship Star quilt block in 6 different sizes.  Today I want to share with you the finished quilt that prompted that post.


A few months ago in my local quilt group, we had a member who fell and broke both of her wrists.  Some of us in the group thought it would be nice to make her a quilt to show her a little extra love during that difficult time.  We decided to use the simple, classic Friendship block because of its name and we asked everyone who wanted to participate to make 1 block in her favorite colors - pink and yellow.  Here it is all finished!


We made the 12" blocks from my cutting chart and got a total of 20 blocks.
So the finished quilt size is 48" x 60 - a nice lap-size quilt.


 This is a "friendship quilt" in the truest sense of the word.  Many friends made blocks.
I sewed them all together to make the quilt top. One friend named Grace quilted it and another friend named Melissa bound it.  It was a true joint effort!


I think the different shades of pink and yellow ended up so cute and using different low-volume fabrics for the block backgrounds was a scrappy, yet cohesive way to pull everything together!


I had this swallow print in my stash that I thought went perfectly with the front of the quilt.
It's from my first fabric collection, Treasured Threads.


What do you think?  Fun project right?  It's so nice to come together as friends/quilting community to do some good sometimes!  If you want the cutting chart and instructions click HERE.  It includes instructions for 6 different block sizes.  

Thanks for stopping by today.

Sawtooth Star Cutting Chart + Tutorial

Saturday, June 25, 2022

Today I have a little gift for you!
It's simple but hopefully, you'll enjoy it!
The Sawtooth Star block is one of the most basic,
yet classic quilt blocks around and today
I have a cutting chart for finished block sizes 3" - 20"!


Sawtooth Star Cutting Chart

FINISHED

BLOCK SIZE

BACKGROUND FABRIC

CUTTING

STAR FABRIC

CUTTING

3”

(4) 1 ¼” squares

(4) 1 ¼” x 2” rectangles

(8) 1 ¼” squares

(1) 2” square

4”

(4) 1 ½” squares

(4) 1 ½” x 2 ½” rectangles

(8) 1 ½” squares

(1) 2 ½” square

5”

(4) 1 ¾” squares

(4) 1 ¾” x 3” rectangles

(8) 1 ¾” squares

(1) 3” square

6”

(4) 2” squares

(4) 2” x 3 ½” rectangles

(8) 2” squares

(1) 3 ½” square

7”

(4) 2 ¼” squares

(4) 2 ¼” x 4” rectangles

(8) 2 ¼” squares

(1) 4” square

8”

(4) 2 ½” squares

(4) 2 ½” x 4 ½” rectangles

(8) 2 ½” squares

(1) 4 ½” square

9”

(4) 2 ¾” squares

(4) 2 ¾” x 5” rectangles

(8) 2 ¾” squares

(1) 5” square

10”

(4) 3” squares

(4) 3” x 5 ½” rectangles

(8) 3” squares

(1) 5 ½” square

11”

(4) 3 ¼” squares

(4) 3 ¼” x 6” rectangles

(8) 3 ¼” squares

(1) 6” square

12”

(4) 3 ½” squares

(4) 3 ½” x 6 ½” rectangles

(8) 3 ½” squares

(1) 6 ½” square

13”

(4) 3 ¾” squares

(4) 3 ¾” x 7” rectangles

(8) 3 ¾” squares

(1) 7” square

14”

(4) 4” squares

(4) 4” x 7 ½” rectangles

(8) 4” squares

(1) 7 ½” square

15”

(4) 4 ¼” squares

(4) 4 ¼” x 8” rectangles

(8) 4 ¼” squares

(1) 8” square

16”

(4) 4 ½” squares

(4) 4 ½” x 8 ½” rectangles

(8) 4 ½” squares

(1) 8 ½” square

17”

(4) 4 ¾” squares

(4) 4 ¾” x 9” rectangles

(8) 4 ¾” squares

(1) 9” square

18”

(4) 5” squares

(4) 5” x 9 ½” rectangles

(8) 5” squares

(1) 9 ½” square

19”

(4) 5 ¼” squares

(4) 5 ¼” x 10” rectangles

(8) 5 ¼” squares

(1) 10” square

20”

(4) 5 ½” squares

(4) 5 ½” x 10 ½” rectangles

(8) 5 ½” squares

(1) 10 ½” square


Click HERE for a printable version of this chart.
(Please do not redistribute this chart; it is for your personal use only.
But please do tell your quilting friends about this post so they can
check it out for themselves!)

Here's a quick tutorial on how to make a Sawtooth Star block:
(Please note: the seam allowance is 1/4".)

1. Cut out the required pieces for your chosen block size.


2. Draw a diagonal line from corner to corner on the wrong side of your smaller
squares from the Star fabric.  (You can skip this step if you have Diagonal
Seam Tape from Cluck Cluck Sew.  See product information for details).


3. Place a marked square on one end of a background fabric rectangle
with right sides together.  Stitch on the marked line.  Trim 1/4" from the line.  
Press the seam allowance toward the dark fabric.


4.  Repeat step 3 on the opposite end of the rectangle.  Make 4 Flying Geese units. 


5. Layout the 4 Flying Geese units, 4 background fabric squares,
and 1 large square from your Star fabric as shown.  Sew the pieces
together in rows.  Press the seam allowances toward the squares.


6. Sew the rows together and press the seam allowances toward
the block center.


And there you have it!  A very classic Sawtooth Star block!

Note: I am making 12" Stars for my project.  The cutoffs from making
my Flying Geese units are a decent size so I plan to
make those into Half-Square Triangles for a bonus project!

Also, if you are not using sashing between the blocks,
I would recommend pressing your seam allowances open.
I am using sashing between my blocks.

[6" Stars from my Two Stars a Day quilt]

I hope you find this cutting chart and tutorial
very useful, for many years to come!
Tag me on Instagram if you use them!
I'd love to see what you're working on!

Happy quilting!

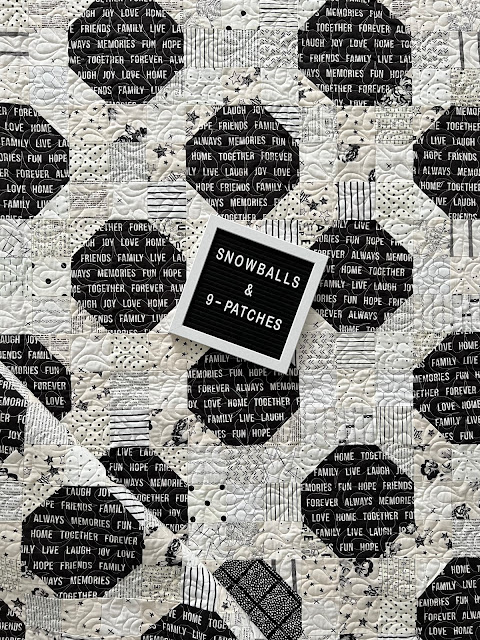
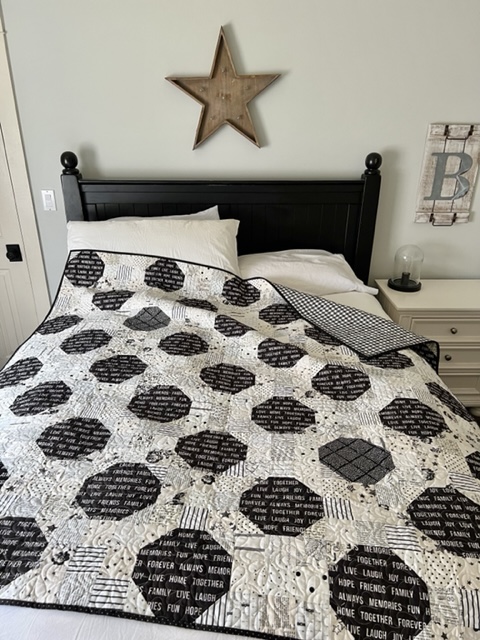
Snowball and 9-Patch Quilt

Monday, January 24, 2022

If you're looking for a quick, scrappy way to use up 
some of your fabric stash this is a great quilt pattern for you!


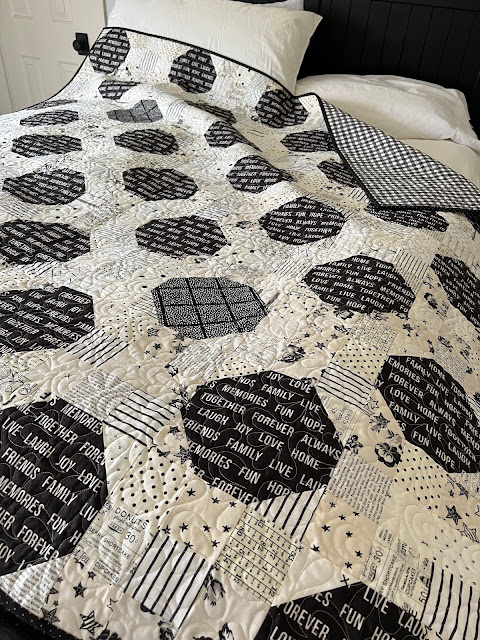
Snowballs (in this case a black square with cream corner triangles) 
and 9-Patches are a classic pairing that look great in any colorway!

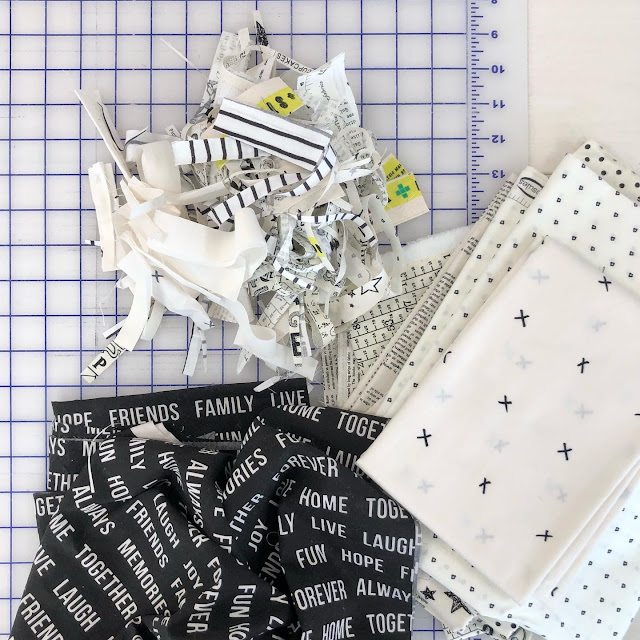
This project started because I had some of the black text fabric leftover
 from the back of my Giant Star quilt using the line Urban Cottage by
Urban Chiks.  You can see that post HERE (it's worth checking out, it's 
another super-fast, beginner-friendly project!)


I thought that fabric was cute (and it always feels good to use up random remnants
in my stash) so one day, as I was heading off to a sewing retreat, I grabbed it + some 
cream and black fabrics to go with it and ran out the door without a plan in mind.  When I got to the
retreat I asked my friends what pattern I should make with those fabrics and we quickly
landed on the classic Snowball and 9-Patch pattern.


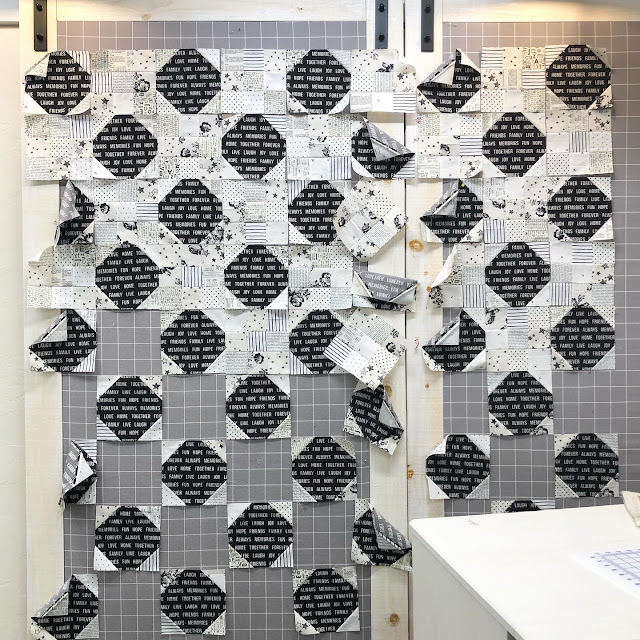
I did some quick quilt math (I'll share all those numbers below)
and got about half of the blocks made that day.


I was short just enough black text fabric to make 2 snowball blocks so I supplemented with 
another black fabric from my stash for those 2 blocks.


I had my friend Jen Ostler in Highland, Utah quilt it for me
with the Cassava panto.  I've used that panto a couple of times before; 
it's a good one!  A huge thanks to Jen for doing another fantastic job.


I did a 9 x 9 block layout.  The blocks finish at 7-1/2" each
making the finished size of the quilt 67-1/2" x 67 1/2".
This pattern is very easy to adapt to your own desired size.


FABRIC REQUIREMENTS
2-1/8 yards of black fabric for blocks
3-7/8 yards of assorted cream scraps for blocks
5/8 yard of fabric for binding
4-1/4 yards of fabric for backing

CUT
(41) 8" squares (black) for the Snowball blocks
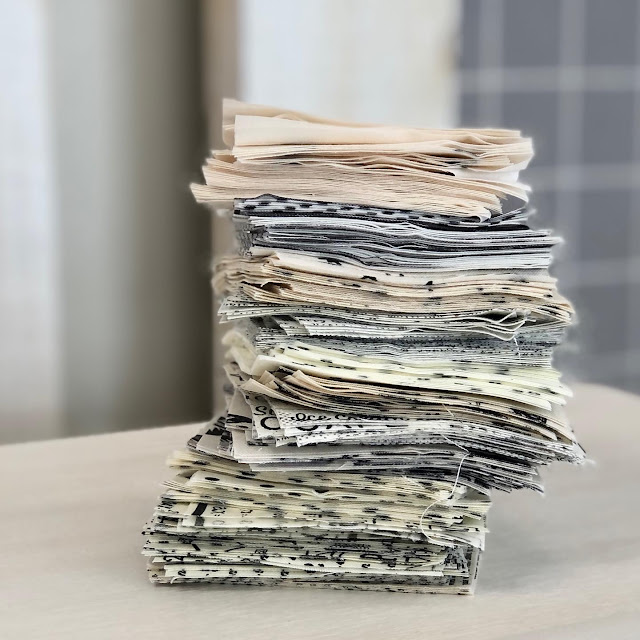
(164) 3" squares (cream) for the corner triangles on the Snowball blocks +
(360) 3" squares (cream) for the 9-Patch blocks for a total of 524 cream 3" squares.
8 strips, 2-1/2" x 40" for the binding

 MAKE
41 Snowball Blocks
40 Nine-Patch Blocks


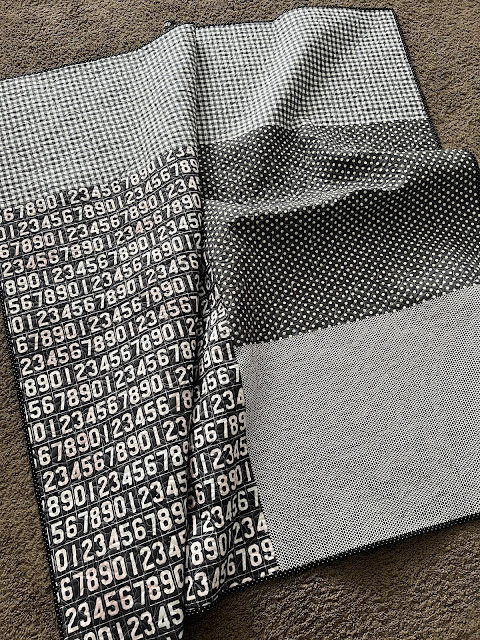
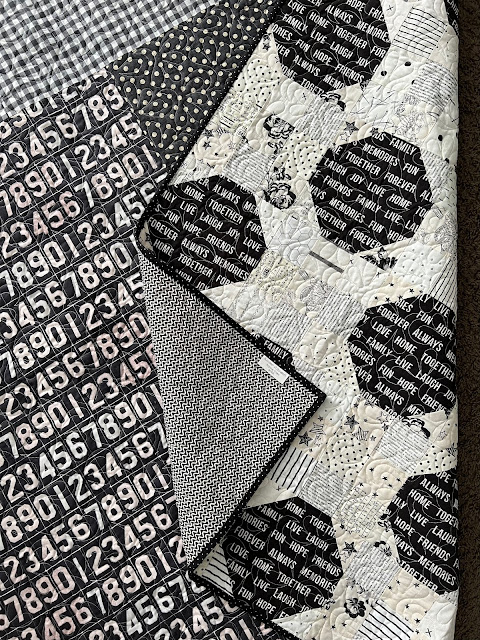
I actually used a few black print remnants from my stash for the back of this quilt.
It always feels so good to use things up!


The binding was from my stash too.  So if you're keeping
track, that makes this quilt 100% from my stash and that makes
me a VERY happy girl!


The labels I use are from Ever Emblem.
You can customize any of their labels.
I like the 2" cotton fold-over, sew-in labels.


My neutral, scrappy, make-do, classic loving heart is thrilled with how this quilt turned out.
I truly believe beautiful quilts can be made with high-quality CUTE
fabrics and a really simple pattern.

Hope you found some inspiration here today.
Thanks for stopping by!
Amber