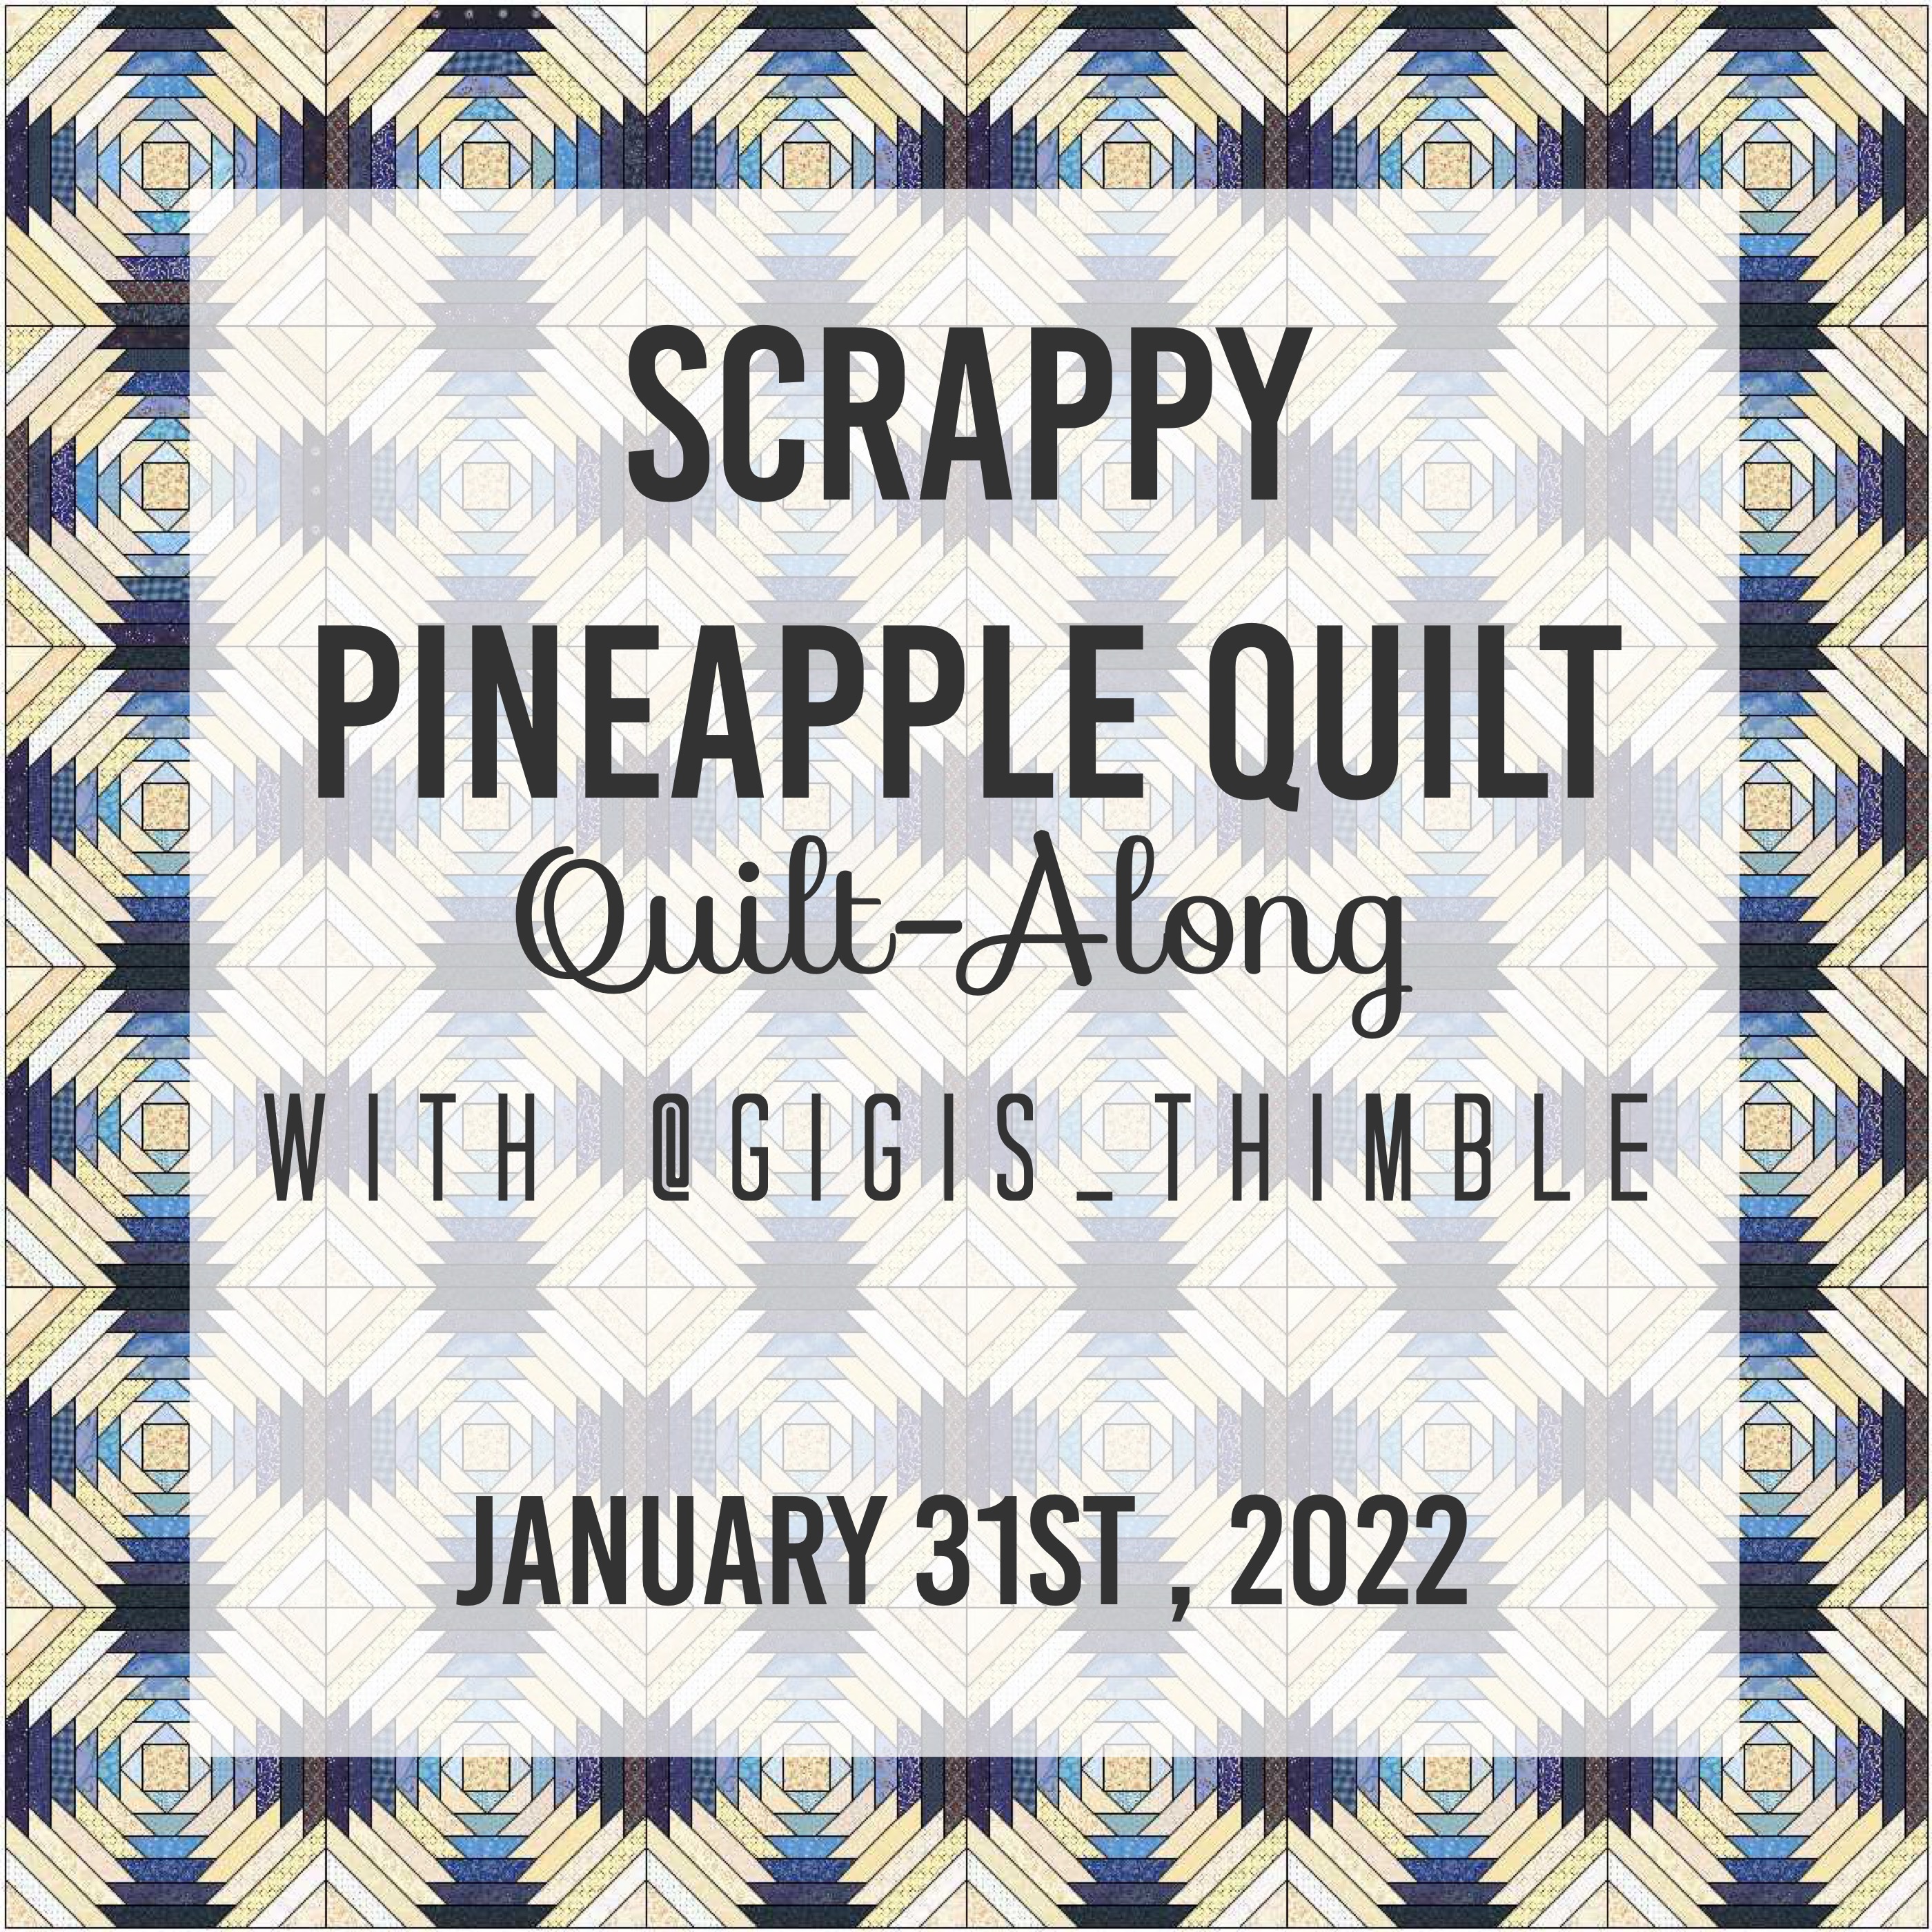
If you participated in the Scrappy
Pineapple Quilt QAL this past year this post is for you!
We are at week 33 out of 36 so it's time to start
thinking about how to finish your quilt!
1. Trim blocks.
Trim 1/4" from the black line/square
going around your "slices" as shown below.
.jpg)
2. Remove papers.
I prefer to remove the paper right before I sew the blocks together.
It would be very cumbersome to remove them after!
The only parts you have to worry about when doing this
are the stitches around the perimeter of the block that aren't
crossed over with another line of stitches to secure them in place.

To ensure the stitches don't come undone right there,
simply hold down the stitches (with one hand) where you're about to start
pulling off the paper and pull the paper off with your other hand. I have
some videos on this saved in my "Paper Piecing" highlight bubble on Instagram.
This is going to take some time so put on a good movie
(or let your kids work off some of their chores!)
3. Sew blocks together.
Lay out your blocks in a 6 x 6 layout.
Sew the blocks together into rows. Press the
seam allowances in one direction, alternating with each row.
Sew the rows together and press the seam allowances
in one direction.
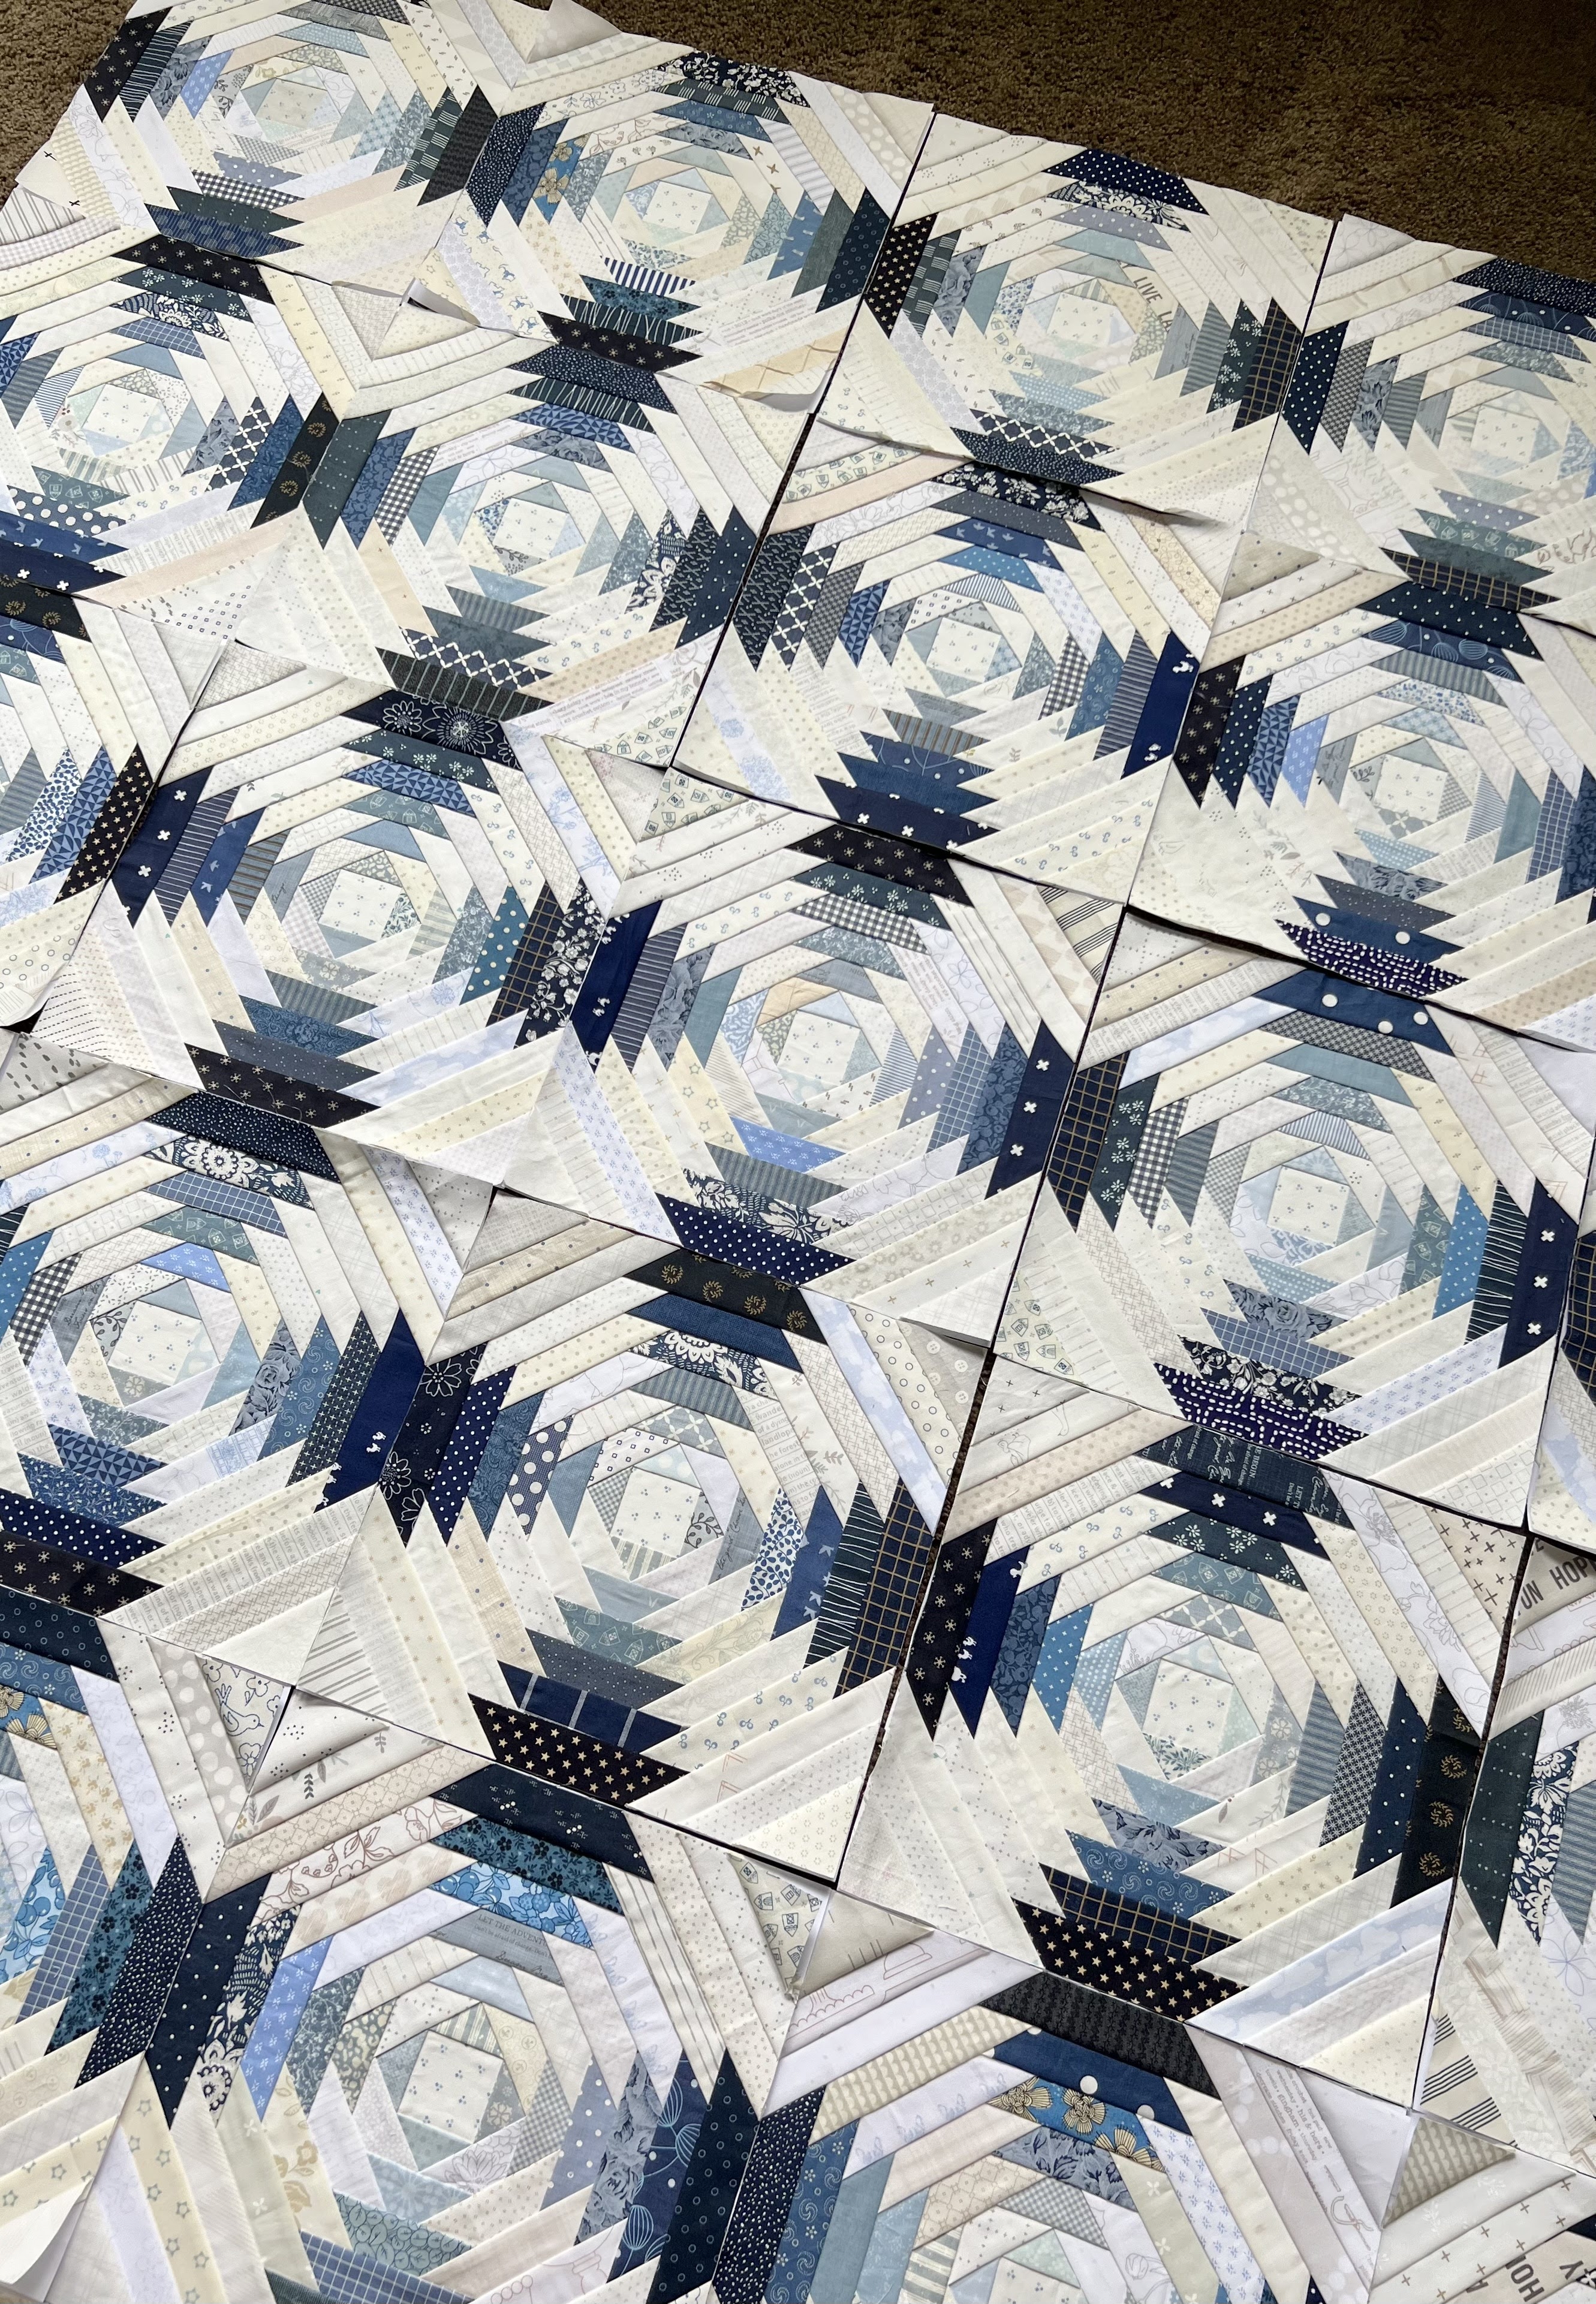
[This photo was taken a few weeks ago so I didn't have all 36 blocks done.]
Note: when you sew the blocks together, you will notice that the seams are going
in the same direction (they aren't able to nest, which is ideal in quilting).
There is no way to avoid this on this particular block. But don't worry! Just go
with it. You won't notice any bulk when your quilt is finished. Also, I didn't pin anything when
I sewed my blocks together. Everything is pretty exact due to the nature of
paper piecing - sewing on the lines, trimming the completed blocks
1/4" from the lines, etc. Just be gentle and try not to stretch your fabric/blocks.
FINISHING FABRIC REQUIREMENTS
I will share 3 options...
Note: WOF = width of fabric.
** Disclaimer - I did not have my editor review any of the above
fabric/batting requirements like I usually do for my wholesale/retail patterns.
I think they are all 100% correct but if you find any miscalculations
please email me at gigisthimble@hotmail.com so I can make the corrections.
1. No border.

This will finish at approximately 74" x 74".
Backing: 4-2/3 yards (cut 2 pieces, 84" x WOF)
Binding: 2/3 yard (cut 8 strips, 2-1/2" x WOF)
Batting: 82" x 82"
2. Inner and Outer Border.

This will finish at approximately 89" x 89"
Inner Border: 2/3 yard (cut 8 strips, 2-1/2" x WOF)
Outer Border: 1-7/8 yards (cut 9 strips, 6-1/2" x WOF)
Backing: 8-1/8 yards (cut 3 pieces, 97" x WOF)
Binding: 7/8 yard (cut 10 strips, 2-1/2" x WOF)
Batting: 97" x 97"
3. Inner and Large Outer Border for Applique.
This is for those of you that want to do something similar
to my original pink and green Pineapple quilt.
Note: if you decide to do this you will be on your own
for designing the applique pieces themselves.
Also, I did a 5 x 5 layout in mine. The following info is for
a 6 x 6 layout so you can use all of the blocks made in the QAL.

This will finish at approximately 96" x 96"
Inner Border: 2/3 yard (cut 8 strips, 2-1/2" x WOF)
Outer Border: 3 yards (cut 9 strips, 10-1/2" x WOF)
Backing: 8-2/3 yards (cut 3 pieces, 104" x WOF)
Binding: 7/8 yard (cut 10 strips, 2-1/2" x WOF)
Batting: 104" x 104"
QUILTING IDEAS
I will share 3 options...
1. Custom quilting.
This is the most expensive and time-consuming option.
Prices range depending on the design, density, and whether it's done by
computer or free hand. Sometimes, the turn-around time can be long too!
So get a price quote and estimated turn-around
date from your longarm quilter beforehand.
Work with him or her to choose some custom quilting designs
that suit you and your quilt. Or let them surprise you! Here are some
close-ups of my pink and green Pineapple quilt quilted by
Melissa Kelley (@sewshabbyquilting on IG) in American Fork, UT.
It was all free-motion quilted (not computerized). Her prices now start at
.06 cents per square inch and go up from there! She's an incredible quilter!


You can check out the rest of the details for that quilt HERE.
2. Semi-Custom Quilting.
My friend Susie Smart made a pink and green
Pineapple quilt recently and she gave me permission to share these
pictures of the semi-custom quilting she had done on her quilt.
Semi-custom is when a longarm quilter quilts one specific
design in each block and then possibly does something different on the border
and/or sashing. It's not an edge-to-edge design but it's simpler than
full-custom quilting. These 2 designs were done by computer.
.jpg)
.jpg)
Susie's longarm quilter was Camille Mendel in Sandy, UT and
she charges .04 per square inch for this type of project.
.jpg)
I think it turned out beautiful Susie and Camille!
If you're looking for more semi-custom quilting ideas,
I think this could be really cute as a block design on a Pineapple quilt:
3. Edge-to-Edge Quilting.
This is the least expensive option when it comes to hiring out your
quilting and it's what I usually do on most of my quilts. The standard
price for this in my area is .015 cents per square inch.
Check with your quilter for pantograph suggestions and prices.
Here are some ideas that I think would be lovely on a Pineapple quilt.
Most any kind of Orange Peel design would be really cute,
especially on a small scale. I like that it emphasizes the diagonals
of the pineapple block and that it's not directional.
Here are a couple of Orange Peel ideas or google,
"Orange Peel Panto" for other variations.


Cross Hatch Quilting would be another swoon-worthy
idea for your Pineapple quilt! It's simple yet so striking and classic!

Or straight grid quilting would be just as good!
I love this quilt so much! Photo used with permission
from @frannyharrington on Instagram.

This could be cute if you want something a little loopier:

Cat Eyes could be fun!

I've used this next one before on a quilt and loved it!
I would just discuss sizing with your longarm quilter and have him or her
make the space between the lines of the pantograph bigger
or smaller than the "slices" on your blocks so they don't compete with each other.

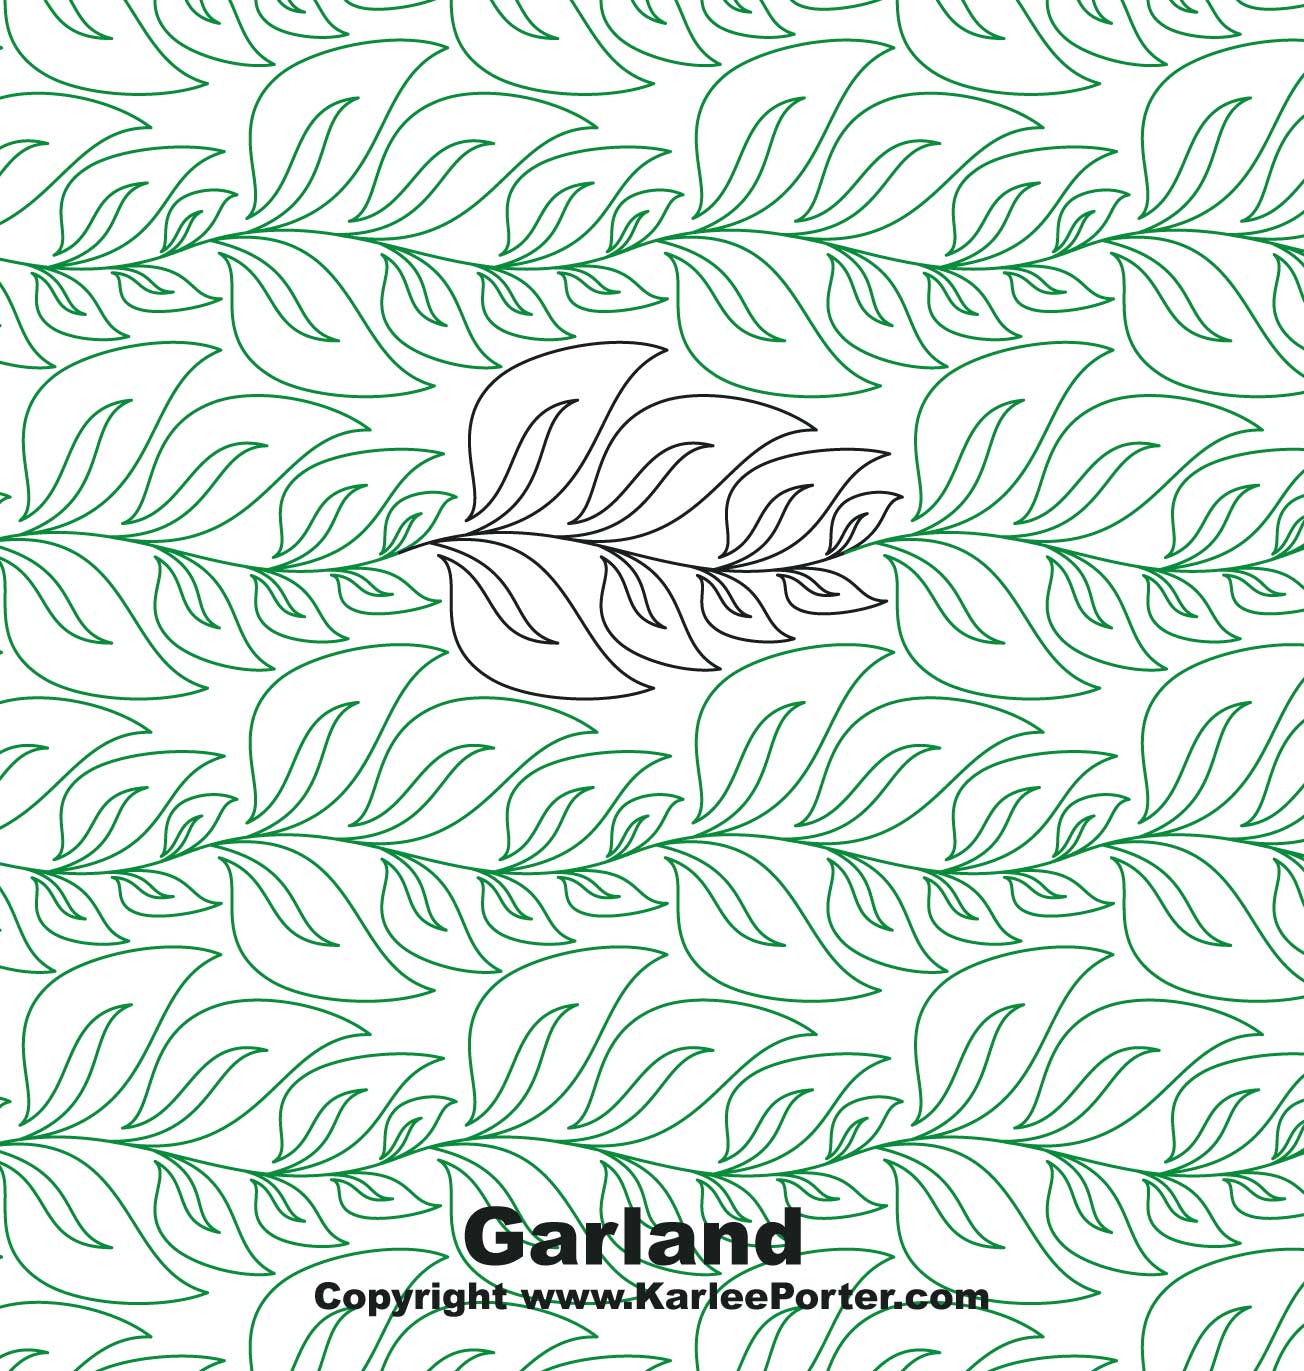
This next one reminds me a little bit of the custom quilting
that was done on the blocks of my pink and green Pineapple quilt.
It's called Garland.
Those are just a few ideas but I'm sure there are lots more out there!
If you click on the links you can sometimes see them quilted out.
Or just google those names to find similar-looking pantos.
Tell me, what are your plans for quilting your Pineapple quilt?
Well, friends, that was a lot of information!
I hope that answered all your questions on
how to finish your Pineapple quilt. Please let me know if you have
any other questions and good luck finishing yours!
I can't wait to see it. If you post about it on Instagram, please tag me
@gigis_thimble and use the hashtag #perfectpineappleqal
or you're welcome to email me photos at gigisthimble@hotmail.com.
RELATED LINKS:
Happy quilting!

Well I started off doing the block and then got side tracked. Dang it. I'll work on them while at retreat next month. Thanks for all the quilting ideas.
ReplyDeleteThat's a perfect project to take to a retreat!
DeleteWhat a great description of quilting options!
ReplyDeleteGlad you liked them and thanks for stopping by!
DeleteAmber
I really like either the cross hatch or the straight grid for the pineapple quilt. Do you know the spacing for each pattern like 1.5 or 2 etc.? thanks. Just love the both patterns.
ReplyDeleteThank you! The spacing on my blue and white grid quilting was 1". And I've had cross hatching done before but I can't remember what size, I'm thinking about 1-1/4" apart. It's a personal preference but I typically don't like spaces bigger than about an inch apart on my quilts.
Delete