Quilt - Along: Scrappy Pineapple Quilt

Sunday, December 26, 2021

I'm happy to announce that I am finally ready to host
a scrappy pineapple quilt quilt-along!


I've had the itch to make another pineapple quilt for a while now
and I think January 31st, 2022 is just the time to start!
 

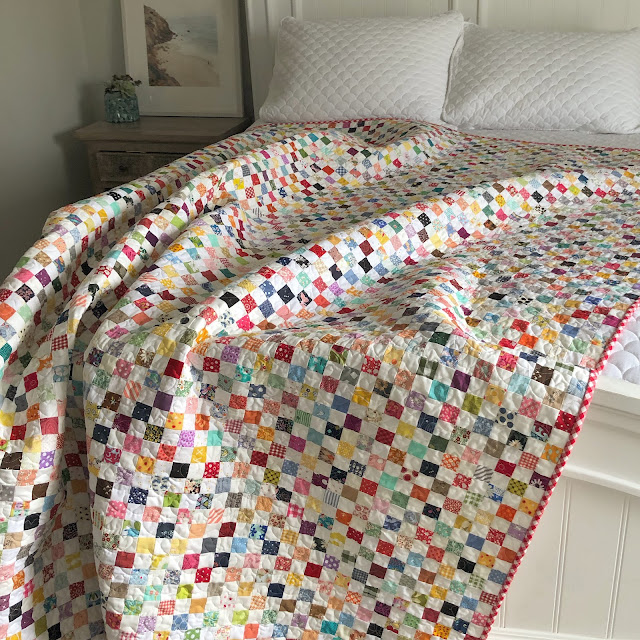
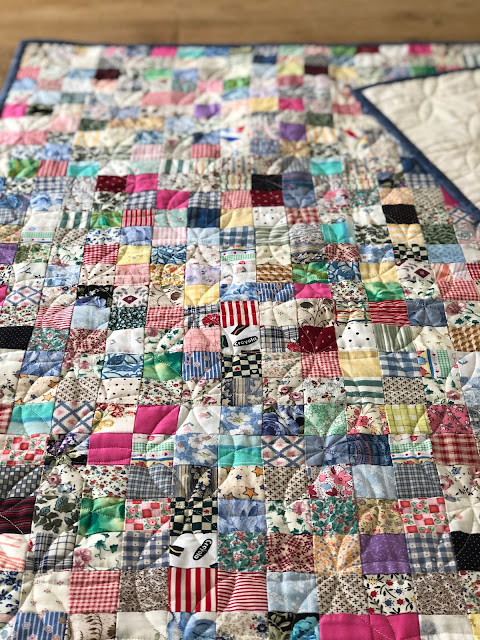
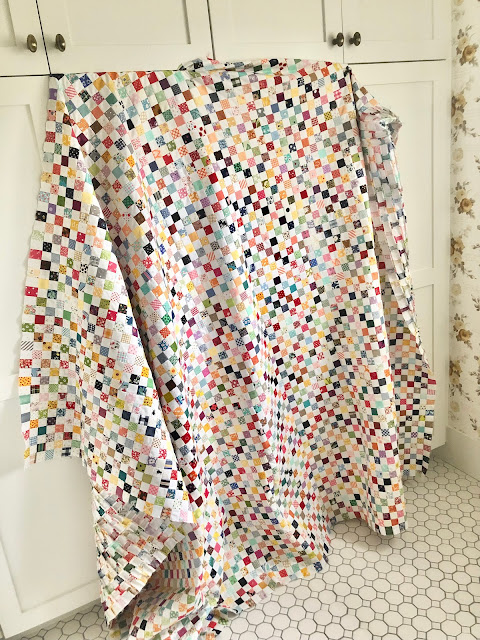
This pineapple quilt is a great stash buster!
We'll be using my paper-piecing papers to make this quilt so
this will be a great opportunity to learn a new skill!
My paper-piecing papers are oversized which make for big,
modern blocks.  They finish at 12-3/8" and come in a pack of 36 
(plus one master copy).  One package makes a quilt that finishes at
approximately 74" x 74" (a 6 x 6 block layout).
You can purchase them HERE.  Be sure to use the code
"QUILTALONG" at checkout for 20% off.  The code is good until
midnight on January 31, 2022.


This will be a slow and steady quilt-along.  We'll be making 1 block a week for 36 weeks.  
I'll post my blocks on Mondays on Instagram as a reminder for you to make yours for the week.


There won't be any sign-ups.  Just follow along with me on Instagram @gigis_thimble.
If you stick with me, by the Fall of 2022 you will have a finished quilt top!
There won't be any prizes either (haha, is this sounding really enticing???)
But no really, the prize is your beautiful quilt top!
And I'll be here every step of the way to answer questions and give moral support!
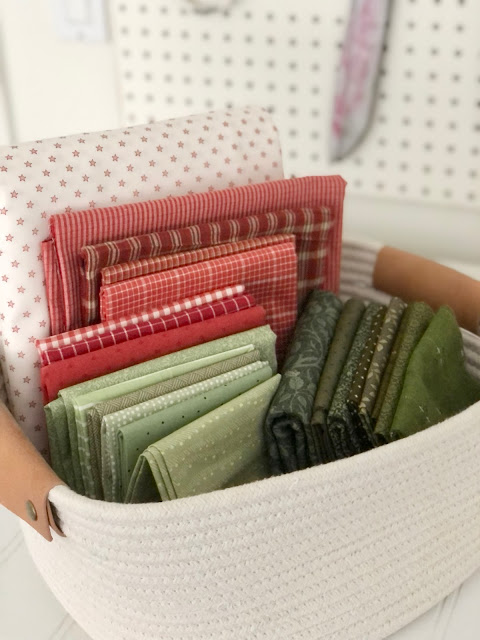

FABRIC REQUIREMENTS

For ease of mocking different options up in my EQ software and figuring out fabric requirements
I will give you fabric requirements for non-scrappy quilts (plus I know some of you want 
those requirements anyway).  If you want to make a scrappy version just add on 
20% to the amount required.

Referring to the block below you will notice that there are dark and light
 fabrics needed for this block.  You can place them as shown below or do the reverse 
(with the light fabrics on the sides and the dark fabrics in the corners).


If you want light fabric in the corners of your blocks you will need :
1/4 yard for the center squares
7-5/8 yards of light fabric
4-1/4 yards of dark fabric

When all your blocks are sewn together it will look something like this:

Or, if you want light fabric on the sides of your blocks you will need :
1/4 yard for the center squares
4-1/4 yards of light fabric
7-5/8 yards of dark fabric

That layout will look something like this:


Or, if you want to do two different colors in the corners for a layout 
that looks something like this, you will need:


1/4 yard for the center squares
4-1/4 yards of white fabric
4 yards of  color 1 fabric (navy)
4 yards of  color 2 fabric (light blue)

The above layout is very similar to my original pink and green pineapple quilt 
(except mine is scrappy).


Please note: I use a "grab-and-go" method of paper piecing.
That means I do not precut strip lengths. I think it would take up a lot of space
at my workstation to have all the pieces laid out and try to keep them in order.
It also takes a lot of time to precut everything.
So I cut as I go.  I'll show you how to do that in a YouTube video
I'll be airing on January 31st.  It will be a video tutorial showing the entire Pineapple
block paper piecing process so stop back by my blog that day for a link to that video.

HERE is a link to a Pineapple Quilt
coloring sheet in case you want to mock up your own version.

This is the inspiration for what I'm going to do.
My friend, Esther Avila made these blocks with my papers and I think they're gorgeous.
Blue and white - such a timeless look!


In case you're asking yourself if you can do this project, I would say the skill level 
required is a "confident beginner".

Each block takes me about 1-1/2 hours to make as there are 57 pieces.
Sounds a little intense right?  It's really not; it's just a little time-consuming!  
The good news is, the same step is repeated over and over so this is
a great pattern to learn/practice paper-piecing.  You'll get the hang of it really fast 
and you'll be a paper-piecing pro in no time!

I plan on doing a video tutorial the first week of the quilt-along 
to teach you how to make the first block.  In the meantime, you're welcome 
to check out THIS tutorial I did several years ago for the Pineapple Block.  
Note: I like to use 2" wide strips in varying lengths.  Start cutting/accumulating strips now 
so you'll be ready to start sewing on January 31st!


If you've always wanted to make a pineapple quilt now is the time to do it!
This quilt is classic and a real showstopper for sure!

Let me know if you have any questions about this quilt along or the project!
I can't wait to quilt along with you!

Postage Stamp Quilt

Friday, December 24, 2021

 Hi friends!  Today I have a really special (long) post for you!
Today I want to share a quilt that took me two years 
and about 85 hours to complete - my Postage Stamp quilt!


I got so many questions on Instagram every time I posted pictures of this project 
so I will try to cover all the FAQ's here.  First, let me start at the beginning...

THE INSPIRATION

My grandmother passed away in October 2019.  
She was the one who taught me how to quilt and who my pattern company is named after.
After she passed, my mom and aunt asked if I would finish a couple of the quilts she
had been working on so we could give them to family members.


This red, yellow, and green 9-Patch quilt one was one of them.  
I don't know the name of the pattern but I know it came from a magazine. I remember her 
working on this quilt over the years and I know each individual square finished at
3/4".  Can you believe that!?!  The quilt top was finished many years ago so I just got it longarm quilted (with a Baptist Fan pattern) and then I bound it by hand.  


The back was white with colorful buttons and the binding is black with red and yellow 
flowers on it, as you can see here.  The backing fabric was hanging with the quilt top 
in her closet and I believe I picked out the binding fabric from her stash.
This quilt went to my aunt Janet and her husband Dave.


The other quilt I finished at that time (I have 2 more I still need to finish!)
was this little baby quilt.  I think the squares finished at 1-1/4".  My aunt and I chose
the back and binding fabrics from my grandmother's fabric stash and then I had it 
longarm quilted with the Interlocking Orange Peel panto by Karlee Porter.


This quilt went to one of my cousins.


So after finishing both of those quilts made by my grandmother,
I was inspired.  I never thought I would make a Postage Stamp quilt;
too intense for me!  But I got the itch around that time to make something 
with tiny squares and a little while later I made my first blocks.


CUTTING

I cut 1-1/2" squares that would finish at 1" each.


I did not do all my cutting at once.
I found that I liked to cut batches of squares, both bright and white, whenever
I was running low or got tired of the ones I had in my pile.  It was a nice
way to break up all of the sewing.  


When I was actively working on my
Postage Stamp quilt I would keep piles of squares by my machine so I could
easily grab and sew.  I didn't put too much thought into what fabric went where.
I just tried to space out colors to create balance.  When I needed a break from
that project I simply put the squares in a ziplock bag.  They didn't get wrinkly
so it was easy to pick up where I left off the next time I was ready to work on my quilt.

FABRIC

I used lots of different whites, creams and low volumes for my
"whites".  If you look closely at some of the following pictures you'll be able to tell.  
From far away, everything reads as white but the quilt still has a really scrappy 
feel to it.  Plus it was a great way to use up scraps!  
As far as the brights go, I used alll the colors.  My only requirement was 
there had to be enough contrast between the brights and whites.  There are several fabrics
of my grandmother's in this quilt.  Including a few squares that have remnants of
her embroidery!  Those are my favorite!


ASSEMBLY


There are several ways to assemble a Postage Stamp quilt.

You can strip-piece units together.  But since I used scraps for all of my pieces
I cut squares and sewed them together one-by-one.  I didn't mind; in fact
I preferred to do it that way so it would be extra scrappy!  But of course, you
could strip piece if you wanted.


For the most part, I chain-pieced rows together to make regular, small 9-Patches (above).
I made some that had brights in the corners and some that had whites in the corners.
This was such mindless sewing and I quite enjoyed it!  Immediate satisfaction!  
Then I sewed nine of those 9-Patches together to make big 9-Patches that had
81 squares in each block.  I figured out it took me about 45 minutes to make a block
(maybe about an hour with cutting).


Towards the end of this project, I switched from making small 9-Patches to just
chain piecing squares together to make a row for the big 9-Patches.  I started by sewing tons
of pairs of bright and white squares together.  When I got bored I separated the pairs 
and then sewed them together to make units of 4 squares each.  
Once I had all those sewn together I sewed 2 of those units together plus one extra 
square to make a row of 9 squares.


PRESSING

After I made each block row, I pressed the seam allowances toward the dark/bright fabrics.
After I sewed the rows together, I pressed the seams open.
I pressed everything as I went.  It may seem daunting but I honestly
got faster the more I did it.  It really wasn't too bad.  I definitely
recommend pressing as you go and pressing the seams open will help your 
quilt lay nice and flat.

Quick side note here:
I never pin when I piece. If you're really accurate in your cutting
and piecing all of your seam allowances should be able to nest together nicely.
I'm sure that saved me a lot of time while making this quilt.  I have some tips saved
in my Instagram highlight bubbles on precision piecing and cutting.
Check it out @gigis_thimble.


As I worked on this project, I found it helpful to set little goals for myself.  I started by 
making two blocks and kept trying to double the number of
blocks I had until I finished.  One month I challenged myself to 
make 100 little 9-Patches and towards the end of this project, I challenged myself to make 1
big 9-Patch a day until I was done making all of my blocks.  I always tell myself,
"A little progress every day adds up to big results!" and that is definitely the case
with a Postage Stamp quilt!


Because there are a gazillion seams in this quilt, it is heavier than normal.
The seams can start to stretch apart because of the weight and become 
harder to match up.  So I would recommend that you make two halves of your quilt; 
press the row seams and then sew the 2 halves together to complete your quilt.

Here I am at the halfway point:


And here is the finished quilt top.  An exciting moment!


FINISHING

I bound the quilt in this red and white gingham fabric that I had in my stash.


I also had this rainbow fabric in my stash that I had bought recently for another project (that didn't turn out how I wanted so I gave it away).  The fabric is 55218-20 from the fabric line Shine On by Bonnie and Camille for Moda.  I used it for the back of my quilt and I love it.


My friend Jen Ostler quilted it with the Scribble Hearts panto.
She always hides an object in her quilting for her clients to find so this time
she did a rainbow.  It took me forever to find but I think it's darling.
It's much easier to find from the backside of the quilt than the front!


One of my Instagram followers sent me a picture of her Postage Stamp quilt that had been
quilted with the Scribble Hearts panto and I thought it was sweet and fun so I decided
to do the same on mine.  I love the quilting community where we can all 
inspire and learn from each other!


I've been buying custom quilt labels from Ever Emblem for the last couple of years.
I get the 2" cotton fold-over, sew-in labels and I've been really happy with them.
They're really inexpensive and a quick way to label your quilt.


Well that's it!  I think I addressed all of the FAQ's!  Please let me know if I missed anything.
Just to recap here is a quick breakdown of all of the details...

DETAILS

Finished size of individual squares: 1".
Finished quilt size: 72" x 90"
Total number of big 9-Patch blocks: 80
Layout: 8 x 10 blocks
Total number of 1" squares: 6,480
Start date: December 27, 2019
Finish date: November 3, 2021
Longarm quilter: Jen Ostler in Highland, UT (@drycreekquilter on Intstagram)
Quilt panto: Scribble Hearts
Hidden object in the quilting: rainbow
Backing: Rainbow 55218-20 by Bonnie + Camille for Moda
Approximate time to make this quilt: 85 hours
Batting: 100% cotton
Machine pieced
Hand-bound
1/4" seams


I hope you enjoyed this post!
Like I said, please let me know if you have any questions.
I'd love to know what you think about this project
and whether or not YOU might make a Postage Stamp quilt someday!

Happy quilting!

Christmas Kaleidoscope

Friday, December 10, 2021

 I'm back and today I'm sharing something I'm super excited about!
A new Christmas pattern!  It's called Christmas Kaleidoscope!


It started with this beautiful, scrappy bundle of fabrics.
The reds are mostly wovens and the greens are an assortment
of dark and light greens from different fabric lines.


The white fabric with red stars is from the fabric line, Stars and Stripes
by My Mind's Eye for Riley Blake.  That was my background fabric.


Green 4-Patches make up the Holly blocks.


I've paired them with some fun Star blocks to make a really pretty, 
classic Christmas quilt!

Here are some test blocks with a dark background.
Which background fabric do you like better?  I can't decide!
 

Christmas Kaleidoscope was quilted by Jen Ostler in Highland, UT.
The pantograph I chose was called Sprigs of Holly.  I really like it and think
it goes well with the overall feel of quilt.


Jen always hides a little image in the quilt for her clients to find.
Do you see the little Christmas tree (above)?  Isn't it so cute!?


This pattern is beginner-friendly and I think it's a fun way to incorporate 
red and green into an Irish Chain-style quilt.


Christmas Kaleidoscope comes with instructions for two different
size quilts - lap (48-1/2" x 48-1/2") and full (80-1/2" x 80-1/2").


I've been keeping this quilt at the foot of my bed during the day and snuggling 
under it at night.  It's been so cold here in Utah lately!


Well, that's Christmas Kaleidoscope!
I'd love to hear what you think in the comment section below.


You can purchase the paper pattern from my Etsy shop HERE
or the PDF pattern HERE.

Thanks for stopping by today and please let me know if you have 
any questions about Christmas Kaleidoscope!
Happy holidays, friends!