Socks

Thursday, September 29, 2011

Hey ya'll.  We just got back a few days ago from a little family vacation to D.C. and New York.  It was great, but I'm glad to be home :)  Apparently I'm getting old because I think I need to see a chiropractor after all that walking.  I think my hip is out of joint!  So today I'm just taking it easy, doing some laundry and hoping to get in some quilting time.

I'll post about our trip later, but while I'm gathering pictures off of the three cameras and 1 phone that we used while we were there, I thought I'd share my status on an old WIP that I got to working on last night. 


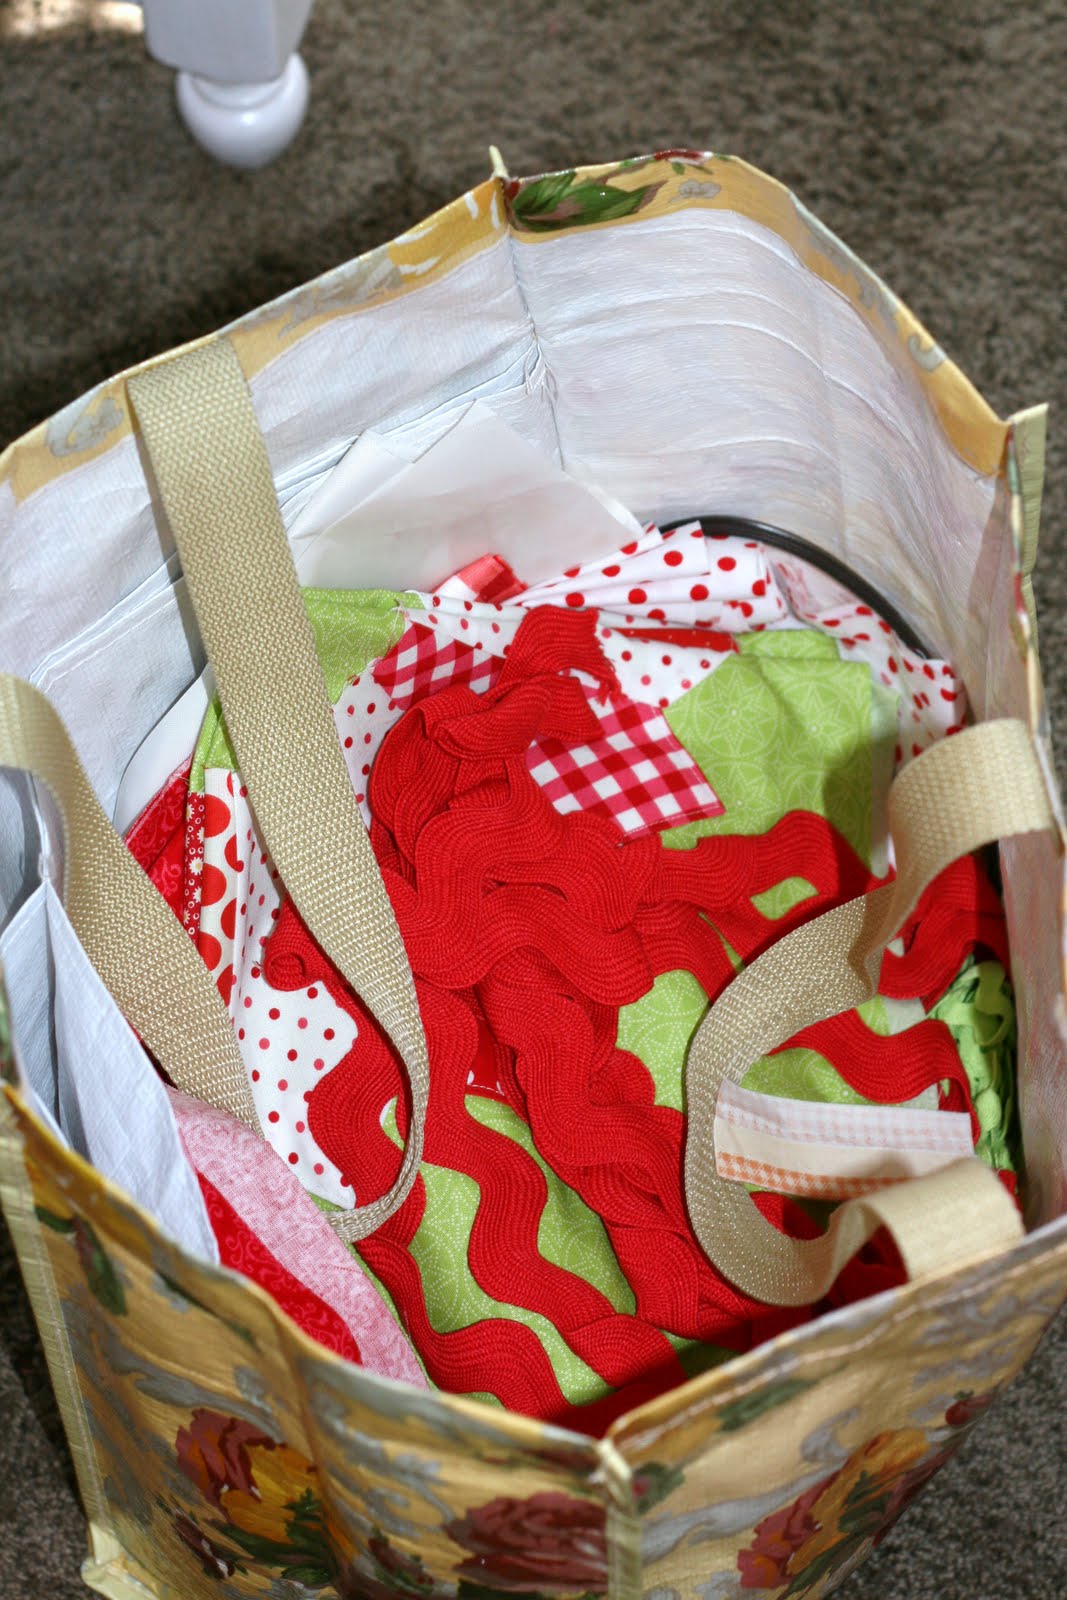
It's a BOM project that my LQG did last year (yeah, I'm just a year behind).  I only have Decembers blocks left to do though and I was just tickled at how cute they are.  They're "stockings"!


I got them all prepped and ready to hand applique last night.
Aren't they fun?  There will be four on my quilt - one for each member of our family.

So.  I had a vision.  Wouldn't it be fun to make a whole quilt of just socks?!?  It could be a great stash buster and think of how scrappy it could be!  It would be so cute!  I'm thinking I would like to make one in lots of creamy neutrals as the backgrounds with some muted greys and blues and reds for the socks (hmmm...that might be the perfect project for Sweetwater's Hometown line.  Love that line!)   It could even go in a laundry room!  OR, it would even be cute to make 25 socks/stockings in Christmas colors for a Christmas quilt! 


It just never ends does it?  My list could go on and on.

So what do ya think? 
Would you care to join me on a mismatched sock quilt along? 

~ Amber

Jolly Halloween

Tuesday, September 20, 2011

Remember this?
I got it back from my quilter a couple of months ago.
Some how it got passed me to share it with you.
Then I figured I might as well wait until it got a little closer to Halloween.

"Jolly Halloween"
38" x 54"


Great quilting by Kaylene Parry! 
(Lehi, UT. 801-404-8876)


A feather in the border.


Binding = ticking, not biased!


A cute little label by Riley Blake and hand embroidered info. finished off the quilt nicely.  This quilt was a long time "in the works".  I love that it's finally finished.  Just in time.

A few more details about this quilt can be found HERE.

P.S.  My last year's Haunted House quilt was featured on the blog, Quilt Inspiration the other day.  You can click HERE to check it out (if you're in a spooky sort of mood :) 

Are YOU working on any "frightful" kind of projects?

Happy Quilting!
~ Amber

Every Which Way

Monday, September 19, 2011

I'm way overdue on giving this pattern a proper introduction but here it is.
Every Which Way ~
The perfect pattern for that busy little boy on the go.


It's simple-to-piece and absolutely "all boy".


One little thing about this pattern that makes me just a wee bit happy ~
the fact that you don't have to piece the back!  She finishes up at 37" x 51".  It's the perfect crib size!  Or drag around town size. Or pull your sibling across the wood floor size.  Well, you get the idea. 

I decided to do my binding the same as the background fabric (just for a change) but of course you can do yours in a contrasting fabric if you want yours to "pop"!


I based my arrow color scheme off of Hullabaloo by Urban Chiks for Moda, but I LOVE that this can be done up in a million different color combinations.  And I especially love that it would be a great stash buster quilt!


I think this quilt is perfect for every boy ~ big or small.  Even my little eight-year-old is dying to call this quilt his own.

For the next 24 hours this pattern is 25% off in my shop.  Sorry, it can't be longer, but after that I'll be on a plane headed east.  Just type in the coupon code: EVERYWHICHWAY at checkout.

Keeping it Real

Tuesday, September 13, 2011

**WARNING: Be prepared to be appalled.**

I'm embarrassed, but welcome to my sewing room...


It's in need of a major makeover, as you can see.  It's a disaster and it's not working for me.  Notice: pig butt on the cutting table with a halo around it's neck.  I think that became a fixture in the room when my daughter decided to set up shop behind my design wall a month or so ago.  I remember her saying something about "needing decorations".  Enter pig.


Things are strewn all about; only making room for any immediate cutting or designing that needs to be done.  Things aren't getting put back in there homes.  Apparently my life is a whirlwind.


I'd like to introduce my "Mary Poppins" bag that I take to work with me.  There's probably 5 "in-the-works" projects in there.  Just keep digging and digging.  You'll find all sorts of stuff in there. 


One little thing that brightened my day today ~ I sat down to sew for a few minutes this morning and found this little surprise waiting for me.  Oh, Little Missy is such a sweetie...She melts my heart.


Right next to the sweet note is this mess.  Can you believe I've been working in this kind of environment?   Agh!!!


On the design wall?  A little Halloween something that I've been working on.  Just a sneak peak for now.  I'll show you more soon...


Gotta piece the back and then off to the quilter she goes!


You'll have to excuse all of the ugly pictures, but that's what's going on here today.  You might be able to relate all of this freaking out and procrastination to the fact that I have to teach a class tonight on "How to make Cake Pops and decorate cupcakes".  Do you think I have made cake pops before?  No.  Do you think I am a professional baker?  No.  Wish me luck...   

Any tips for keeping your sewing room in tip top shape?  Seriously.  I need help.  Anyone want to come over and give me a free makeover?  I guess I just need to set aside some time to clean.  But for now, I am off to decorate cupcakes for the afternoon.

Hope you have a wonderful day.
(And I promise, next time, I will be a much happier girl :)

~ Amber

Side & Corner Setting Triangles

Monday, September 12, 2011

Do you ever set blocks "on-point"?

Once in a while I do (see examples here and here).  I feel like it can really take things up a notch, especially when you're dealing with simple blocks (like in my second example).  With my latest quilt top finish I, again, set my blocks on point.  I just liked the look of the star from that angle, rather than having the quarter-square triangle at the top of the star. 


The only problem with setting blocks on-point is that you have those darn side and corner setting triangles to fill in.  Sometimes it can be a guessing game to figure out just how big to cut those triangles.  A sure fire way to make them the right size is to cut one plain block (out of your background or "setting" triangle fabric) for each end of each row.   Then (after all of the rows are sewn together) trim off all the excess a 1/4" outside the outer point of each block. 


But still, kind of a pain because you end up wasting a lot of fabric that way.

So you can imagine the excitement when some of the girls were out shopping during our quilting retreat a few weeks ago and a fabulous sales lady introduced them to the EZ Flip 'n' Set ruler.  It's such a snap.  All you have to do is look on the outer edge of the ruler to find your finished block size.  On the inside edge of the ruler it tells you what size strip to cut for side setting triangles.


Cut your strips of fabric.  Line your ruler up on the strips according to the finished size block you want and then follow the outside edge of the ruler to cut triangles, flipping the ruler with every new cut!


It takes the guesswork out of side and corner setting triangles.
So simple. So much less fabric waste. So fast!


Unfortunately, I think I was the only in the group that didn't buy it.  I must have been at home sewing while some of the girls went out and discovered it.  But after borrowing my neighbors, it is definitely on my list of "must haves"! 

Just thought I'd share :)

~ Amber

Let's Talk "Beds"

Wednesday, September 7, 2011

 Why is it that kids like to take pictures of anything and everything?  They'll take pictures of a blank wall, a computer screen, a pile of junk, the floor...

Well yesterday afternoon I walked into my little girls room and found her making her bed.  Weird right?  I mean, I hadn't even asked her to!  Normally it's like pulling teeth to get her to clean her room.  I guess it struck me as a little odd but I didn't think too much about it.  A little while later I went to get my camera and it wasn't where I had left it.  I finally found it upstairs on the kids sofa.  When I went to pull some pictures off my camera last night I found a plethora of wonderful pictures that my little girl had taken, including this one:


I'm glad she loves her bed (and my camera).  Whatever inspires her to clean her room is fine by me though :)  At least she had the sense to make the bed before she took a photo. 

So yesterday, I mentioned a little bit about an awesome Labor Day deal I scored on a queen size bed.  Here's the bed and here's the deal:


I found a very similar bed at an outlet store for $399.  I almost bought it for our guest room until my husband told me to slow down :)  You see, I was hoping to buy the $399 brown bed for our guest room as well as another queen size white bed for my daughters room.  But as always, my conservative husband pulled back the reigns.  So I didn't buy either bed, but I did continue on my merry way to look for the best deal on a white bed.

I went to about 5 stores and then at the last shop that I had planned on going to yesterday ~ I saw it.  Sitting on the front porch of this cute little barn/furniture store.  I saw the magic words:
"For Sale", "Queen" and "$150".  It also said, "small crack and scratch".  Well, we looked all over and this is all we could find: 


There was no crack.  Just a couple of little scratches that a little wood stain could fix.  Simple enough, right?  My mom guarded it while I got a sales person and after making sure it really was everything I had hoped for (and getting the go ahead from the husband) ~ I bought it!  I can't believe my deal.  It was less than HALF of the price of the original bed.  I guess it pays to shop around!

I think the new bed will go really nicely with this quilt I just finished. 


But now I need your opinion.  Wall color ~ what do you think?  Green?  Aqua?  Brown? Blue? Beige? What would you do?

Oh, and in case any of you are curious, this is the head board/foot board that I bought for my little girl.  It will be here in about 4 weeks.  Try to picture it with the French Roses quilt (from the first photo in this post). 


I may need your opinion on paint colors for that room too when the bed arrives.  Stay tuned :)

Oh, one last thing ~ I've had a couple people tell me that they've tried and couldn't leave a comment on my blog.  If you are experiencing that problem, will you please send me an email at adctd2qultng@gmail.com?  I LOVE to hear from you and definitely want to fix the problem if it's happening more than I realize.  Thanks!  ~ Amber

GO! Baby

Tuesday, September 6, 2011

A sweet friend gave me these fabrics a while back as a b-day gift 
and I've been wondering what to do with them ever since.  


So when the generous people at Accuquilt contacted me a few weeks ago to see if I wanted to do a review on their GO! Baby Fabric Cutter, I knew that

A.) I couldn't pass up the opportunity to see what all the "GO! Baby hype" was about and
B.) I was definitely going to use these fabrics and my new GO! Baby to make a little something for our guest bed.

To be honest, I was a little nervous to agree to review the GO! Baby. I didn't think one little cutting device could ever be worth $139 dollars.  I'm a little cheap that way :)  I was worried because I am not easily sold on gadgets and tools and such so I wondered if I would be able to give it a good review???

But, boy can I tell you that it's a gift from heaven!?!  I ordered three dies, one of which was the quarter square 4" finished triangle.  I haven't done a lot with quarter square triangles, but they're great for making basic blocks such as the hour glass, bow tie and broken dishes so I knew it was a must have!


I LOVED that I was able to easily cut through 6 LAYERS of fabric at a time (with minimal waste)!  That saved me HOURS of cutting time!


The best part?  Pre-cut dog-eared corners!!!  That's right ~ the quarter square triangle die is designed so that the corners are already M.I.A. ~ so no trimming!


Another great feature about the GO! Baby is it's portability!  It was the perfect size for taking on my quilting retreat a few weeks ago.  It hardly took up any space at all in my laundry basket of stuff! 


That weekend, I was able to make about 40 of the 50 stars that were needed to make my queen size guest bed quilt!  Whew!  It's been a while since I've made a quilt that big!!!  Having the GO! Baby made this a really quick project (which is great for a girl like me).  It left me more time for more quilts (or, more time for cooking and cleaning...however you want to look at it). 

Here's just a sneak peak of the finished quilt.  You'll have to come back tomorrow to see the finished top along side the awesome deal I scored on a headboard/footboard during yesterday's Labor Day sales!

 
So, to sum it up, I am now converted to the GO! Baby.  And, if you know me at all, I don't normally spend money on these kinds of things.  But from this project alone, I think the GO! Baby is a great investment.  Especially for basic dies that you know you will use a lot.  I'm looking forward to getting more dies and playing with the three I already have.  Can't wait to share more of my GO! Baby projects with you!  Check out accuquilt.com for more details!
 
If you'd like to receive
Accuquilt emails and 22 FREE QUILT PATTERNS,
click here.    I just did.

Parfait Cookies

Thursday, September 1, 2011

These are my favorite chocolate chunk cookies.
The secret ingredient?
Symphony bars and almond extract.
So yummy and so easy.

Here's what you'll need:


3/4 c. sugar
3/4 c. brown sugar
3/4 c. butter, softened
2 eggs
2 tsp. almond extract
3 cups flour, divided
1/2 tsp. salt
1/2 tsp. baking soda
2 large Symphony bars (with almonds and toffee)

Preheat oven to 350 degrees.

In a large bowl, cream together the two sugars and butter.


Beat in the eggs and almond extract.


(Don't I have a cute little helper?)


In a small bowl, combine 2 (of the 3) cups of flour with the salt and baking soda; add to the butter/sugar mixture and combine.


Using a wooden spoon, add the additional flour so that the dough just barely ceases to be sticky (I always end up adding the entire remaining cup).


Chop up the Symphony bars into half inch chunks.


Stir in chocolate chunks with the wooden spoon.


Drop by heaping teaspoonfuls onto a greased baking sheet.


Bake for 7-9 minutes or until done.  Do not over bake (the key is to almost under bake).  Cookies should have just a tinge of brown but mostly remain white, soft and high.


Enjoy!


This recipe makes about 3 dozen cookies.

** I always like to have a couple of Symphony bars and almond extract on hand for this recipe.  It's so quick and easy and a fun change from the usual chocolate chip cookies (which I am not a HUGE fan of). 

 ~Thanks to my friend, Brooke, for giving me this delicious recipe!