Holly Jolly Block of the Week

Sunday, February 27, 2022

 Hi friends!
Today I want to share a project I finished recently
that was designed by one of my Instagram friends, Jessica Dayon.
I've collaborated with Jessica before HERE and HERE and I'm
always amazed at her proficiency and creativity!
She is so generous with the number of free patterns and quilt-alongs
she offers and she truly has a great eye for design.
Last year Jessica offered this sampler pattern called the 
Holly Jolly Block of the Week.  She used the Holly Holiday fabric line
by Christopher Thompson for Riley Blake.  The pattern was offered through a free
quilt-along Jessica hosted and the pattern is still available on her blog HERE.
I decided to go a completely different route than Jessica and use blues, creams, and
browns instead of traditional Christmas colors.  I had in my stash, this Nature's Basket 
layer cake by Blackbird Designs for Moda that I wanted to use.  I love seeing how different 
a pattern can look through fabric/color choice!
I also pulled a lot of coordinating fabrics from my stash 
to make it extra scrappy!
I found it helpful to tape the blocks to my wall so I could
determine color placement as I went.  There were so many fabulous
block patterns included in this pattern.  I would love to make full quilts 
out of several of them.


Sampler quilts provide a great opportunity to learn and stretch our skills!
I seriously LOVED making each and every block!
You may have noticed that this flower block is not in the original version of the
Holly Jolly Block of the Week.  I omitted the 3 tree blocks and used this pattern
that an Instagram follower sent me.  She used one of Corey Yoder's flower patterns with my 
Summer Stars block as the center!  I appreciated her sharing the idea with me and 
think it turned out pretty cute!
Two other changes I made to the pattern -
1. I kept the week 6 Peppermint Bark blocks as Pinwheels (not peppermint candies).
2. I enlarged the outer border from 3" finished to a 5" finished border so I could
use up the last of the light blue floral fabric I had in my stash.
I had my awesome quilter, Jen Ostler in Highland, Utah quilt it with an all-over
swirl and feather design called Citrine.  Sometimes I lean towards custom quilting
on a sampler quilt but I think the all-over quilting keeps the focus on
the quilt blocks instead of the quilting.  I'm really happy with the quilting on this.  Thanks Jen!
For the back of my quilt, I used this tan and white plaid fabric that
I received from my grandmother after she passed away.  I love it and
think it's perfect for this quilt!
(I just have to throw in this cute picture of my sweet dog Molly in front of
my Holly Jolly quilt.  She's my little sidekick.)
I absolutely loved making this quilt and I'm so happy
with the way it turned out.  I highly recommend it if you're looking 
for a way to try out lots of different blocks and expand your skills!
Visit Jessica's blog HERE for this free pattern and many more!
Thanks for stopping by today!
Scrappy Pineapple Block Video Tutorial

Monday, January 31, 2022

 Hello!  It's week 1 of the
Scrappy Pineapple Quilt Quilt-Along and I am so excited
to finally get this party started!


There are over 300 of you who have joined the QAL.
I can't wait to cheer each other on and see all of your
beautiful Pineapple quilts come together over the next 36 weeks!

Thank you for joining me on this venture and thank you for your 
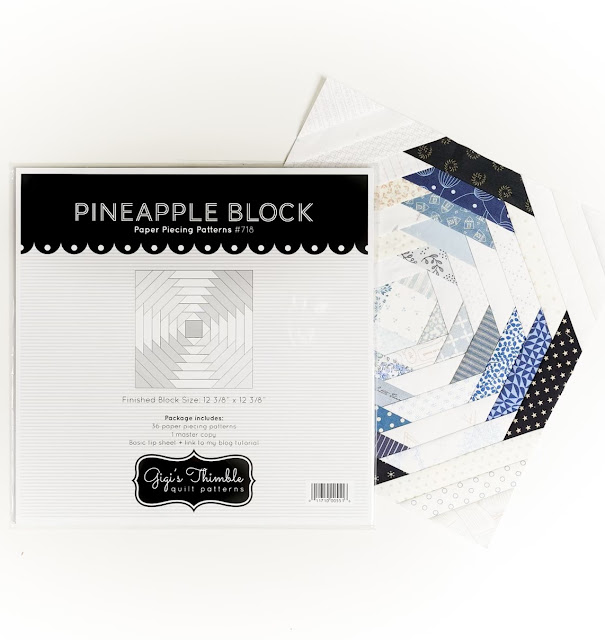
purchase of my Pineapple Block Paper Piecing Papers!
You can find those HERE if you're just joining us.
Click HERE for the rest of the details on the 
Pineapple Quilt Quilt-Along.


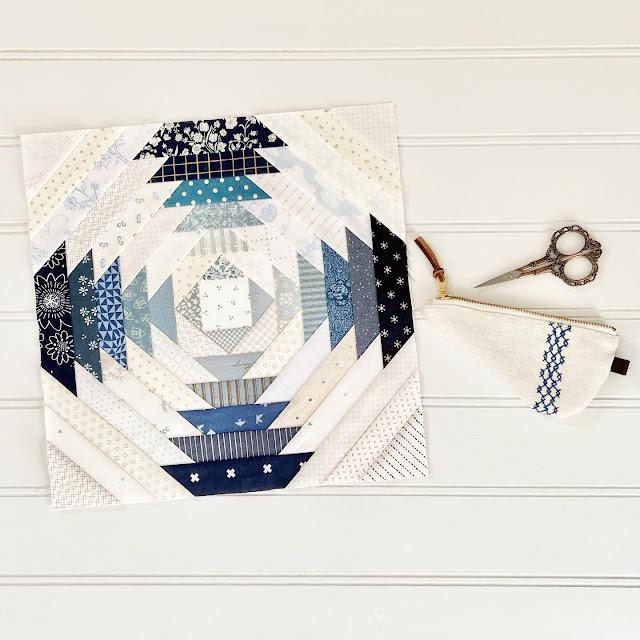
As promised, I have a video tutorial on
how to make this block.  You can check it out on YouTube HERE.
I also have printable instructions for you HERE.


I've also gotten a few questions on how to decide colors and 
color placement.  There are so many possibilities. My advice to those of you
struggling to decide is to (A) look on Pinterest or through Instagram hashtags
for inspiration and pick something that speaks to you.  (B) Consider picking 
something you REALLY love or a color palette that is timeless since this is a
very time consuming project.  You want to love it forever!  


 Finally, please post your weekly progress on Instagram to help inspire
and remind others.  Tag me @gigis_thimble and use the hashtags
#gigisthimblepattern and #perfectpineappleqal so we can see all
these beautiful pineapple quilts in one place!
(@jenfinwill on Instagram suggested that last hashtag
so she gets to choose a free pattern from my shop!  Thanks for the
great suggestion for our QAL hashtag, Jen!)

I think that's everything. Hopefully you will find the video +
printable instructions helpful but please let me know if you have
any questions.

Happy stitching friends!

Snowball and 9-Patch Quilt

Monday, January 24, 2022

If you're looking for a quick, scrappy way to use up 
some of your fabric stash this is a great quilt pattern for you!


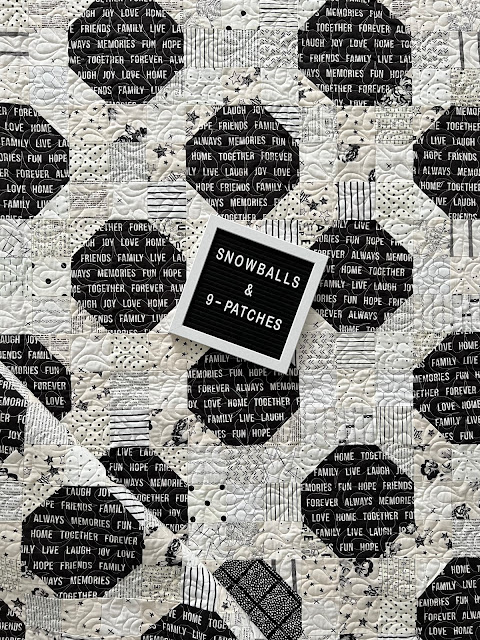
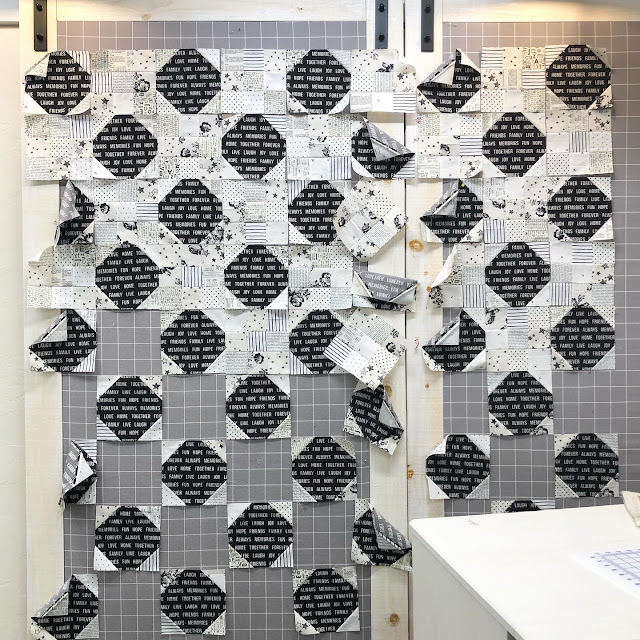
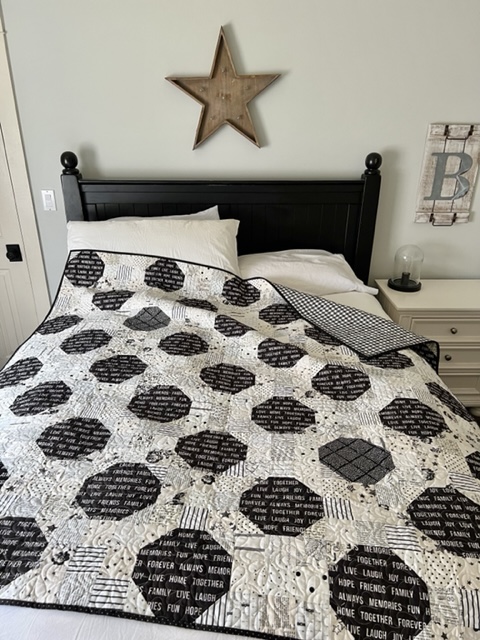
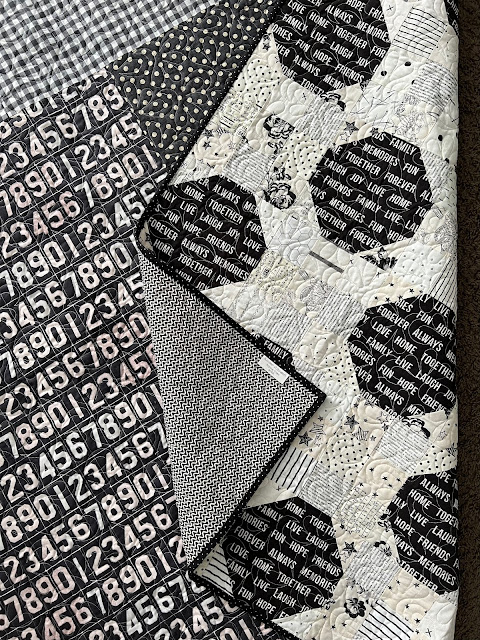
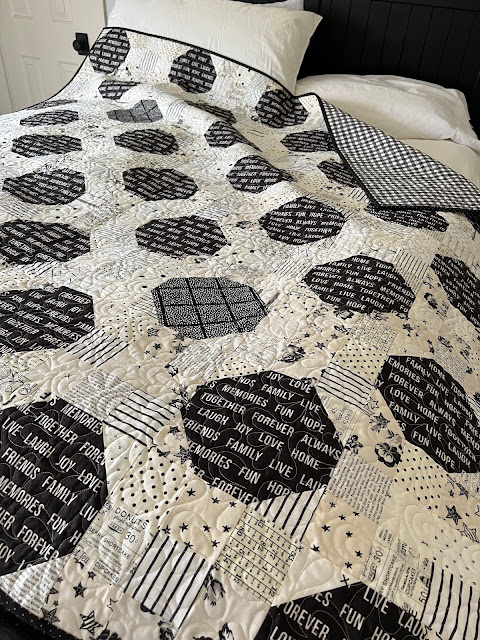
Snowballs (in this case a black square with cream corner triangles) 
and 9-Patches are a classic pairing that look great in any colorway!

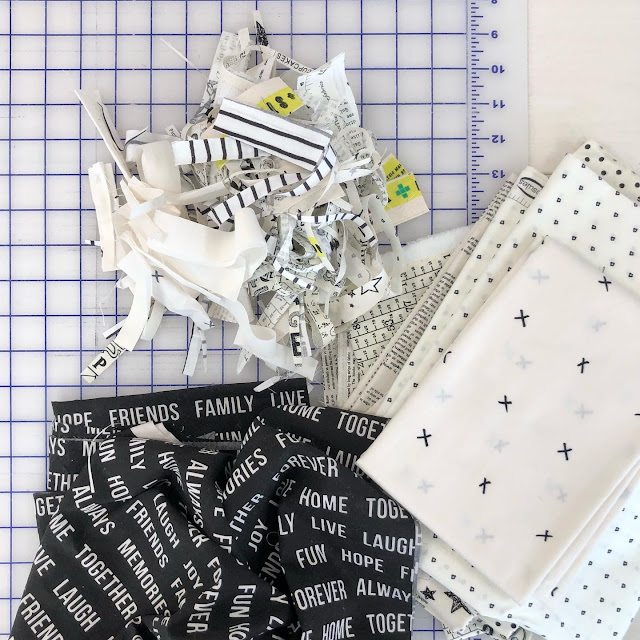
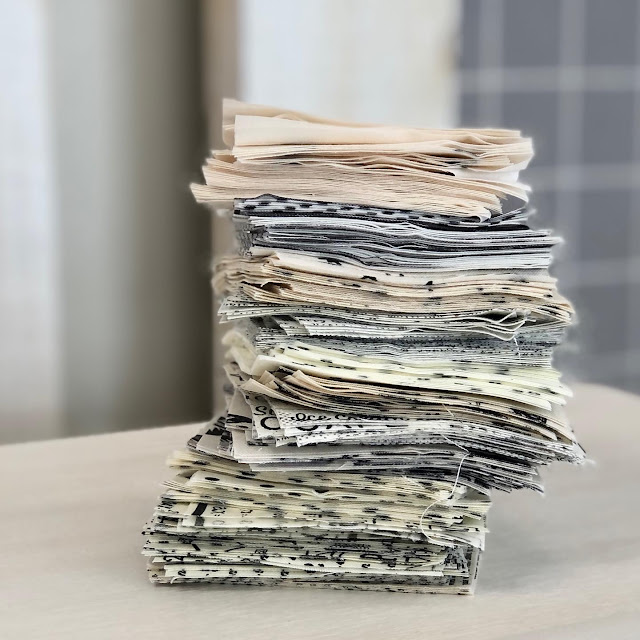
This project started because I had some of the black text fabric leftover
 from the back of my Giant Star quilt using the line Urban Cottage by
Urban Chiks.  You can see that post HERE (it's worth checking out, it's 
another super-fast, beginner-friendly project!)


I thought that fabric was cute (and it always feels good to use up random remnants
in my stash) so one day, as I was heading off to a sewing retreat, I grabbed it + some 
cream and black fabrics to go with it and ran out the door without a plan in mind.  When I got to the
retreat I asked my friends what pattern I should make with those fabrics and we quickly
landed on the classic Snowball and 9-Patch pattern.


I did some quick quilt math (I'll share all those numbers below)
and got about half of the blocks made that day.


I was short just enough black text fabric to make 2 snowball blocks so I supplemented with 
another black fabric from my stash for those 2 blocks.


I had my friend Jen Ostler in Highland, Utah quilt it for me
with the Cassava panto.  I've used that panto a couple of times before; 
it's a good one!  A huge thanks to Jen for doing another fantastic job.


I did a 9 x 9 block layout.  The blocks finish at 7-1/2" each
making the finished size of the quilt 67-1/2" x 67 1/2".
This pattern is very easy to adapt to your own desired size.


FABRIC REQUIREMENTS
2-1/8 yards of black fabric for blocks
3-7/8 yards of assorted cream scraps for blocks
5/8 yard of fabric for binding
4-1/4 yards of fabric for backing

CUT
(41) 8" squares (black) for the Snowball blocks
(164) 3" squares (cream) for the corner triangles on the Snowball blocks +
(360) 3" squares (cream) for the 9-Patch blocks for a total of 524 cream 3" squares.
8 strips, 2-1/2" x 40" for the binding

 MAKE
41 Snowball Blocks
40 Nine-Patch Blocks


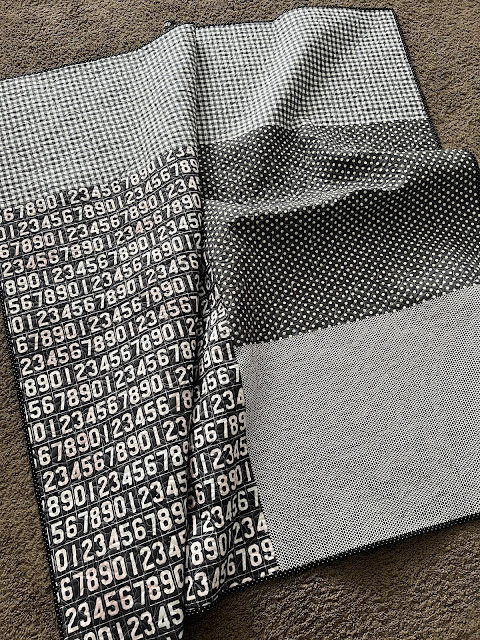
I actually used a few black print remnants from my stash for the back of this quilt.
It always feels so good to use things up!


The binding was from my stash too.  So if you're keeping
track, that makes this quilt 100% from my stash and that makes
me a VERY happy girl!


The labels I use are from Ever Emblem.
You can customize any of their labels.
I like the 2" cotton fold-over, sew-in labels.


My neutral, scrappy, make-do, classic loving heart is thrilled with how this quilt turned out.
I truly believe beautiful quilts can be made with high-quality CUTE
fabrics and a really simple pattern.

Hope you found some inspiration here today.
Thanks for stopping by!
Amber

New Pattern - Always & Forever

Monday, January 17, 2022

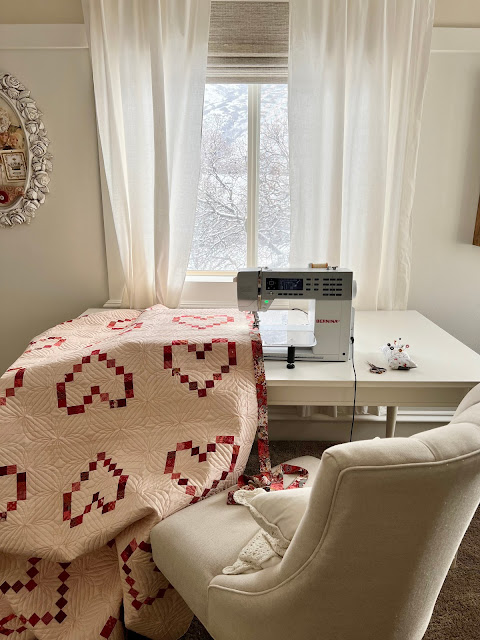
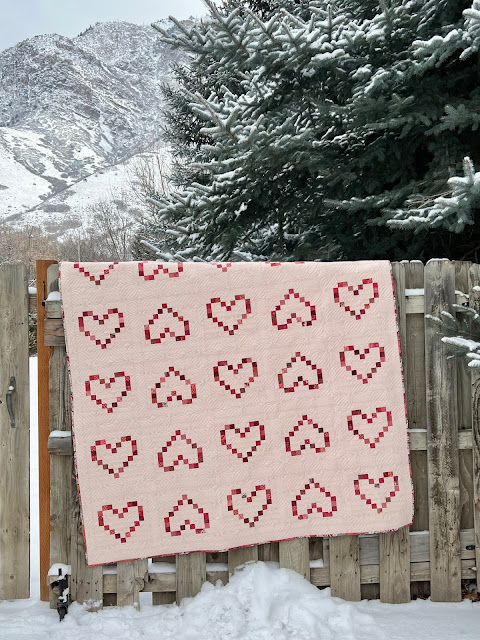
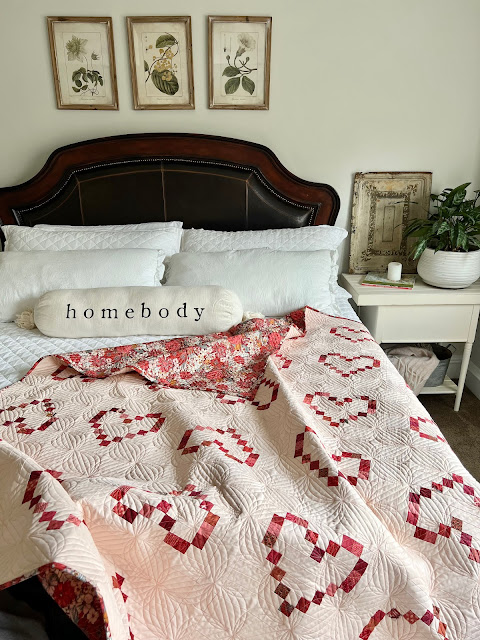
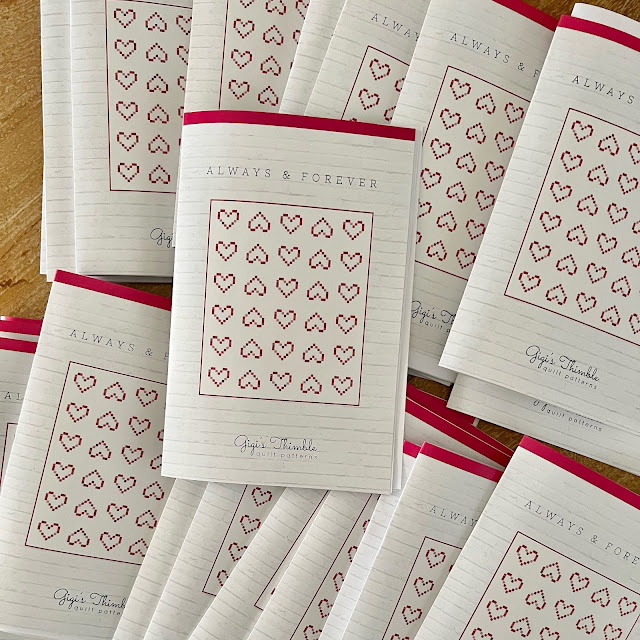
I have a new Valentine's Day pattern I want to share with you today!
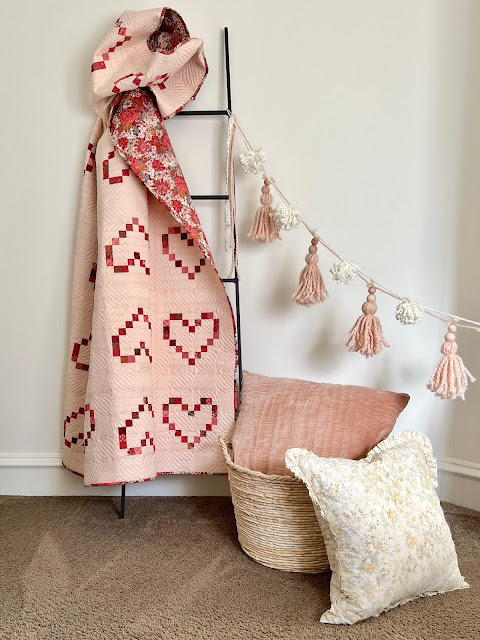
Introducing - Always & Forever!


This pattern was inspired by my postage stamp quilt, actually.
I received so much "love" on that quilt; so many people said they want
to make a postage stamp quilt someday.  So I thought, what better way to ease into
an intense project like a large postage stamp quilt with 1" squares than to
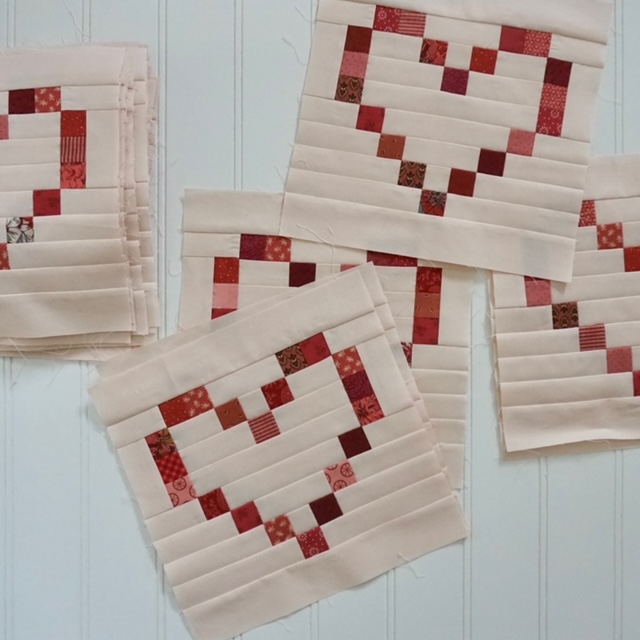
start with blocks with 1" pieces.  You can try this project out first to see how you like 
working with 1" pieces.  They're really not too bad to make; chain piecing 
makes them go together pretty quickly!


And the name? 
Postage Stamp quilts + Forever Stamps + Hearts =
Always & Forever, of course!  
I thought the name was very fitting...


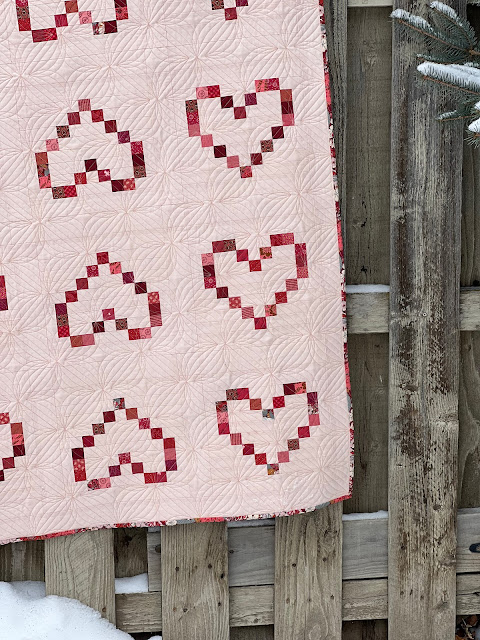
The fabulous quilting was done by my friend, Jen Ostler in Highland, UT
(@drycreekquilter on Instagram).  She's the one that always hides an
image in her quilting for her clients to find.  This time, a heart and I
think it's just darling.  I'm also obsessed with the panto we used
called Starlight by Karlee Porter Designs.


I based my color palette on this beautiful backing fabric
from Sharon Holland's line, Kismet for Art Gallery Fabrics.  I also used it for the
binding so it would pull everything together on the front side.  The background
fabric I used was Kona Lingerie.


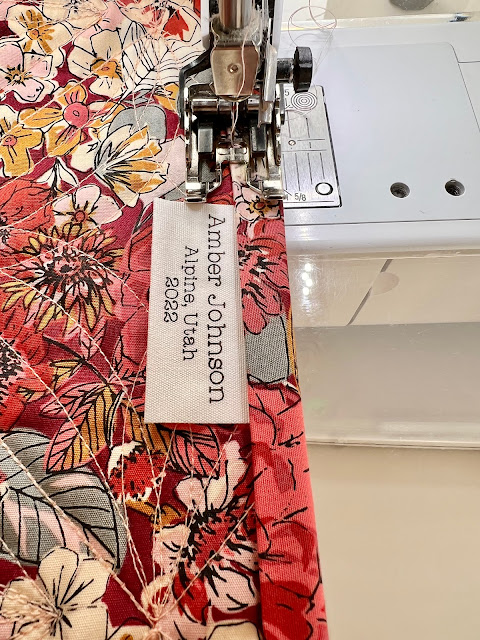
Of course, I had to add one of  my simple quilt labels
that I get from Ever Emblem on Etsy.  You can choose any of their labels
and customize them to your liking.  I get the 2" cotton fold-over, sew-in labels.


Always & Forever has instructions for 2 size options - crib and throw.
There are also instructions for how to make blocks with
scrappy backgrounds and center-filled blocks.  There are so many ways to
make this pattern your own.  I'm really excited about the
possibilities and hope to share some more of them with you soon.


I'm calling this my "grown-up" version.  I made it 
to display in my home so I wanted it to have a more mature, subdued feel.
I have a scrappy, crib-size version at my quilter's house right now.
Check back in a couple of weeks to check that out!


Patterns are now available in my Etsy shop and with my distributors, 
United Notions, Brewer, and Checker if you're a wholesaler.


If you'd like to snag a copy for yourself
click HERE for the PDF
or HERE for the paper pattern.

If you make Always & Forever and you're on Instagram,
please tag me @gigis_thimble and use the hashtags
#gigisthimblepattern and #alwaysandforeverquilt
so I can see your version.  That always makes my day!

Thanks for stopping by today and please let me know if you have any
questions about this pattern!

Quilt - Along: Scrappy Pineapple Quilt

Sunday, December 26, 2021

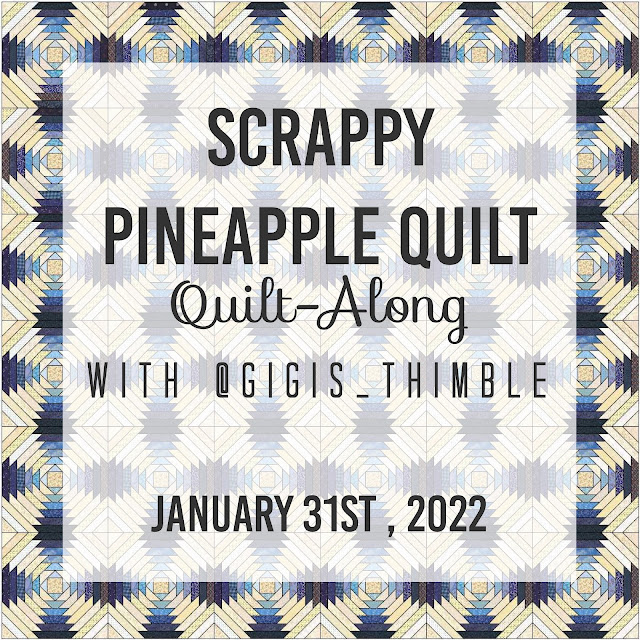
I'm happy to announce that I am finally ready to host
a scrappy pineapple quilt quilt-along!


I've had the itch to make another pineapple quilt for a while now
and I think January 31st, 2022 is just the time to start!
 

This pineapple quilt is a great stash buster!
We'll be using my paper-piecing papers to make this quilt so
this will be a great opportunity to learn a new skill!
My paper-piecing papers are oversized which make for big,
modern blocks.  They finish at 12-3/8" and come in a pack of 36 
(plus one master copy).  One package makes a quilt that finishes at
approximately 74" x 74" (a 6 x 6 block layout).
You can purchase them HERE.  Be sure to use the code
"QUILTALONG" at checkout for 20% off.  The code is good until
midnight on January 31, 2022.


This will be a slow and steady quilt-along.  We'll be making 1 block a week for 36 weeks.  
I'll post my blocks on Mondays on Instagram as a reminder for you to make yours for the week.


There won't be any sign-ups.  Just follow along with me on Instagram @gigis_thimble.
If you stick with me, by the Fall of 2022 you will have a finished quilt top!
There won't be any prizes either (haha, is this sounding really enticing???)
But no really, the prize is your beautiful quilt top!
And I'll be here every step of the way to answer questions and give moral support!


FABRIC REQUIREMENTS

For ease of mocking different options up in my EQ software and figuring out fabric requirements
I will give you fabric requirements for non-scrappy quilts (plus I know some of you want 
those requirements anyway).  If you want to make a scrappy version just add on 
20% to the amount required.

Referring to the block below you will notice that there are dark and light
 fabrics needed for this block.  You can place them as shown below or do the reverse 
(with the light fabrics on the sides and the dark fabrics in the corners).


If you want light fabric in the corners of your blocks you will need :
1/4 yard for the center squares
7-5/8 yards of light fabric
4-1/4 yards of dark fabric

When all your blocks are sewn together it will look something like this:

Or, if you want light fabric on the sides of your blocks you will need :
1/4 yard for the center squares
4-1/4 yards of light fabric
7-5/8 yards of dark fabric

That layout will look something like this:


Or, if you want to do two different colors in the corners for a layout 
that looks something like this, you will need:


1/4 yard for the center squares
4-1/4 yards of white fabric
4 yards of  color 1 fabric (navy)
4 yards of  color 2 fabric (light blue)

The above layout is very similar to my original pink and green pineapple quilt 
(except mine is scrappy).


Please note: I use a "grab-and-go" method of paper piecing.
That means I do not precut strip lengths. I think it would take up a lot of space
at my workstation to have all the pieces laid out and try to keep them in order.
It also takes a lot of time to precut everything.
So I cut as I go.  I'll show you how to do that in a YouTube video
I'll be airing on January 31st.  It will be a video tutorial showing the entire Pineapple
block paper piecing process so stop back by my blog that day for a link to that video.

HERE is a link to a Pineapple Quilt
coloring sheet in case you want to mock up your own version.

This is the inspiration for what I'm going to do.
My friend, Esther Avila made these blocks with my papers and I think they're gorgeous.
Blue and white - such a timeless look!


In case you're asking yourself if you can do this project, I would say the skill level 
required is a "confident beginner".

Each block takes me about 1-1/2 hours to make as there are 57 pieces.
Sounds a little intense right?  It's really not; it's just a little time-consuming!  
The good news is, the same step is repeated over and over so this is
a great pattern to learn/practice paper-piecing.  You'll get the hang of it really fast 
and you'll be a paper-piecing pro in no time!

I plan on doing a video tutorial the first week of the quilt-along 
to teach you how to make the first block.  In the meantime, you're welcome 
to check out THIS tutorial I did several years ago for the Pineapple Block.  
Note: I like to use 2" wide strips in varying lengths.  Start cutting/accumulating strips now 
so you'll be ready to start sewing on January 31st!


If you've always wanted to make a pineapple quilt now is the time to do it!
This quilt is classic and a real showstopper for sure!

Let me know if you have any questions about this quilt along or the project!
I can't wait to quilt along with you!