Showing posts with label quilt labels. Show all posts

New Quilt Pattern - Merry Pinwheels

Friday, October 27, 2023

 Hi friends!
I'd like to introduce you to my new pattern,
Merry Pinwheels!


I wanted to design a 2-1/2" strip-friendly pattern
and thought these pinwheels were really fun!


Merry Pinwheels would be cute in any colorway.  
But I used this darling Rolie Polie from Riley Blake Designs called
Holiday Cheer by My Mind's Eye. 


It's full of vintagy Christmas goodness!


And bonus, the selvages are so cute!


I believe the skill level for Merry Pinwheels is "confident beginner".


It comes with instructions for FIVE different quilt sizes:
Crib, Throw, Twin, Queen, and King.
This is the twin size.


For the background, I used Sparkler in the color Alpine
by Melissa Mortenson for Riley Blake Designs.

And then I found this darling pink gingham fabric 
for the backing. So vintagy and sweet.


My quilter, Jen Ostler (@drycreekquilter on Instagram) 
quilted it for me.  She used the Orange Peel Swirl Panto.
It was a new-to-me design and I think it's perfect
for this quilt.  It's festive but doesn't take away
from the pattern or prints.


Jen was able to get the design to line up perfectly with the blocks.  I love it.


I bound it with the red stripe from Holiday Cheer.

And of course, I added a simple label from Ever Emblem.
I get the 2" cotton, fold-over, sew-in labels.
If you go to their site, you'll have to pick a cotton label 
and customize it from there.  I've been using their labels for years.  
They're so convenient.  Now I don't have an excuse to not label my quilts!


We're all set for Christmas now.  (I love putting Christmas
quilts on beds during December.  It creates a magical feeling
and gives the added warmth needed in our home here in Utah).


I'll be sharing some of my pattern tester's versions soon.
If you were going to make this quilt what colors/fabrics
would you use?  I'm thinking this would be darling
in 30's reproduction prints.

You can get the PDF pattern HERE
and the paper pattern HERE.
P.S. All patterns and quilts in my Etsy shop
are 20% off right now.

Happy quilting!

Scrappy Brick Quilt

Tuesday, October 10, 2023

 Good morning!
I have another scrap-buster quilt
to share with you today.


It's a brick-style quilt.  Have you made one of those before?
It was my first time doing one and you can't 
get any easier than this pattern right here!

I was using up scraps leftover from my Kaleidoscope quilt
which you can see HERE.  I ended up cutting some more rectangles
from my stash and scraps to make it a little bigger though.  


I cut 3" x 9" for the main rectangles and 3" x 4-3/4" rectangles for the half-rectangles.
The finished size of this quilt is 43" x 53" but you could make it any size you want!
I think this size would be perfect for a baby, toddler, or lap quilt.


 Because my quilt top was wider than 40" (and you need extra backing fabric for longarm quilting) 
I decided to go with this 60" wide chambray fabric for the back.  It's called Robert Kaufman Chambray Union 5 Point Dot.  I didn't want to piece the back for such a small quilt so this was a great way to go.  I love the little design on it!


The labels are from Everemblem.
I get the 2" cotton, fold-over, sew-in labels.
If you go to their site, you'll have to pick a cotton label 
and customize it from there.  I've loved the ease of these labels.
Now I don't have an excuse to not label my quilts!


I love this gold and rust stripe fabric that I used
for the binding.  It's the Warp & Weft Moonglow Stitch Suede by


Jen Ostler in Highland, Utah quilted it for me.
The design she used is called Terracotta and I've used
it quite a few times.  I really like that panto for a
nice, basic, overall pattern.  Jen did a fantastic job as usual!


I love a super easy, fast, scrap-buster pattern, don't you?
I'm really happy with the way this turned out
and would definitely make this pattern again.
I hope this inspired you to use up some of your scraps.

Thanks for stopping by today!
Happy quilting!

2 Stars A Day Quilt Finish

Friday, July 22, 2022

 I finally got some photos of my
finished 2 Stars a Day quilt!
If you want the simple, free pattern
 for this project click HERE.


I was looking for a way to use up my
beautiful Liberty fabrics and got the wild idea to
make 2 stars a day for a month with them.  It was a fun
challenge project and a good way to practice a little
stick-to-itive-ness.


I had all the star fabrics in my stash, as well as, the two background fabrics
(which were both linen fabrics - one tan and one cream.  Sorry,
I don't know the names of the manufacturers or exact colors.)  I also
had the border fabric in my stash, which was a cream and tan
geometric print from the line Farmhouse by Fig Tree and Co.


I bought the plum color binding fabric and the 
floral backing fabric at Harmony in Provo, Utah.  
There wasn't any info on the selvage of the binding fabric
but the backing fabric is from the line Sevenberry
by Robert Kaufman.


The quilting was done by my friend Jen Ostler in 
Highland, Utah.  She used a panto called Domestic Stitches -
Squared by Leisha Kaye Farnsworth.  It was a new-to-me
design and I love it!  I thought it complimented the stars
and the heirloom feel of this quilt, perfectly!


The labels are from Everemblem.
I get the 2" cotton, fold-over, sew-in labels.
If you go to their site, you'll have to pick a cotton label 
and customize it from there.  I've loved the ease of these labels.
Now I don't have an excuse to not label my quilts!


This quilt finished at 60-1/2" x 75-1/2";
a nice throw size quilt!


I love a good star quilt and don't seem
to have enough of them in my life!


By using two different background colors
along with sashing in the same colors, it created
an almost circular secondary design.
Do you see it?  If not, squint your eyes a little.


Well, what do you think of my 2 Stars a Day quilt?
It was a fun project to make and I'm really happy with
how it turned out.  This is a great stash-buster project.
Let me know if you end up making it.  If you post about it on
Instagram please use the hashtags #gigisthimblepattern
and #twostarsadayquilt so I don't miss it!

Happy quilting friends!

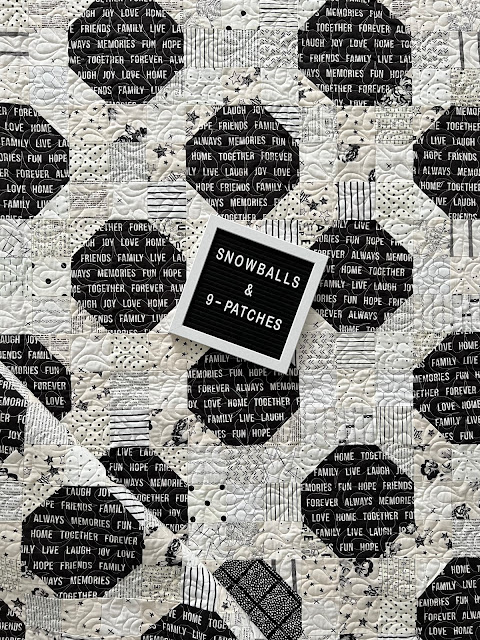
Snowball and 9-Patch Quilt

Monday, January 24, 2022

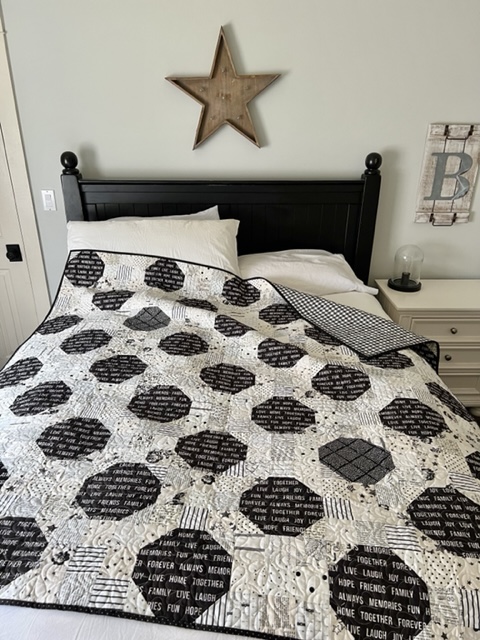
If you're looking for a quick, scrappy way to use up 
some of your fabric stash this is a great quilt pattern for you!


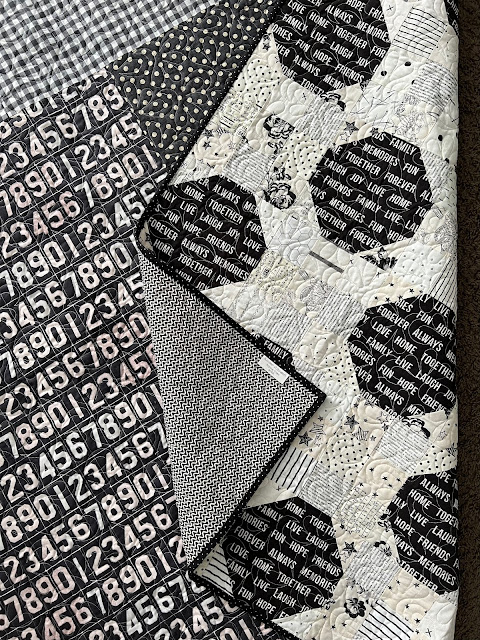
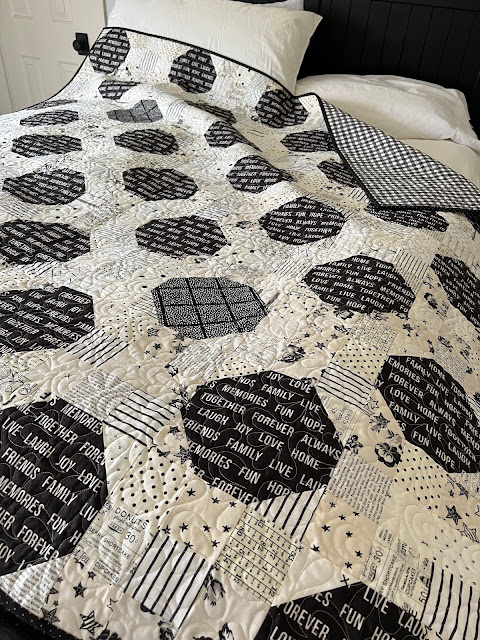
Snowballs (in this case a black square with cream corner triangles) 
and 9-Patches are a classic pairing that look great in any colorway!

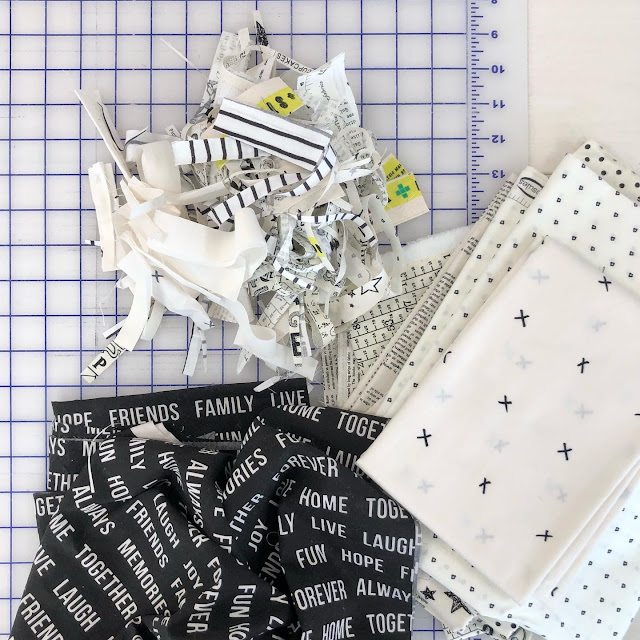
This project started because I had some of the black text fabric leftover
 from the back of my Giant Star quilt using the line Urban Cottage by
Urban Chiks.  You can see that post HERE (it's worth checking out, it's 
another super-fast, beginner-friendly project!)


I thought that fabric was cute (and it always feels good to use up random remnants
in my stash) so one day, as I was heading off to a sewing retreat, I grabbed it + some 
cream and black fabrics to go with it and ran out the door without a plan in mind.  When I got to the
retreat I asked my friends what pattern I should make with those fabrics and we quickly
landed on the classic Snowball and 9-Patch pattern.


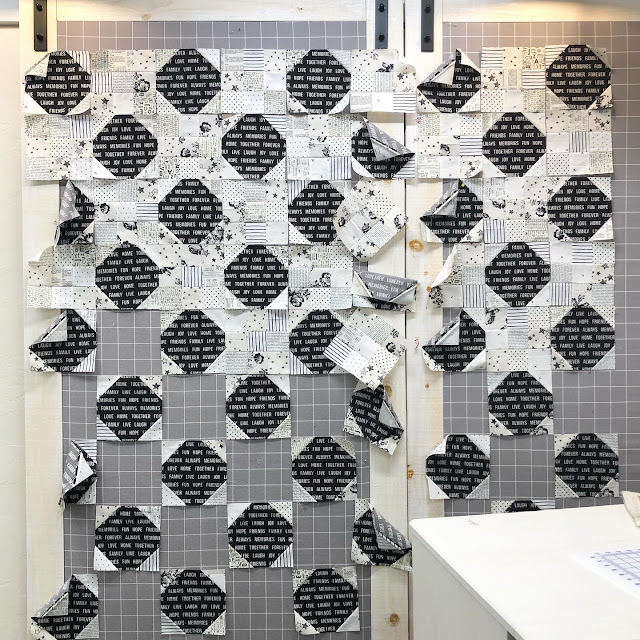
I did some quick quilt math (I'll share all those numbers below)
and got about half of the blocks made that day.


I was short just enough black text fabric to make 2 snowball blocks so I supplemented with 
another black fabric from my stash for those 2 blocks.


I had my friend Jen Ostler in Highland, Utah quilt it for me
with the Cassava panto.  I've used that panto a couple of times before; 
it's a good one!  A huge thanks to Jen for doing another fantastic job.


I did a 9 x 9 block layout.  The blocks finish at 7-1/2" each
making the finished size of the quilt 67-1/2" x 67 1/2".
This pattern is very easy to adapt to your own desired size.


FABRIC REQUIREMENTS
2-1/8 yards of black fabric for blocks
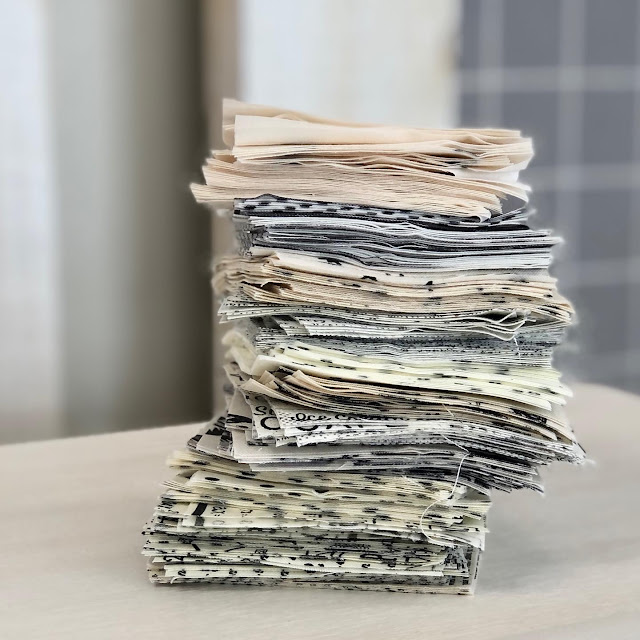
3-7/8 yards of assorted cream scraps for blocks
5/8 yard of fabric for binding
4-1/4 yards of fabric for backing

CUT
(41) 8" squares (black) for the Snowball blocks
(164) 3" squares (cream) for the corner triangles on the Snowball blocks +
(360) 3" squares (cream) for the 9-Patch blocks for a total of 524 cream 3" squares.
8 strips, 2-1/2" x 40" for the binding

 MAKE
41 Snowball Blocks
40 Nine-Patch Blocks


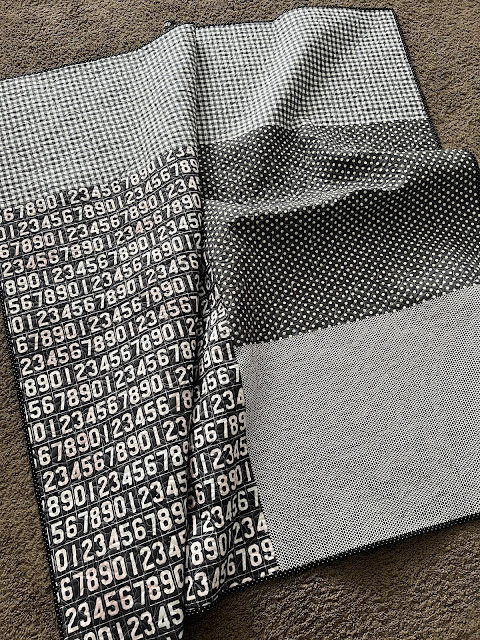
I actually used a few black print remnants from my stash for the back of this quilt.
It always feels so good to use things up!


The binding was from my stash too.  So if you're keeping
track, that makes this quilt 100% from my stash and that makes
me a VERY happy girl!


The labels I use are from Ever Emblem.
You can customize any of their labels.
I like the 2" cotton fold-over, sew-in labels.


My neutral, scrappy, make-do, classic loving heart is thrilled with how this quilt turned out.
I truly believe beautiful quilts can be made with high-quality CUTE
fabrics and a really simple pattern.

Hope you found some inspiration here today.
Thanks for stopping by!
Amber

New Beginnings - A Free Quilt Pattern

Wednesday, June 16, 2021

 Hi friends!  I have a new pattern to share with you today!  
And the best part?  It's FREE!


I'm calling this pattern New Beginnings.  Would you care to know why?
I love when there's a story behind a pattern or it's name so let me tell you 
TWO reasons why I chose to call it New Beginnings.  First, because of the 
Hourglass blocks.  Every time an hourglass runs out of sand and you 
flip it over, time starts anew.  The second reason I decided to call it New Beginnings, 
is because I actually made the X blocks for a different pattern but my 
measurements were off.  They didn't match up with the alternate block 
I was going to do so I decided to scratch the whole thing and went a completely 
different direction!  So the X blocks definitely got a new beginning!


This quilt finishes at 70" x 70".


Since I had a few people on Instagram ask what this beautiful
backing fabric was...it's  Wellington by Nancy Gere No. 34116 for Windham Fabrics.
I bought it off a friend so I have no idea if it's still available though.


New Beginnings was quilted by my friend Jen Ostler who did an awesome job.
She used the Gemma 3 panto by Karlee Porter.  I've used it a few times
before and it's a favorite for sure!


I also get lots of questions about my quilt labels.  I get mine from Ever Emblem.  
They're the 2" x 1" cotton fold-over sew-on labels.  I get the uncut ones 
(they're about $16 for 20 tags).  Click HERE to check them out.  
You can customize them to your desires.

Here are some tips for attaching those labels to a quilt:
First, sew your prepared binding to the front side of your quilt.  
Then place a folded label so that the raw edges of the label are about 1/8"
from the raw edge of your quilt.  Stitch it in place with a 
triple stitch to make it extra secure.  Then machine stitch your binding 
down (just over the raw edges of the label, see above photo) because 
it's really hard to hand-stitch through the label.  Then stitch the rest of your
binding down to the back side of your quilt either by hand or machine.


I hope you love this pattern as much as I do!  I'm working on my second one 
and hope to show pictures of that soon!  I think it would be cute for any 
occasion, gender and in any color scheme!  


Click HERE for the free pattern.

Please contact me at gigisthimble@hotmail.com if you have any comments or questions 
about this pattern.  And please tag me on Instagram (username @gigis_thimble) 
if you make it and post about it there.  Be sure to use the
hashtags #gigisthimblepattern and #newbeginningsquilt so I don't miss it!

Thanks for stopping by today and happy quilting!