Scrappy Pineapple Block Video Tutorial

Monday, January 31, 2022

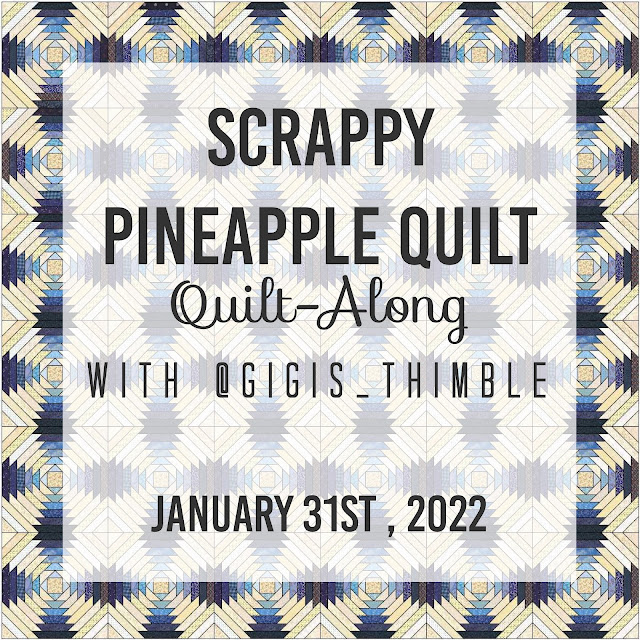
 Hello!  It's week 1 of the
Scrappy Pineapple Quilt Quilt-Along and I am so excited
to finally get this party started!


There are over 300 of you who have joined the QAL.
I can't wait to cheer each other on and see all of your
beautiful Pineapple quilts come together over the next 36 weeks!

Thank you for joining me on this venture and thank you for your 
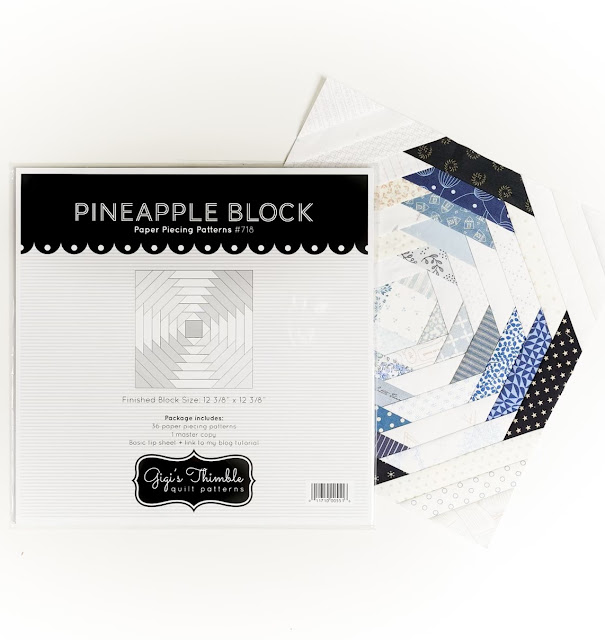
purchase of my Pineapple Block Paper Piecing Papers!
You can find those HERE if you're just joining us.
Click HERE for the rest of the details on the 
Pineapple Quilt Quilt-Along.


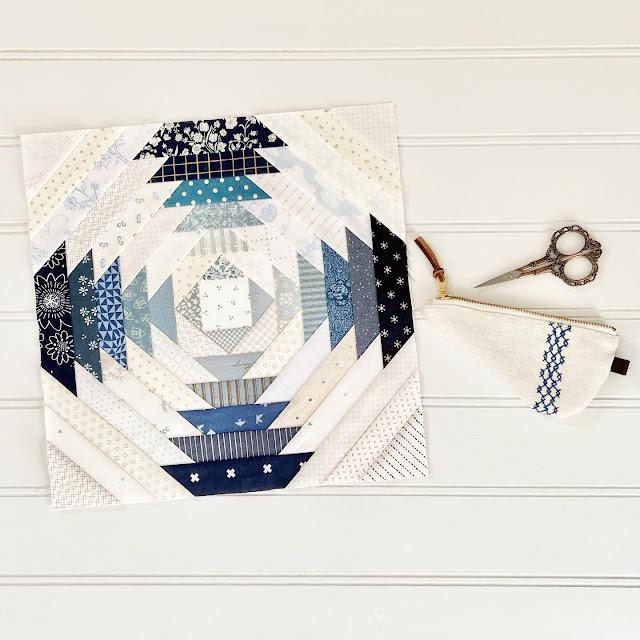
As promised, I have a video tutorial on
how to make this block.  You can check it out on YouTube HERE.
I also have printable instructions for you HERE.


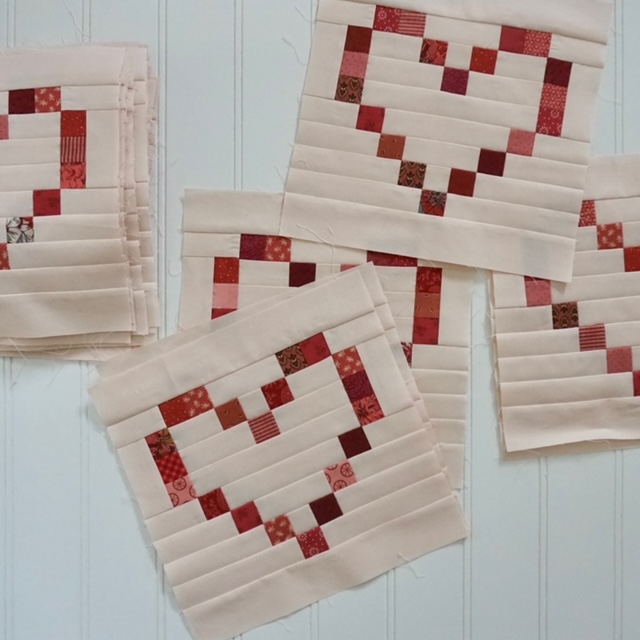
I've also gotten a few questions on how to decide colors and 
color placement.  There are so many possibilities. My advice to those of you
struggling to decide is to (A) look on Pinterest or through Instagram hashtags
for inspiration and pick something that speaks to you.  (B) Consider picking 
something you REALLY love or a color palette that is timeless since this is a
very time consuming project.  You want to love it forever!  


 Finally, please post your weekly progress on Instagram to help inspire
and remind others.  Tag me @gigis_thimble and use the hashtags
#gigisthimblepattern and #perfectpineappleqal so we can see all
these beautiful pineapple quilts in one place!
(@jenfinwill on Instagram suggested that last hashtag
so she gets to choose a free pattern from my shop!  Thanks for the
great suggestion for our QAL hashtag, Jen!)

I think that's everything. Hopefully you will find the video +
printable instructions helpful but please let me know if you have
any questions.

Happy stitching friends!

Snowball and 9-Patch Quilt

Monday, January 24, 2022

If you're looking for a quick, scrappy way to use up 
some of your fabric stash this is a great quilt pattern for you!


Snowballs (in this case a black square with cream corner triangles) 
and 9-Patches are a classic pairing that look great in any colorway!

This project started because I had some of the black text fabric leftover
 from the back of my Giant Star quilt using the line Urban Cottage by
Urban Chiks.  You can see that post HERE (it's worth checking out, it's 
another super-fast, beginner-friendly project!)


I thought that fabric was cute (and it always feels good to use up random remnants
in my stash) so one day, as I was heading off to a sewing retreat, I grabbed it + some 
cream and black fabrics to go with it and ran out the door without a plan in mind.  When I got to the
retreat I asked my friends what pattern I should make with those fabrics and we quickly
landed on the classic Snowball and 9-Patch pattern.


I did some quick quilt math (I'll share all those numbers below)
and got about half of the blocks made that day.


I was short just enough black text fabric to make 2 snowball blocks so I supplemented with 
another black fabric from my stash for those 2 blocks.


I had my friend Jen Ostler in Highland, Utah quilt it for me
with the Cassava panto.  I've used that panto a couple of times before; 
it's a good one!  A huge thanks to Jen for doing another fantastic job.


I did a 9 x 9 block layout.  The blocks finish at 7-1/2" each
making the finished size of the quilt 67-1/2" x 67 1/2".
This pattern is very easy to adapt to your own desired size.


FABRIC REQUIREMENTS
2-1/8 yards of black fabric for blocks
3-7/8 yards of assorted cream scraps for blocks
5/8 yard of fabric for binding
4-1/4 yards of fabric for backing

CUT
(41) 8" squares (black) for the Snowball blocks
(164) 3" squares (cream) for the corner triangles on the Snowball blocks +
(360) 3" squares (cream) for the 9-Patch blocks for a total of 524 cream 3" squares.
8 strips, 2-1/2" x 40" for the binding

 MAKE
41 Snowball Blocks
40 Nine-Patch Blocks


I actually used a few black print remnants from my stash for the back of this quilt.
It always feels so good to use things up!


The binding was from my stash too.  So if you're keeping
track, that makes this quilt 100% from my stash and that makes
me a VERY happy girl!


The labels I use are from Ever Emblem.
You can customize any of their labels.
I like the 2" cotton fold-over, sew-in labels.


My neutral, scrappy, make-do, classic loving heart is thrilled with how this quilt turned out.
I truly believe beautiful quilts can be made with high-quality CUTE
fabrics and a really simple pattern.

Hope you found some inspiration here today.
Thanks for stopping by!
Amber

New Pattern - Always & Forever

Monday, January 17, 2022

I have a new Valentine's Day pattern I want to share with you today!
Introducing - Always & Forever!


This pattern was inspired by my postage stamp quilt, actually.
I received so much "love" on that quilt; so many people said they want
to make a postage stamp quilt someday.  So I thought, what better way to ease into
an intense project like a large postage stamp quilt with 1" squares than to
start with blocks with 1" pieces.  You can try this project out first to see how you like 
working with 1" pieces.  They're really not too bad to make; chain piecing 
makes them go together pretty quickly!


And the name? 
Postage Stamp quilts + Forever Stamps + Hearts =
Always & Forever, of course!  
I thought the name was very fitting...


The fabulous quilting was done by my friend, Jen Ostler in Highland, UT
(@drycreekquilter on Instagram).  She's the one that always hides an
image in her quilting for her clients to find.  This time, a heart and I
think it's just darling.  I'm also obsessed with the panto we used
called Starlight by Karlee Porter Designs.


I based my color palette on this beautiful backing fabric
from Sharon Holland's line, Kismet for Art Gallery Fabrics.  I also used it for the
binding so it would pull everything together on the front side.  The background
fabric I used was Kona Lingerie.


Of course, I had to add one of  my simple quilt labels
that I get from Ever Emblem on Etsy.  You can choose any of their labels
and customize them to your liking.  I get the 2" cotton fold-over, sew-in labels.


Always & Forever has instructions for 2 size options - crib and throw.
There are also instructions for how to make blocks with
scrappy backgrounds and center-filled blocks.  There are so many ways to
make this pattern your own.  I'm really excited about the
possibilities and hope to share some more of them with you soon.


I'm calling this my "grown-up" version.  I made it 
to display in my home so I wanted it to have a more mature, subdued feel.
I have a scrappy, crib-size version at my quilter's house right now.
Check back in a couple of weeks to check that out!


Patterns are now available in my Etsy shop and with my distributors, 
United Notions, Brewer, and Checker if you're a wholesaler.


If you'd like to snag a copy for yourself
click HERE for the PDF
or HERE for the paper pattern.

If you make Always & Forever and you're on Instagram,
please tag me @gigis_thimble and use the hashtags
#gigisthimblepattern and #alwaysandforeverquilt
so I can see your version.  That always makes my day!

Thanks for stopping by today and please let me know if you have any
questions about this pattern!